How To Pay For Peacock TV In Canada [100% Working]
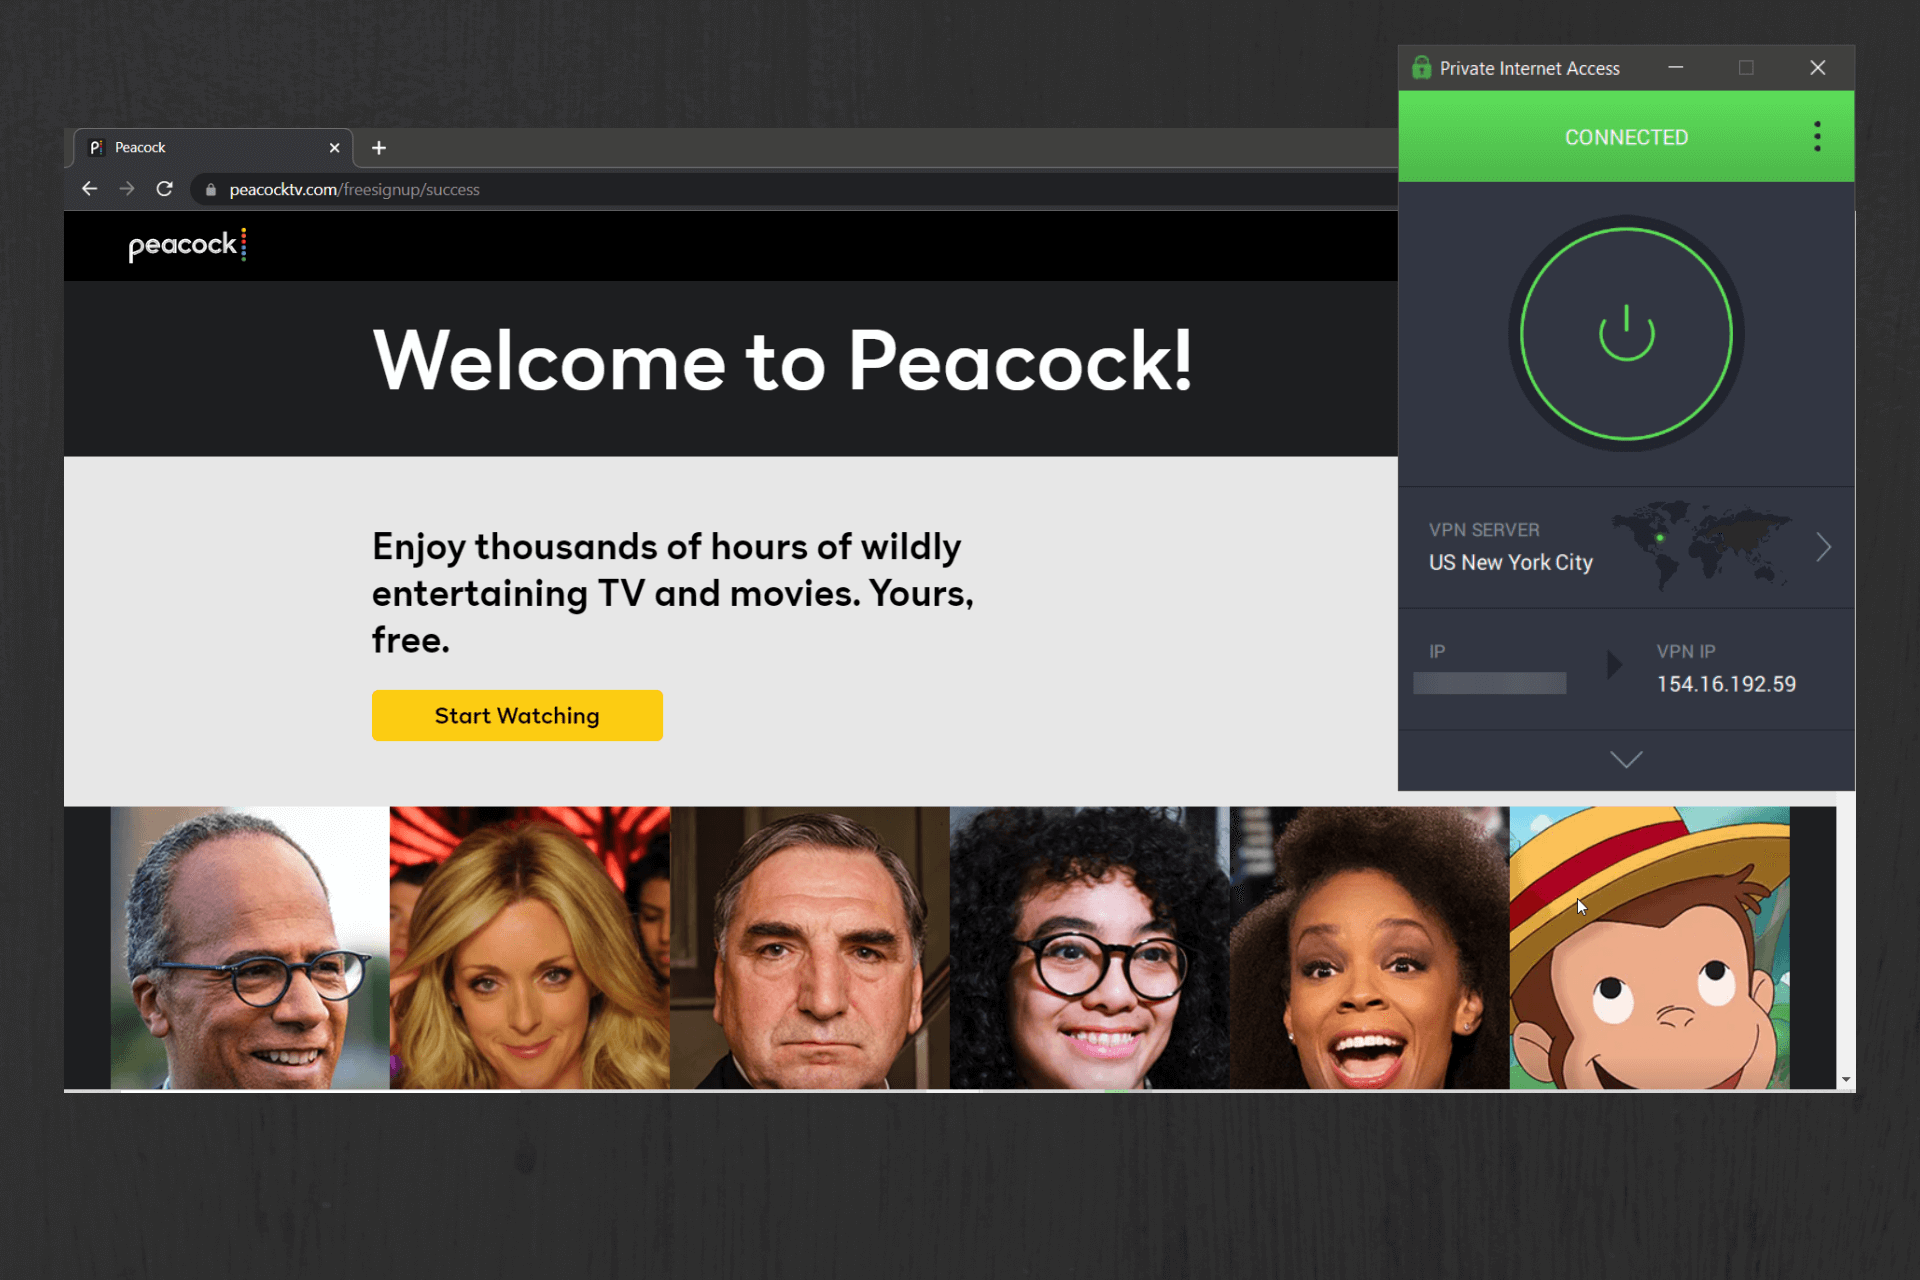
Peacock TV is a US-based video-on-demand streaming service website with top shows, live sports, and movies.
Unfortunately, due to its geo-restrictions and content licensing, it’s mainly available in the US. Some of its premium content can also be watched in Ireland and the UK, but only if you get a Sky or Now TV subscription.

Access content across the globe at the highest speed rate.
70% of our readers choose Private Internet Access
70% of our readers choose ExpressVPN

Browse the web from multiple devices with industry-standard security protocols.

Faster dedicated servers for specific actions (currently at summer discounts)
You’ll get an error message whenever you try to log in or subscribe to their service in Canada. However, this article will show you how to log in or subscribe to their service in Canada with a VPN.
How to pay for Peacock in Canada
While a lot of Peacock’s content is free, which is part of the reason why it’s so popular, they also have subscription plans.
Accessing the free platform is easy with a VPN, just connect to a US server and you’re good to go. But paying for the premium service requires a few extra steps. Fortunately, it’s not all that complicated.
There are several ways to pay for Peacock TV in Canada. It currently accepts payments made via PayPal, credit cards (Visa/MasterCard/Discover/American Express), and Apple Pay.
The catch is your payment method should be registered in the US. Otherwise, you’ll get an error message when you attempt to sign up.
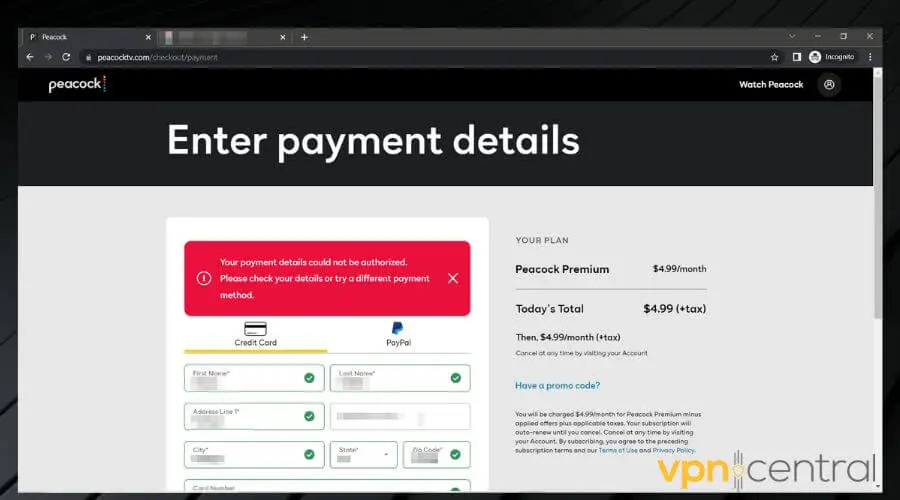
We will show you how to pay for a Peacock TV subscription with virtual American Express cards, but you can use other virtual cards or payment options as well. The process is similar.
The first thing you need to do is to mask your location, and you’ll do that with a VPN. We picked Private Internet Access for the job because it’s US focused and highly reliable.
Pay for Peacock using a virtual card
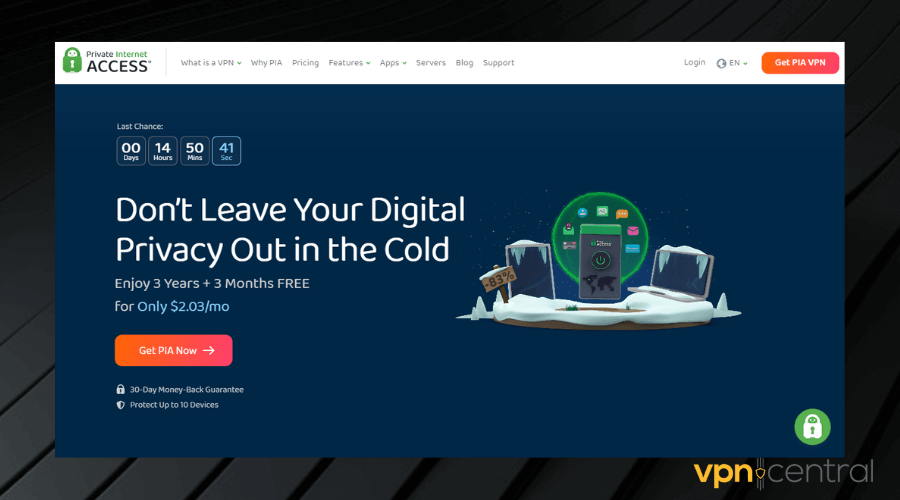
1. Get a Private Internet Access subscription and download the app to your device.
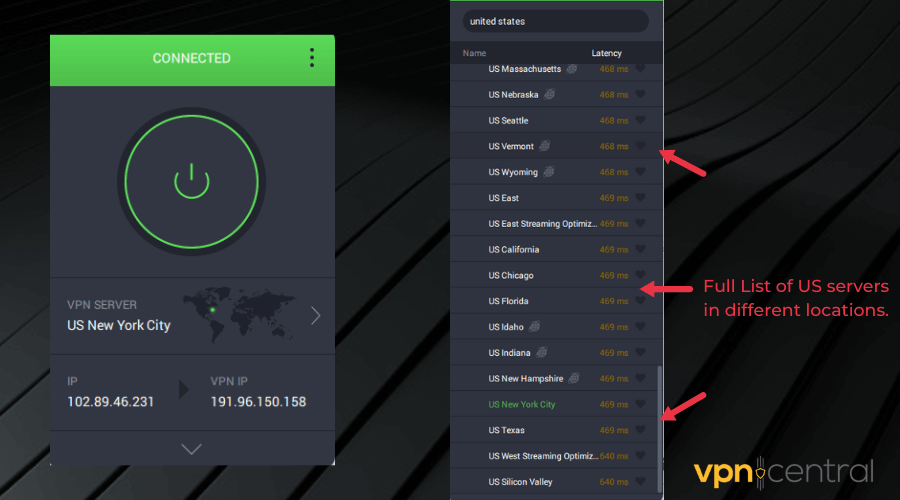
2. Launch the app on your device and connect to a US server.
3. Visit usunlocked.com and click on the Get your card button.
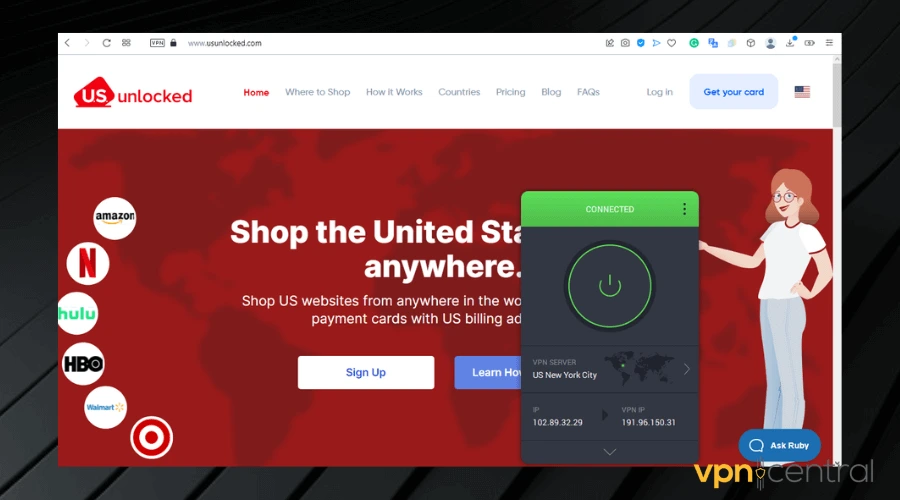
4. After this, you’ll need to enter all the required information and click on the Next step button.
5. Now, usunlocked.com will send a verification link to the email you provided in your details. So you’ll have to verify your email address.
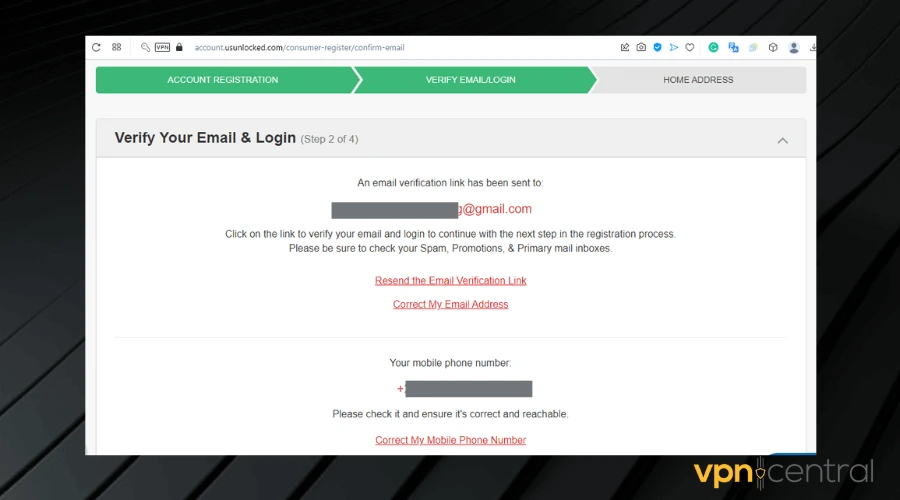
6. Once you verify your email address, log into your account with your email address and password.
7. Click the verify my identity button to verify your identity using an accepted ID type. After completing the verification process, a pop-up will appear that says, All set! Your new US Unlocked account is ready:
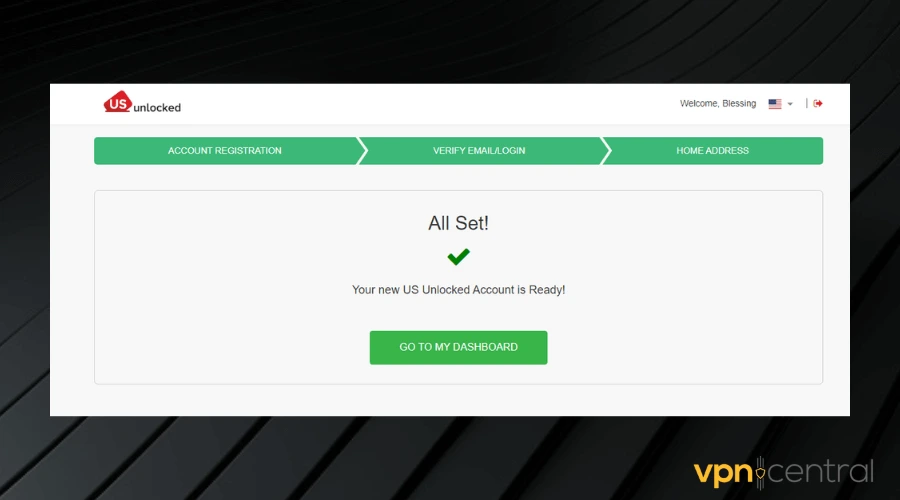
9. Click on the Go to My Dashboard button.
10. Load your account using your debit or credit card. You can load between $50 and $3500.
11. Log in to your Peacock TV website or app, then subscribe to any plan you want using your US virtual prepaid card in Canada. Ensure you are connected to the US server on your VPN during this process.
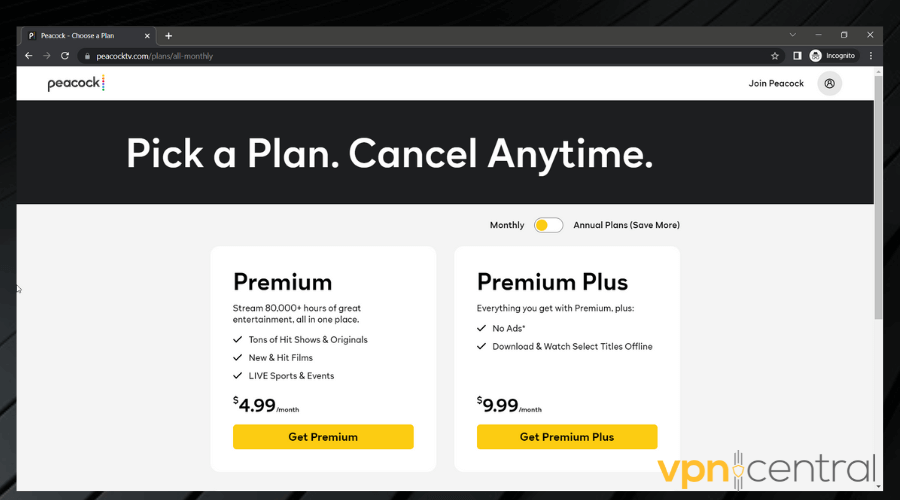
12. Ensure your information is correct and confirm your payment. After your payment is processed, you’ll be directed to a confirmation page for your newly created account.

A very similar process also applies if you decide to use a different virtual US card. The same goes for those of you who would prefer to use PayPal.
Simply sign up for an account using a suitable VPN for Paypal and make sure to set your location to the US. Keep in mind that PayPal doesn’t allow you to change your region once you create an account.
Pay for Peacock with Apple Pay
Alternatively, if you have an Apple iPhone, then you can follow these easy steps to pay for Peacock in Canada using Apple Pay:
1. Get Private Internet Access and download the app to your device.
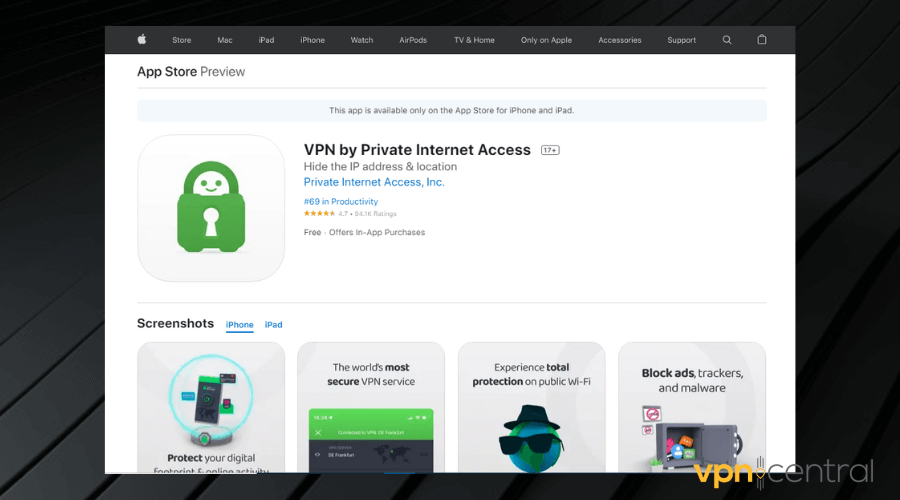
2. Go to your settings and click on Apple ID.
3. Now select Create New Apple ID and create a new Apple account using American information. You’ll need a US number for this.
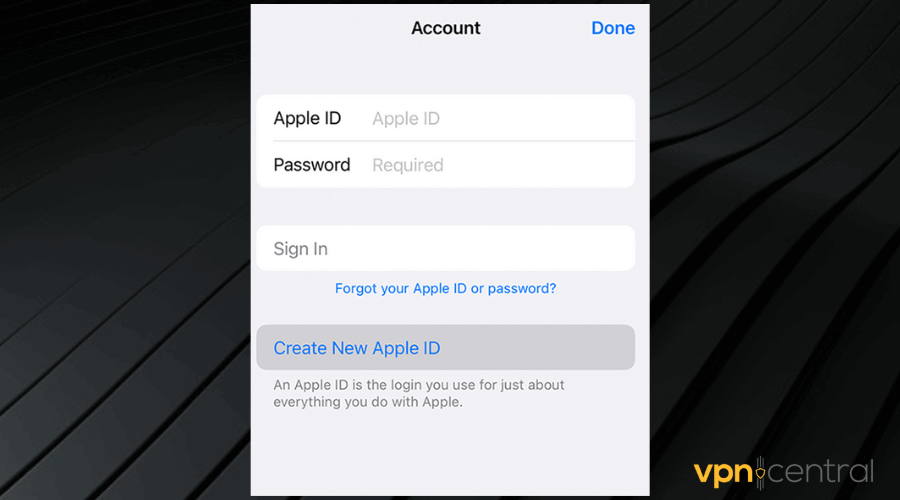
4. Once you’ve created your Apple account, buy an Apple gift card and redeem it on your account.
5. Now download the Peacock TV app using your US Apple account.
6. Open the Peacock TV app and sign in using the same information.
7. Then voila, you can subscribe to the Peacock TV app using your Apple account balance.

How to watch Peacock TV in Canada
The simple way you can watch Peacock TV in Canada is to use a VPN. It will change your location to the US so you can access the entire Peacock library no questions asked.
We recommend a VPN with good US server coverage.
For the sake of this tutorial, we are using PIA because it has the most US servers. Here’s how to use it to access Peacock TV in Canada.
1. Subscribe to PIA and download it on your device.

2. Connect to a US server in your preferred location.
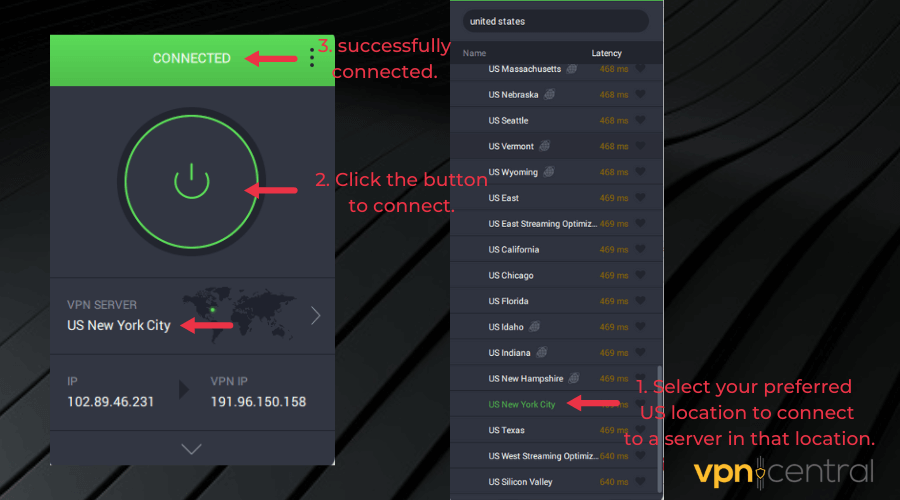
3. Once connected, simply login to your Peacock account, pick a subscription and start watching your favorite shows. If you don’t have a Peacock account, you will have to create one.

4. You can now watch Peacock TV in Canada.
Always make sure you connect to your VPN before you access Peacock. Otherwise, they may catch on your real IP information, which can lead to you being restricted from the app once again.

Private Internet Access
Connect to a US server to easily sign up for a Premium Peacock TV account and enjoy it while in Canada!Conclusion
Peacock is a well-rounded streaming service, and it’s too bad it’s locked in Canada.
You can however watch it and get a premium plan if you change your location and sign up for a valid payment option.
With the simple guide provided in this article, you can choose any of the options to pay and enjoy an easier time watching Peacock TV in Canada using a VPN.
Read our disclosure page to find out how can you help VPNCentral sustain the editorial team Read more



User forum
0 messages