How to Fix DNS Leak on Android [4 Easy Solutions]
Keeping your DNS requests private is of utmost importance.
If snoopers can read them like an open book, your online privacy and cybersecurity will be easier to compromise.

Access content across the globe at the highest speed rate.
70% of our readers choose Private Internet Access
70% of our readers choose ExpressVPN
Browse the web from multiple devices with industry-standard security protocols.

Faster dedicated servers for specific actions (currently at summer discounts)
Your ISP may sell your browsing activity data to advertisers without your consent, making you a target of annoying and intrusive ads. Plus, it may throttle your internet connection to dictate what you can and can’t do online.
Cybercriminals, on the other hand, may study your online activity to understand what makes you tick – then unleash phishing attacks to steal your sensitive information.
Thankfully, there are ways to keep your DNS queries hidden and protect yourself from malicious characters.
What is a DNS leak and how to detect it?
A DNS leak happens when your browsing activity is visible to your ISP despite using a VPN service to conceal it.
If you’re not aware that your DNS lookups are leaking to your ISP, it may lull you into a false sense of privacy.
That’s why it’s important that you know how to test a DNS leak to detect it and determine whether you’re still anonymous online.
Here’s how to do it:
- Turn off your VPN service.
- Go to an IP and DNS leak testing site like ipleak.net or dnsleak.com.
- Run the test and take note of the IP and DNS addresses on the screen.
- Reactivate your VPN.
- Run the test again.
- Check the results to see whether the information on the screen has changed.
If the data stays the same, then your DNS requests are leaking.
To ensure the accuracy of such tests, strongly consider using more than one checker.
This way, you can compare results and feel more confident that your privacy is intact.
What causes a DNS leak?
Although DNS leakage is more common with Windows, Android isn’t totally immune to this phenomenon.
Here are the usual suspects when DNS queries are leaking on Android devices:
- No private DNS – When you use a VPN to browse the internet incognito, it’s supposed to not use your ISP’s hardware to fetch what you need from web servers.
However, not all VPN companies have their own DNS servers and rely on third parties to handle lookup requests.
Not running private DNS on VPN servers can increase the chances of erroneously routing your traffic directly to your ISP.
- Improper network configuration – Frequently switching networks to connect to the internet can confuse the Dynamic Host Configuration Protocol (DHCP).
The DHCP may incorrectly pick your ISP’s DNS server to handle queries instead of any of the ones your VPN vendor likes to use.
As a result, the details of your online traffic may become visible to your ISP during a VPN session.
- No IPv6 support – The world is moving from IPv4 to IPv6 in order to create more addresses for the growing number of internet-connected devices.
The problem is that many VPNs are still not set up to handle this new standard.
If you use one of them, your DNS queries may circumvent the encrypted tunnel and become readable to your ISP.
- Transparent DNS proxy servers – These are separate servers an ISP uses to make sure that it handles lookup requests even when its users adopt third-party DNS servers.
If your ISP has such hardware, its transparent DNS proxy will kick in to intercept and divert your traffic when it detects that you’ve changed the DNS settings.
How to fix a DNS leak on Android
To snooper-proof your DNS requests on Android devices, follow the methods below:
1. Use a robust Android VPN
Not every mobile VPN service can properly hide your DNS queries from parties that may use them against you. That’s why we suggest picking a trustworthy one like ExpressVPN, which is also great for gaming.
Follow these steps to set it up and ensure that you’re using a safe DNS server:
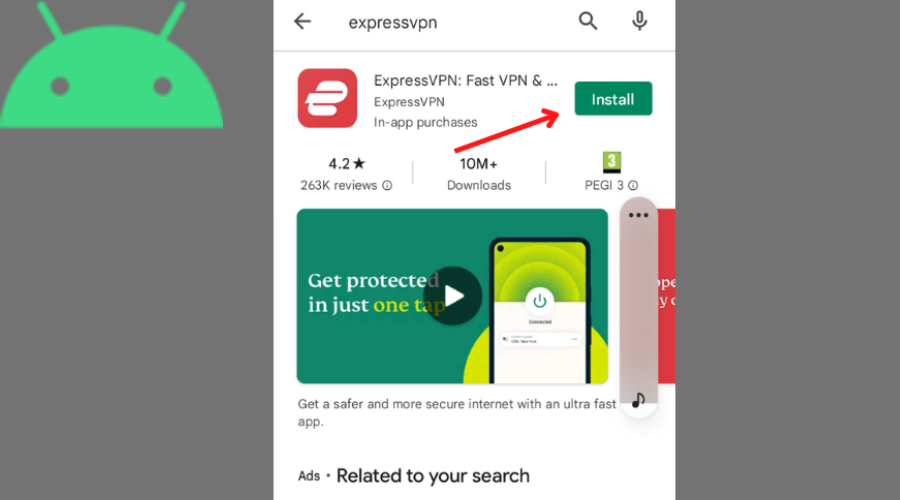
- Visit ExpressVPN’s website and choose a subscription.
- Download and install ExpressVPN for Android on Google Play.
- Run a DNS leak test.
- Take note of the IP and DNS addresses.

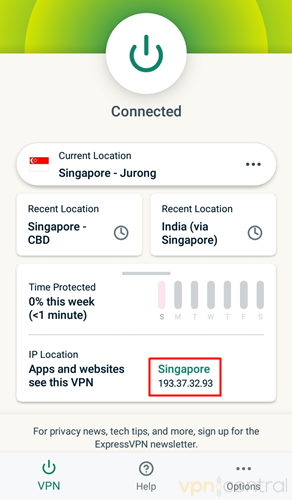
- Connect to your preferred ExpressVPN server location.
- See the new IP address.
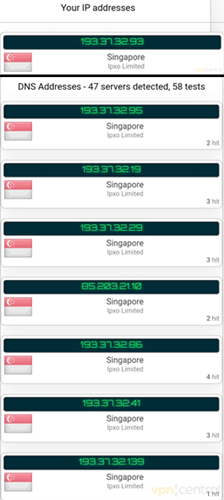
- Run a DNS leak test again.
- Check whether the results show information related to ExpressVPN’s hardware.
- Enjoy using the internet anonymously.
ExpressVPN inspires confidence because you don’t have to go deep into its arsenal to effectively prevent DNS leakage.
First of all, this VPN vendor’s native app and software development kit are designed for Android versions 5 to 12, which power most Android devices.
Moreover, ExpressVPN is one of the known services with private DNS. It runs its own encrypted DNS based on AES-256 on all of its servers.
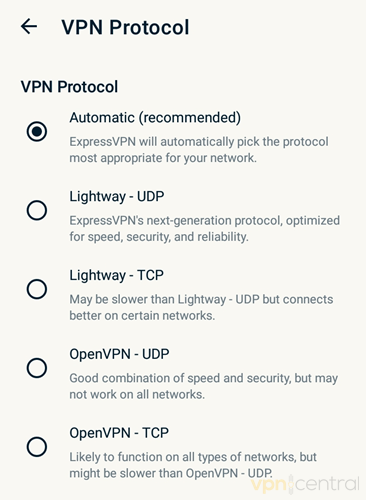
Whether you use OpenVPN or Lightway, its proprietary protocol, in either UDP or TCP mode, you can expect the strongest encryption.
This VPN service provider automatically encrypts and authenticates your connection with any of its servers, neutralizing DNS hijacking.
Additionally, ExpressVPN’s servers are RAM-only. This means all data stored on them gets wiped after every reboot.
What’s more, it takes its no-logging policy seriously to ensure plausible deniability in case its assets get seized or subpoenaed to prosecute any of its users.
This VPN company doesn’t collect its users’ original and masked IP addresses, nor does it record DNS requests, browsing histories, and traffic destination info.
In other words, nobody would be able to associate your online activity with you since there’d be no smoking gun that could reveal and prove your identity.
As of writing, this VPN provides IP addresses from 94 countries and territories across the Americas, Europe, Asia Pacific, and the Middle East.
Some of them are virtual locations, which means the IP is registered in a location different from where the hardware is housed. This strategy helps ensure faster, consistent connections.
Speaking of speed, ExpressVPN hasn’t completed its infrastructure upgrade. But superfast 10Gbps servers already handle 70% of its global bandwidth.
ExpressVPN’s other features include Network Protection. It has a kill switch to prevent your Android device from going online without being connected to a VPN server.
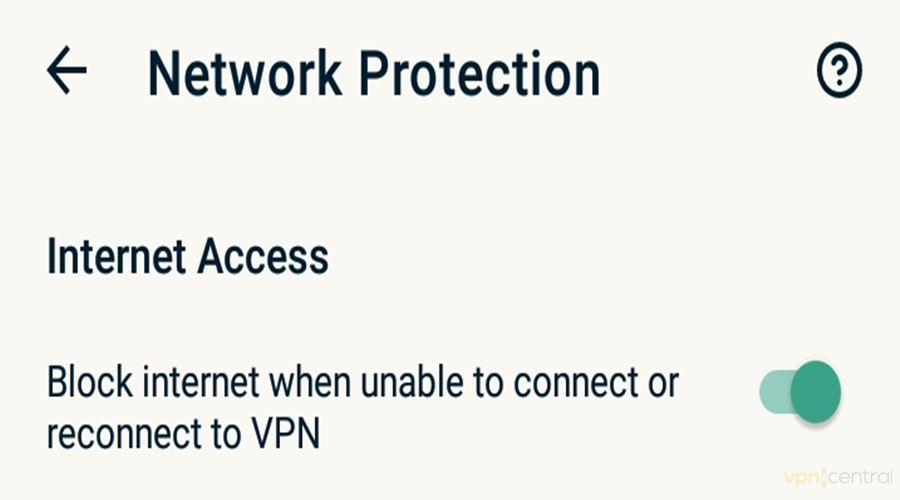
This feature constantly monitors your connection’s integrity. So when it drops, ExpressVPN immediately stops network traffic from leaving or entering your device as a precaution.
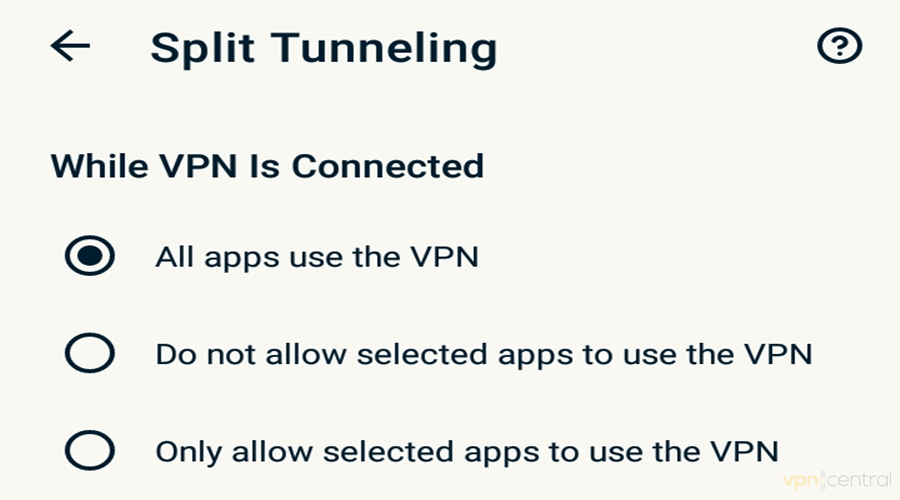
If you prefer to hide only some of your traffic, you’ll love its split tunneling capability. It lets you blacklist certain apps to avoid experiencing a slower connection when using them.
When enabled, ExpressVPN’s auto-connect obscures and routes your traffic to the chosen location immediately during Android startup.
Last but not least, you get a bunch of privacy and security tools.
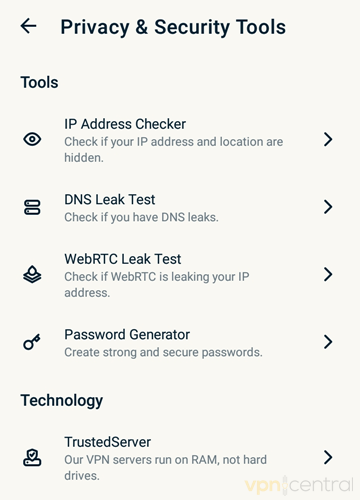
With a few clicks, you can check your IP address and run a DNS leak test in-app. This way, you can conveniently verify if your cover is blown whenever decide.

ExpressVPN
Boost your online security and prevent DNS leaks with this VPN’s robust and reliable service.2. Change your WiFi network’s DNS setting
If you take this route, you’ll have to configure your DNS settings for every wireless network you wish to connect to.
Thankfully, it’s as easy as this:
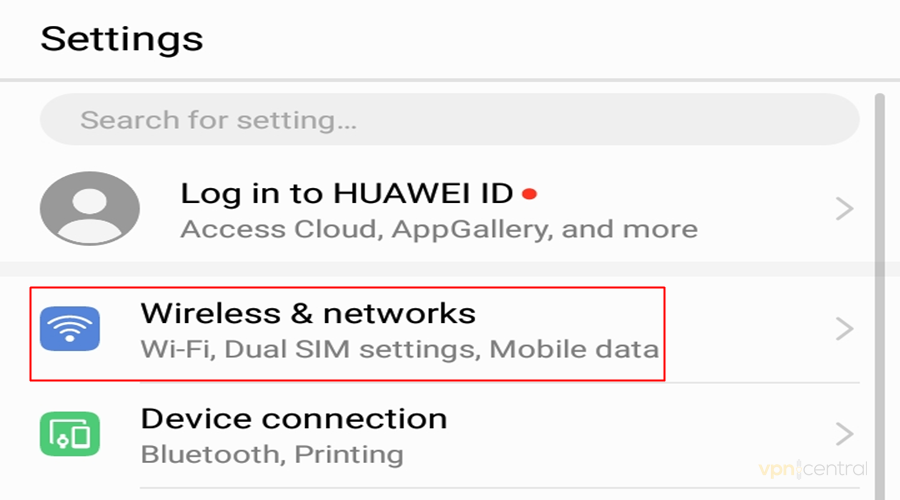
- Go to Settings.

- Choose Wireless & networks.
- Long-press your chosen network until the drop-down menu appears.
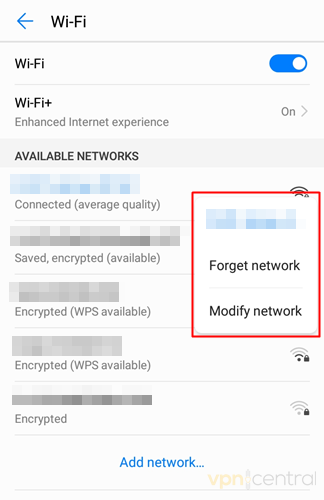
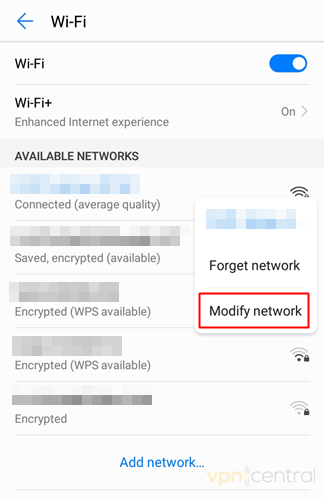
- Choose Modify network.
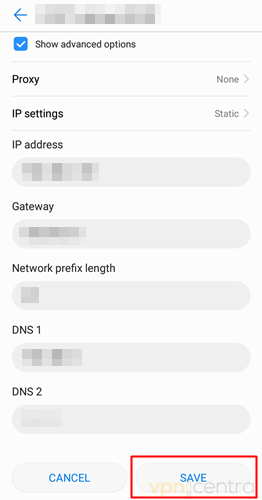
- Check the Show advanced options box.
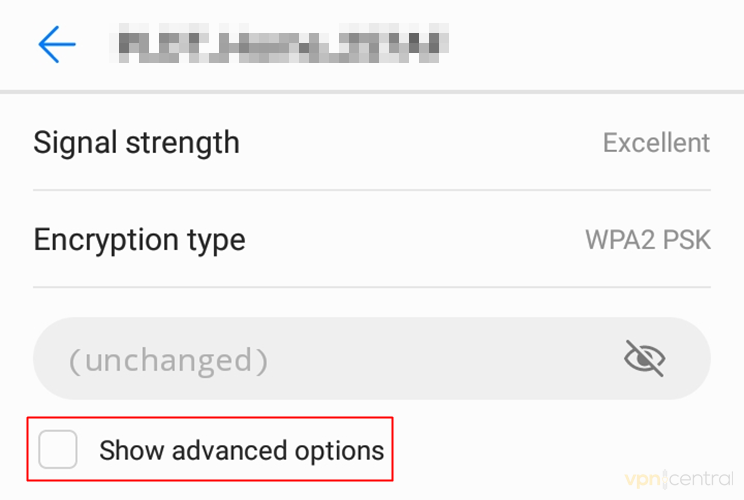
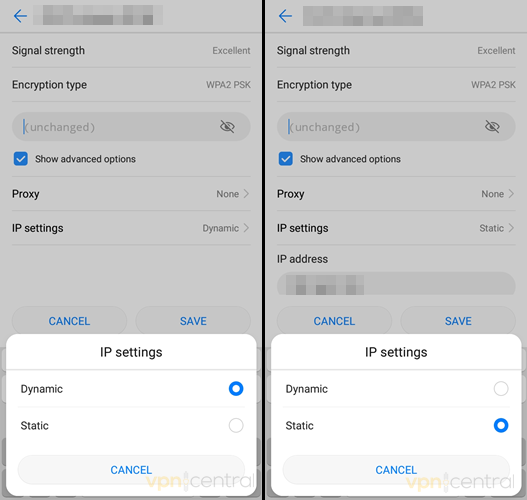
- Choose IP settings.
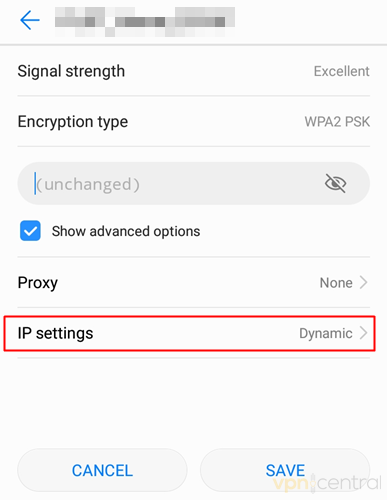
- Go from Dynamic to Static.
- Jot down the original DNS settings to restore them in case something goes wrong with the new configuration.
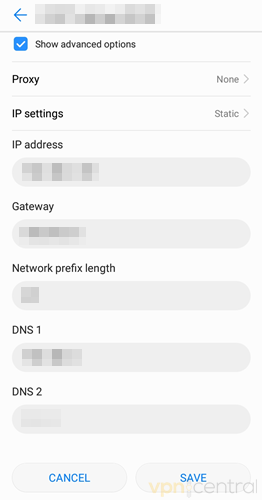
- Manually enter the new DNS server addresses in the designated fields. Use a trusted third party like ExpressVPN or OpenDNS.
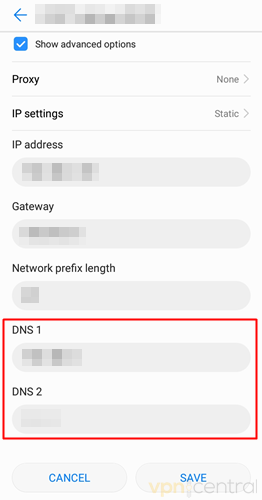
- Click Save.
The beauty of this method is it involves the use of a static IP, preventing the DHCP from selecting random IPs whenever you connect to the internet.
With a static IP, the DNS requests get routed to it with certainty. Thus, reducing the chances of traffic data leakage.
3. Download a DNS changer app
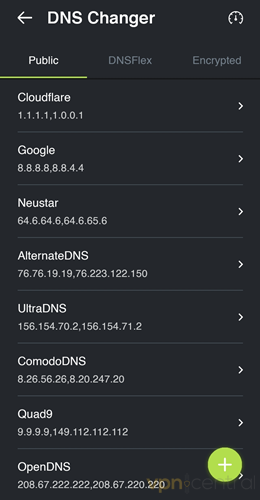
With this method, you can choose from and switch between various public DNS servers in-app.
To show you how to get started, we’ll use Secure DNS by DNSFlex as an example:
- Search “DNS changer” on Google Play.
- Install your pick.
- Launch the app.
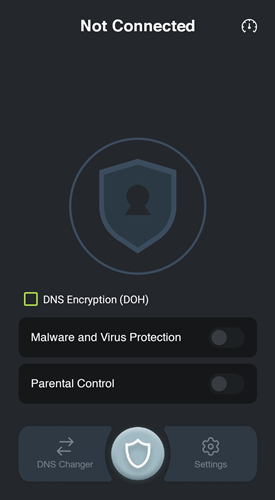
- Browse through the selection of DNS servers.
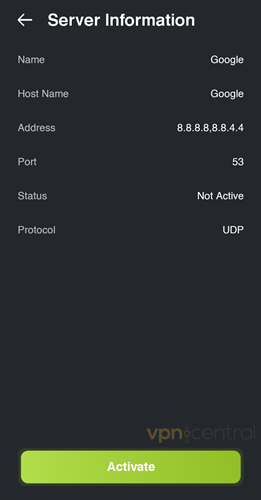
- Activate your preferred DNS server.
Of course, exercise due diligence when choosing which DNS changer app to use. Pay attention to download counts, read reviews, and check the date of the last update.
Naturally, DNS changer apps that don’t require rooting are easier to set up.
But if you must root your Android device to install the app you like, expect a more complicated procedure.
If you don’t know, rooting is about getting deep access to your device’s operating system code so that you can modify it as you see fit.
Rooting your Android device isn’t straightforward because its manufacturer doesn’t want you to tinker with the software.
If you don’t know what you’re doing, you may inadvertently damage your device or create vulnerabilities cybercriminals could exploit to steal your data.
More often than not, the risk of swimming upstream and unnecessarily rooting Android isn’t worth it.
4. Flush your device’s DNS cache
The DNS cache is like an address book that keeps a record of the sites you regularly visit. Clearing it can help keep online privacy invaders and hackers at bay.
Here’s how to do it on Android through a popular browser like Chrome:
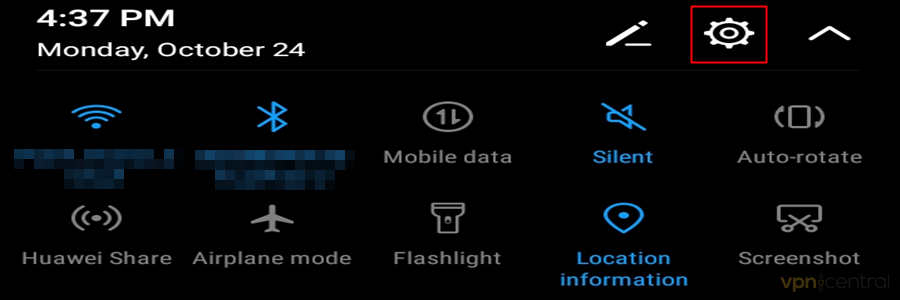
- Go to Settings.
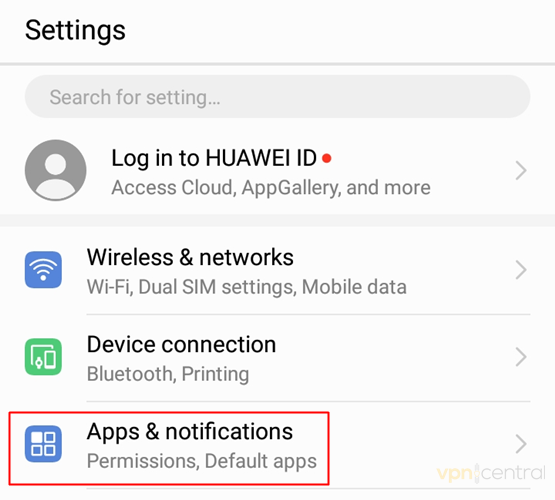
- Choose Apps & notifications.
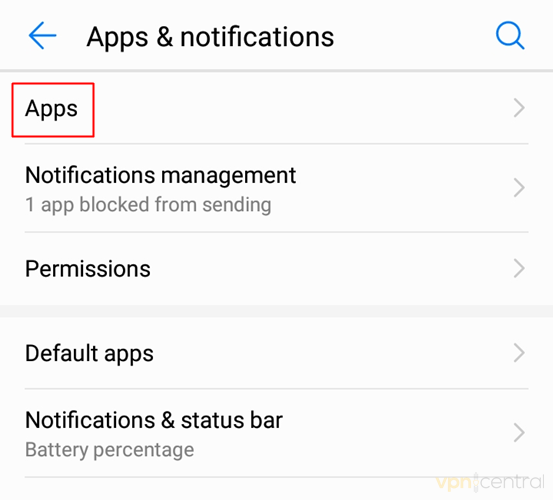
- Click Apps.
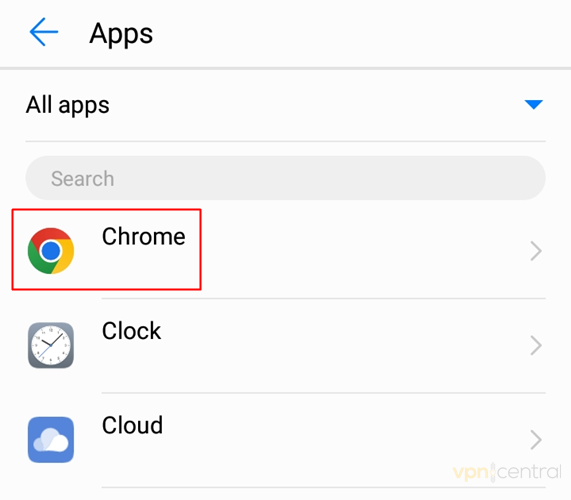
- Select Chrome.
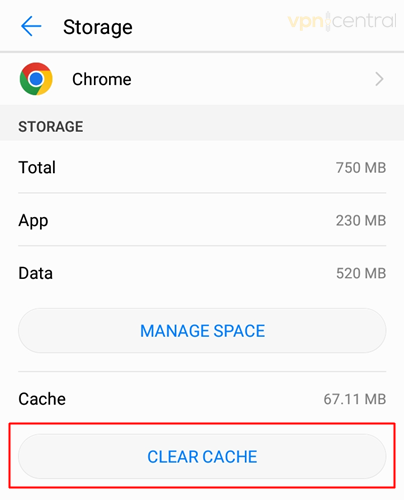
- Choose Storage.
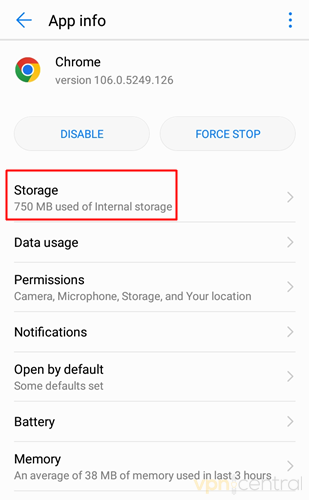
- Hit Clear Cache.
DNS records don’t accumulate forever because they eventually get automatically deleted.
Problem is, your Android’s DNS cache might not empty itself before bad actors could access and manipulate its contents to launch phishing attacks.
How to fix DNS leak on Android – Conclusion
So there you have it – all the effective avenues to hide your DNS requests from all parties bent on spying on your online activity.
Knowing how to fix a DNS leak on Android is just the beginning. But with prudence and vigilance, you can meaningfully preserve your security and surf the Web with privacy. If you also use an Apple device, check out this step-by-step guide on how to change DNS on Mac to make sure your browsing stays private across all platforms.
Read our disclosure page to find out how can you help VPNCentral sustain the editorial team Read more

Improve this guide

User forum
0 messages