TunnelBear is Not Able to Install: Fix It in 3 Simple Steps
TunnelBearVPN is one of the most popular VPN solutions, with both free and premium plans.
In general, the installing and configuring procedure is rather simple and shouldn’t take too much of his/her precious time.

Access content across the globe at the highest speed rate.
70% of our readers choose Private Internet Access
70% of our readers choose ExpressVPN
Browse the web from multiple devices with industry-standard security protocols.

Faster dedicated servers for specific actions (currently at summer discounts)
However, there seems to be an issue with TunnelBear’s client installation on the Windows platform.
Namely, users are unable to install the TunnelBearVPN for no apparent reason and they can’t bear with that (no pun intended).
How do I install TunnelBear?
We are going to show you how to install TunnelBear on a Windows PC.
- Download TunnelBear from the official website.
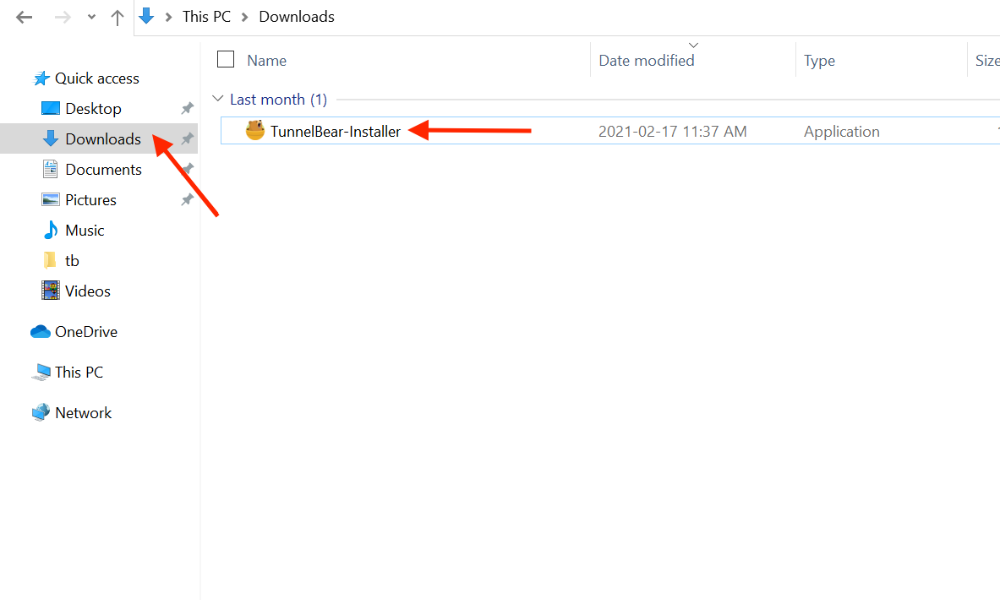
- Open the file location in Downloads and run the installer.
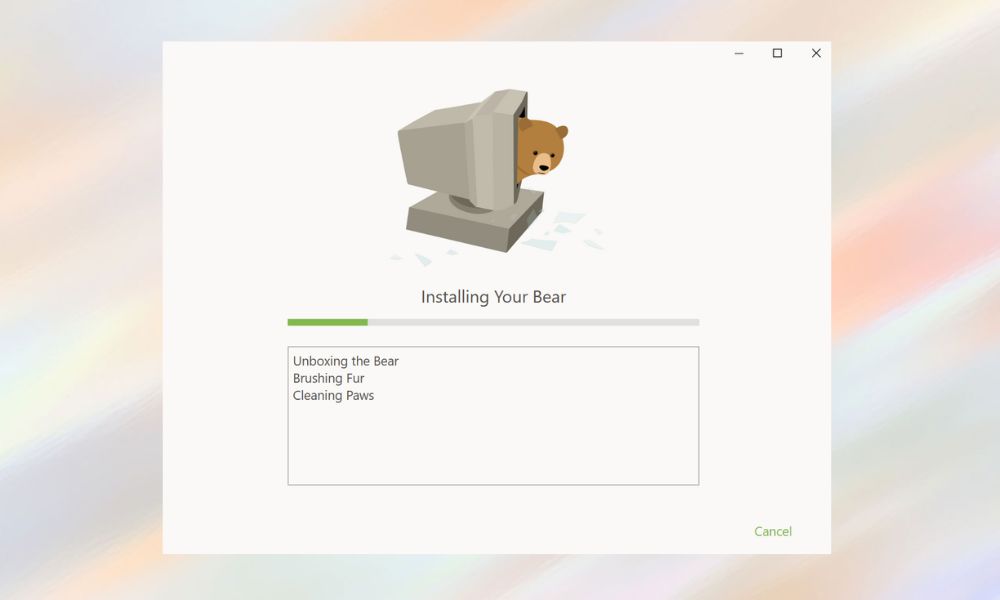
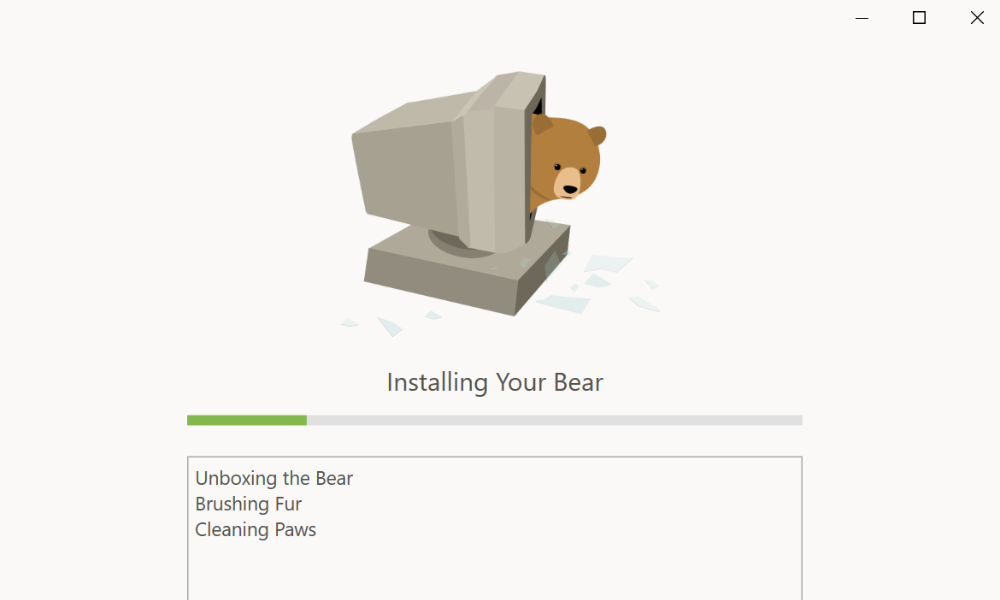
- When asked “Where do you want your bear?” click on Install and wait for it to finish.
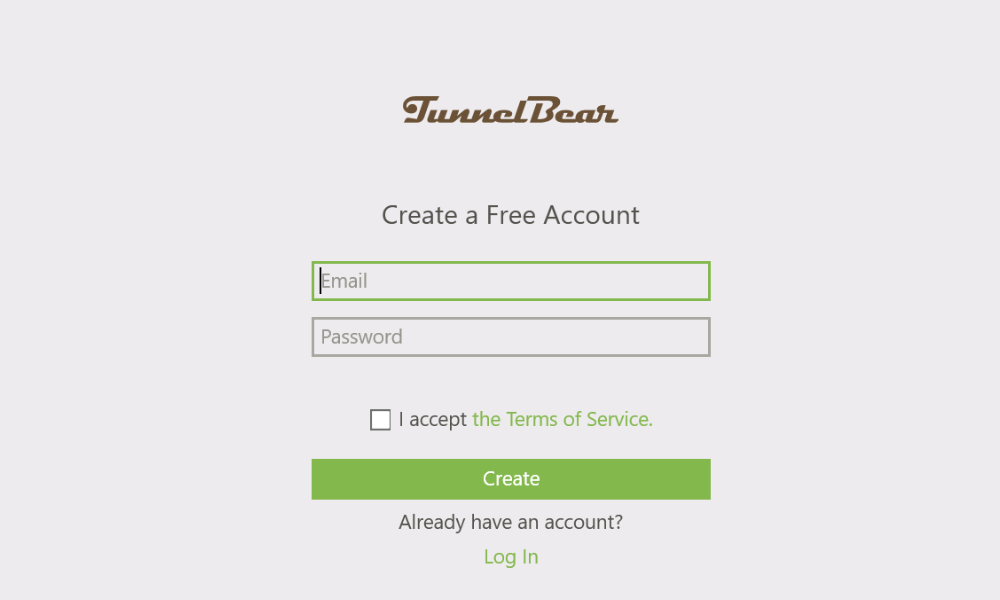
- Create an account or sign in to an existing one.
- After singing in, you will be prompted to take the bear for a walk. Skip it, or go through it.
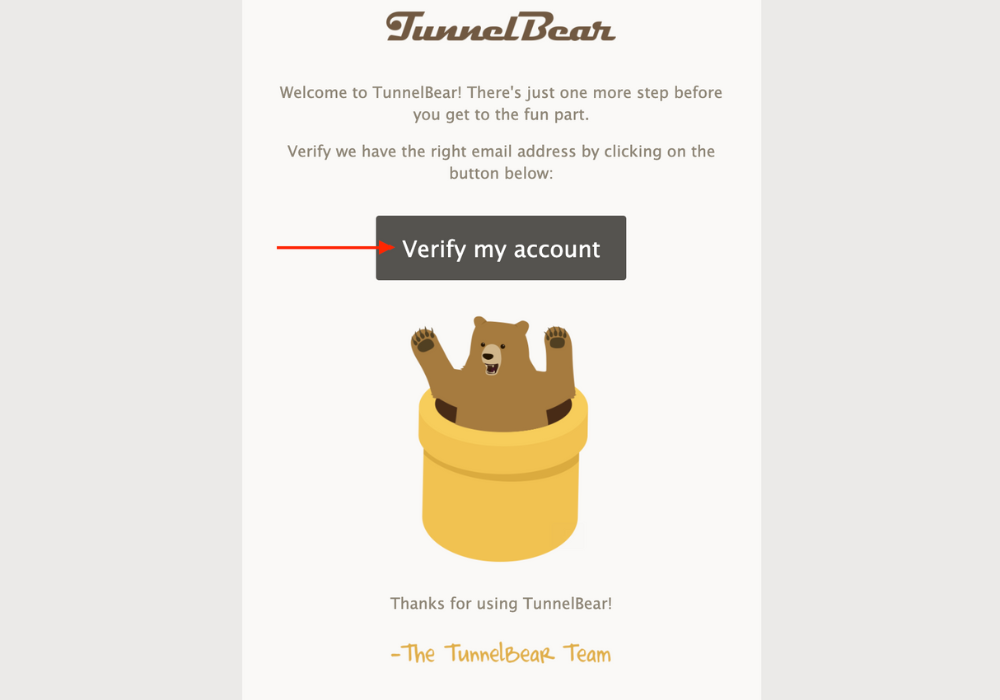
- This is a very important step. If you signed up for a new account make sure you validate your email address before you connect to TunnelBear.
- Restart your PC.
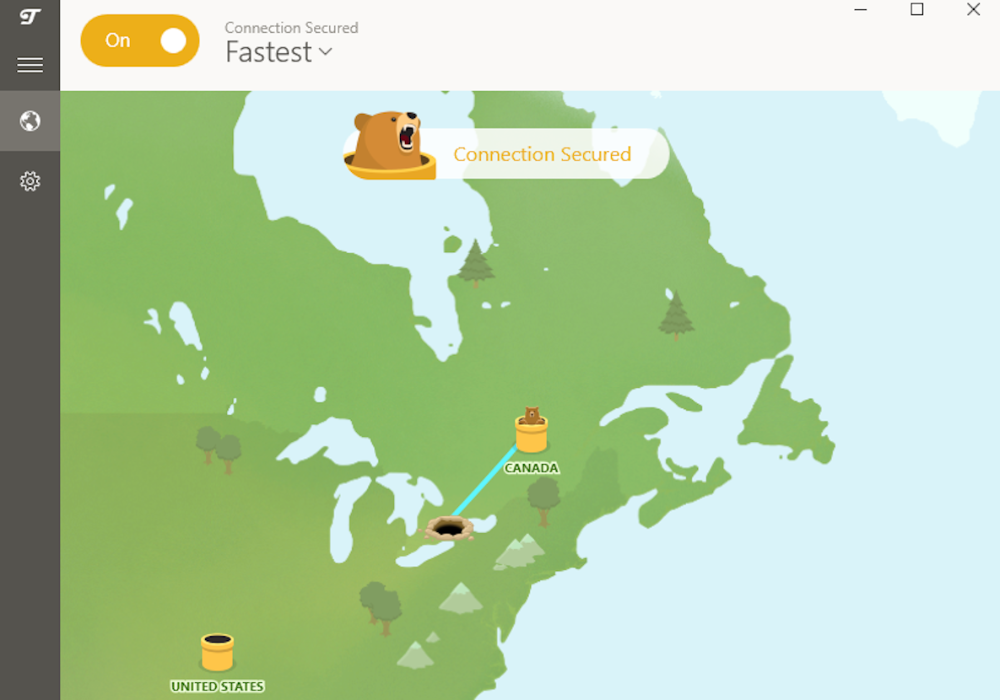
- Open TunnelBear VPN and choose your type of server connection.
To address this, we provided 4 viable solutions for the issue at hand. If you’re stuck on the installation screen, make sure to check them out below.
Quick Tip:
Instead of browsing the Internet from 23 countries (as TunnelBear users can), ExpressVPN has 160 server locations to choose from in 77+ countries. For higher demands, ExpressVPN is better.
Moreover, you can protect up to 10 devices, use the kill switch for enhanced protection, and take advantage of the encryption ExpressVPN has to offer, but TunnelBear lacks. Test it, compare it and get back to us!
ExpressVPN
With a dedicated network-lock kill switch and advanced leak protection, ExpressVPN is our choice for PC users.What can I do if TunnelBearVPN won’t install on my PC?
1. Reboot your system

Firstly, there’s always that slightest chance that the background application is taking its turn with Microsoft Installer.
Since this service can operate with only one installing program at a time, we have ourselves an obvious reason why the TunnelBearVPN desktop client won’t install.
You should wait for some time and try again. If the problem is consistent, make sure to restart your PC and give it another try.
Also, make sure that you’ve acquired the latest and supported version for your Windows iteration.
2. Run the installer as an administrator
System security services, especially UAC (User Account Control) tend to block the installation of untrusted third-party applications in order to prevent them from making changes to your system.
Now, as you’ve probably figured it out on your own, this feature has a mind of its own and often blocks trusted programs, which TunnelBearVPN certainly is.
In order to avoid this, you can either lower the UAC’s security bar or, better, run the installer with administrative permission.
Also, you should, for the remainder of the installation process, disable the third-party antivirus and move from there.
Here’s how to lower the UAC bar:
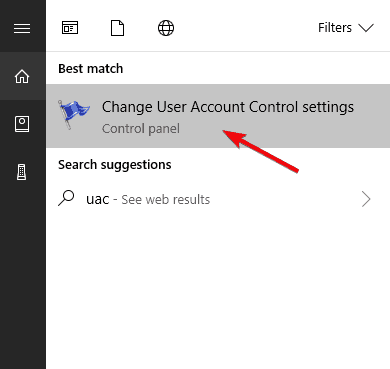
- In the Windows Search bar, type UAC and open Change user account control settings.
- Lower the slider to the bottom Never notify me option.
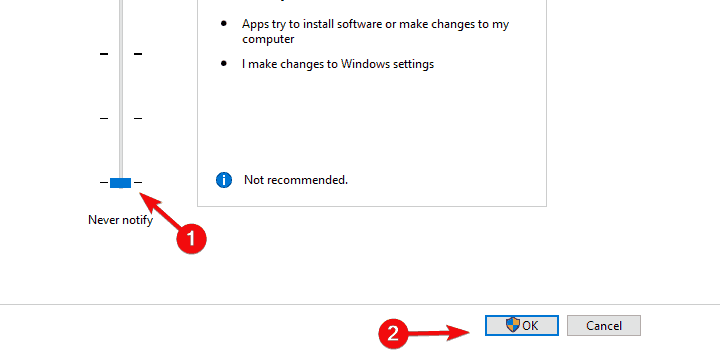
- Confirm changes and restart your PC.
- Try installing TunnelBearVPN again.
And here’s how to run the TunnelBearVPN installer with the administrative permission:
- Download the latest version of TunnelBearVPN for Windows, here.
- Navigate to Downloads, right-click on the installer, and open Properties.
- Select the Compatibility tab.
- Check the Run this program in compatibility mode for box and select earlier Windows iteration.
- Check the Run this program as an administrator box.
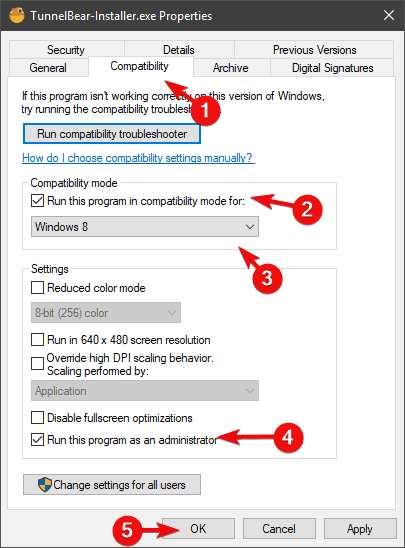
- Confirm changes and double-click the installer to run it.
3. Install TunnelBearVPN in Safe Mode
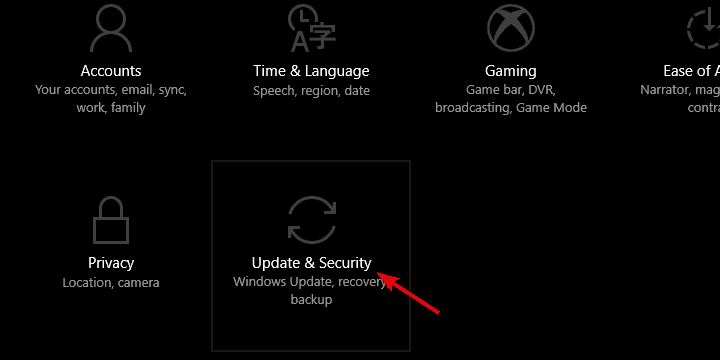
- Press Windows key + I to open Settings.
- Open Update & Security.
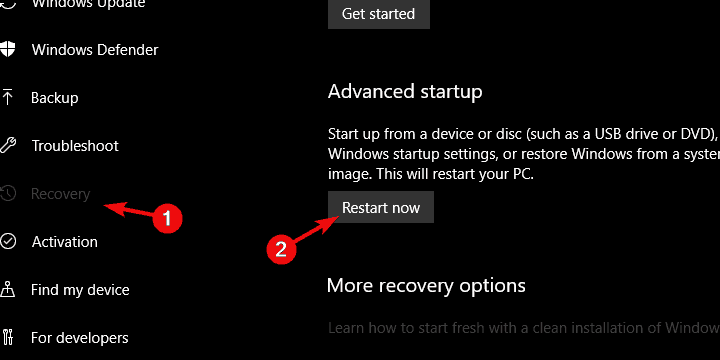
- Select Recovery from the left pane.
- Under the ”Advanced startup” section, click Restart now.
- When the Advanced Startup menu appears, choose Troubleshoot.
- Open Advanced Options.
- Select Startup settings and then Restart.
- When the Startup settings menu appears, choose Safe Mode by pressing F4 or Safe Mode with Networking by pressing F5.
- Run the TunnelBearVPN installer.
If you’re still bothered by the same issue and the TunnelBearVPN just refuses to install, there’s still one final way to do it.
However, this can be done by accessing the system’s Safe Mode, which can be an issue on Windows 10 because of the Fast Boot feature.
Nonetheless, once you’re there (and we’ll show you how to get there), the installation should be a piece of cake.
That should do it. In case you have any questions or suggestions regarding the installation of TunnelBearVPN on your system, make sure to tell us in the comments section below.
Read our disclosure page to find out how can you help VPNCentral sustain the editorial team Read more

Improve this guide


User forum
0 messages