Pi-hole VPN Setup Guide [Step-by-Step]
It’s possible to put a VPN on top of the Pi-hole and use the whole ensemble as a whole. However, the guides you may find when querying various sites regarding this issue may put you off from even considering it.
Luckily, you have us. We’re going to tell you everything about the process.

Access content across the globe at the highest speed rate.
70% of our readers choose Private Internet Access
70% of our readers choose ExpressVPN
Browse the web from multiple devices with industry-standard security protocols.

Faster dedicated servers for specific actions (currently at summer discounts)
It’s best if you come with just a smidge of previous rPi experience. So that you won’t get stuck in the nomenclature (see, that’s the first example of what’s going to happen).
Can I use a Pi-hole with a VPN?
Yes, you can. Pi-hole supports VPN and you can install your client directly on the Raspberry Pi device. Alternatively, you can install the VPN on your router and connect Pi-hole to it.
Using a VPN will encrypt all traffic data, adding an extra layer of security to your connection. It helps prevent data leaks and also fights online censorship.
How to use a VPN with Pi-hole?
1. Install PiVPN
PiVPN is the easiest way to deploy a VPN on your Raspberry Pi device. You just have to fire up a terminal and run the following command:
curl -L https://install.pivpn.io | bash
Alternatively, if you access your Raspberry Pi remotely through SSH, you can use the SSH console and type the very same command we used above.
After you run this command, you’ll be greeted by a text-based GUI where additional instructions will be provided to you.
For instance, you have to confirm that turning your rPi into an OpenVPN server is what you want to do.
The instructions are pretty much straightforward if you have a bit of previous experience with rPi and OpenVPN. If not, don’t worry, we’ve got you covered.
Note: selecting a network interface can be done with the Spacebar button. If you hit the Enter key on your keyboard, the default selection will be loaded and you’ll be taken to the next screen.
2. Install a third-party VPN on your router
If you plan on using a commercial-grade VPN such as ExpressVPN it would be best to install it on your router. That way, your entire network traffic will be routed through ExpressVPN and remain private.
However, you should know that not many routers accept external VPN services.
In this case, you may either have to purchase a more expensive router that accepts outgoing VPN traffic natively or try to install custom firmware on your routers, such as Tomato, Open WRT, or DD-WRT.
Note that each router model/brand has its own configuration, so there’s no universal way to deploy VPNs that works on any router. Check out our complete guide on setting up VPN on Netgear routers and try to adapt our recommendations to your gear.
3. Turn Pi-hole into a VPN gateway
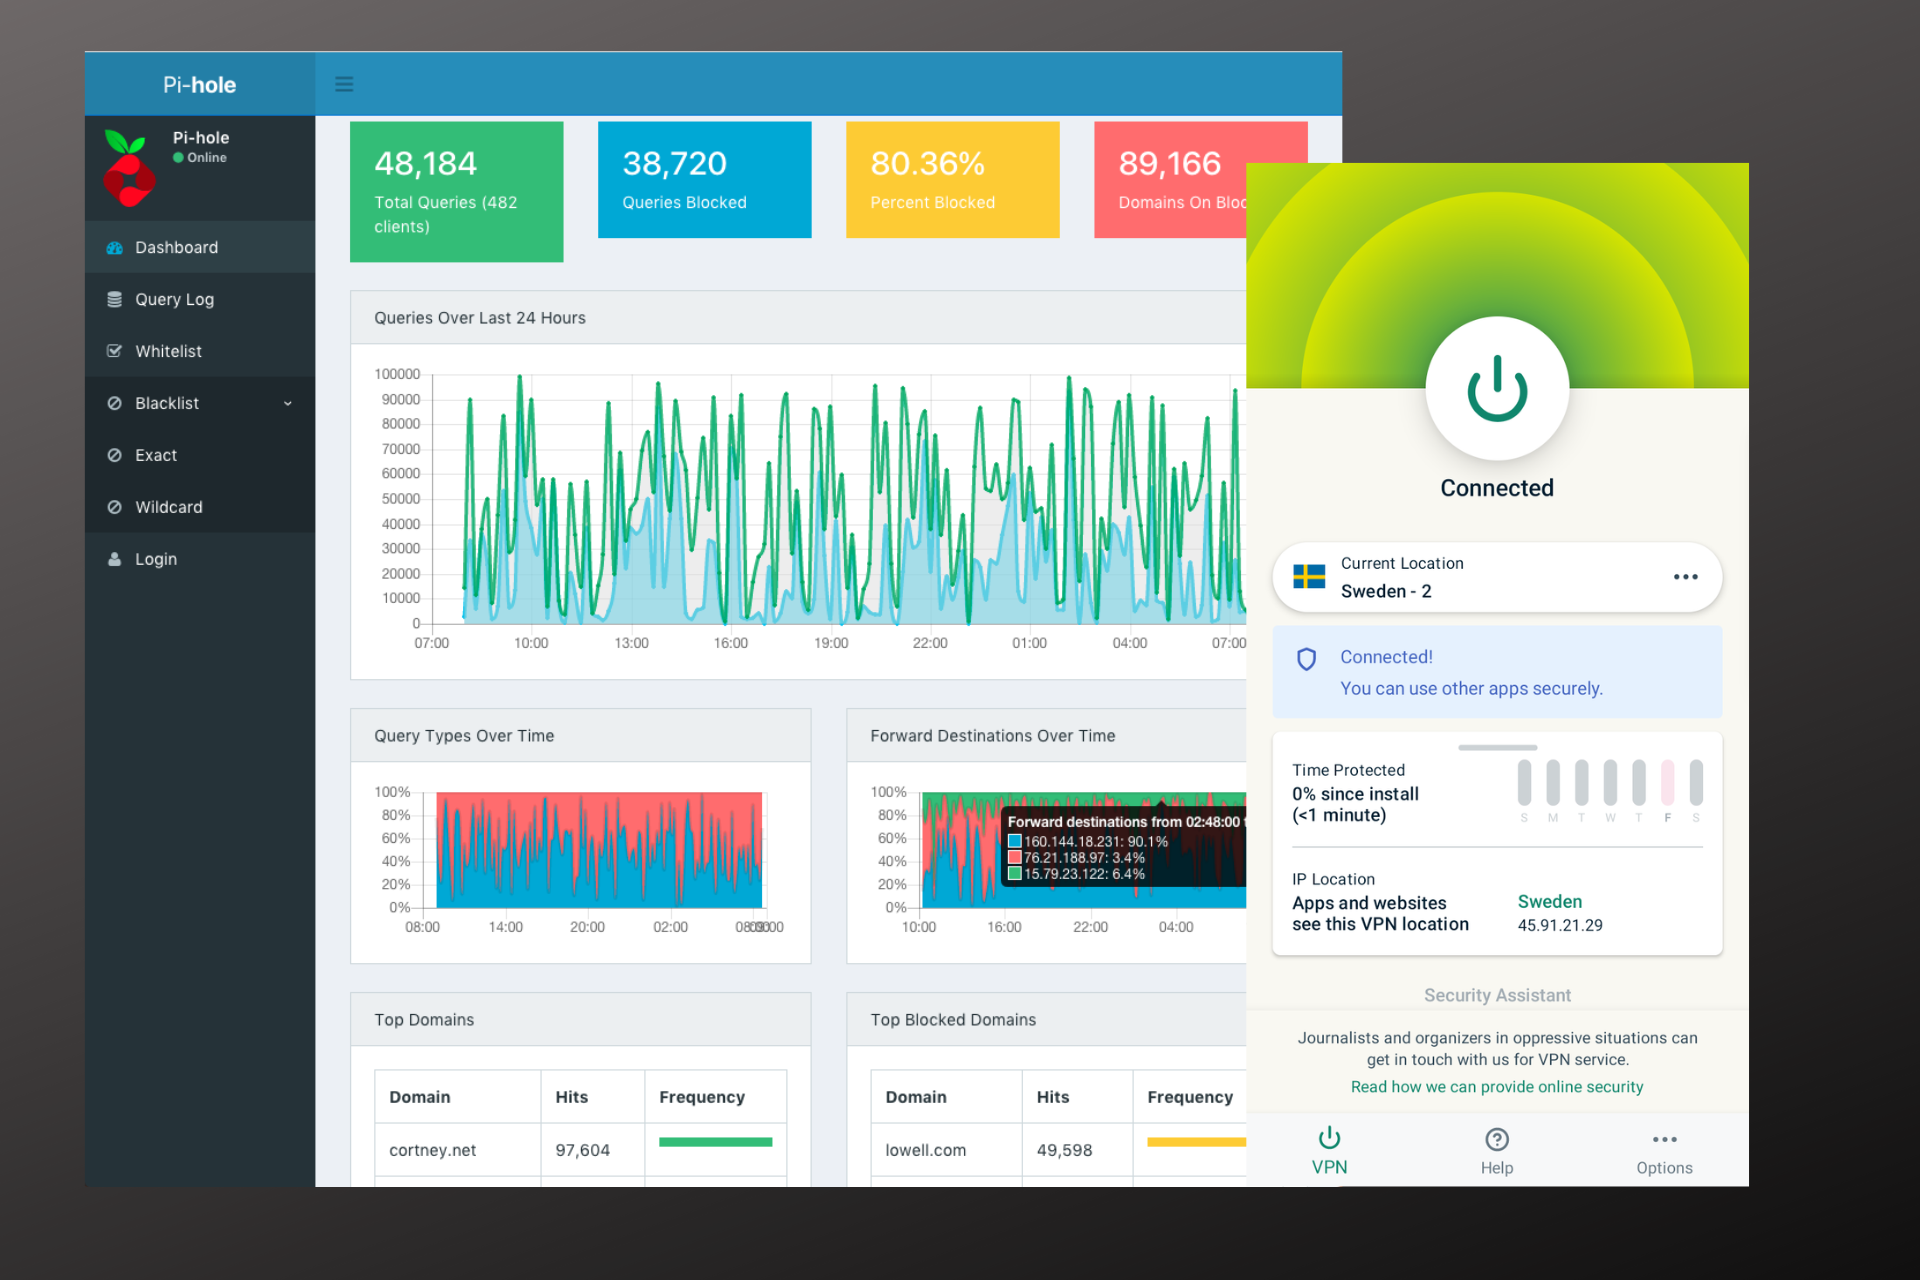
If you don’t have the option to install ExpressVPN on your home router, you’ll have to turn your Pi-hole into a VPN gateway. This way, all traffic on your network will pass through your Pi-hole device and the VPN.
However, note that this method has some shortcomings, including bandwidth throttling or even packet loss, as it depends entirely on the performance of your Pi-hole host device.
4. Disable your VPN’s DNS leak protection
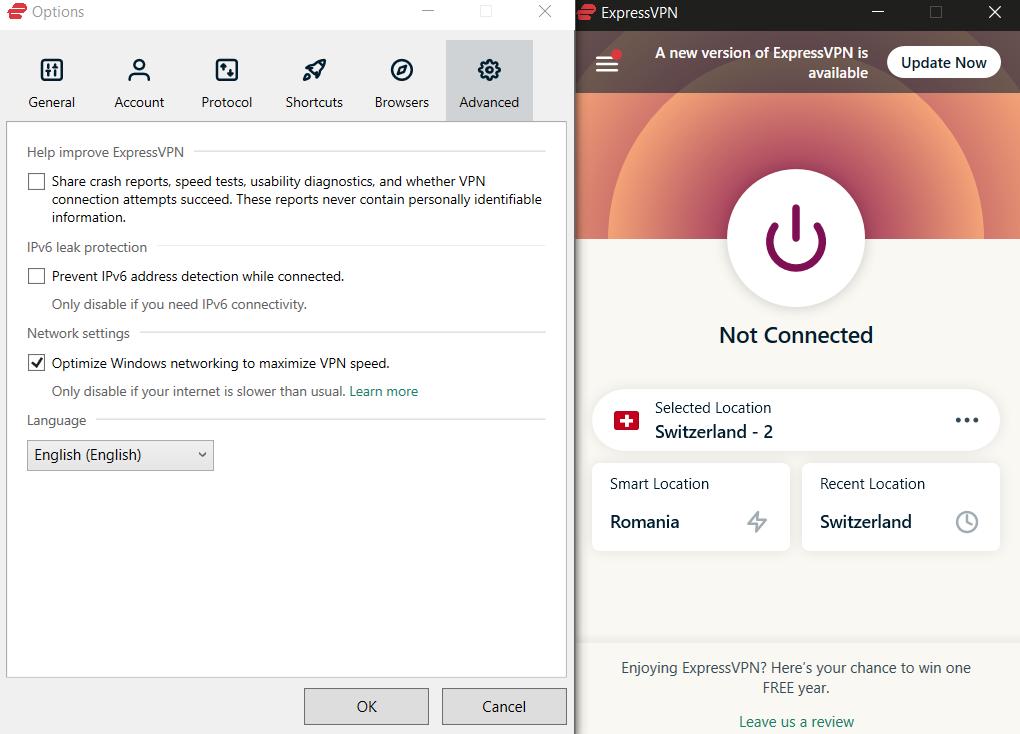
If none of these steps looks appealing to you, there’s one more thing you can do.
If you plan on using a VPN on your computer and want to also benefit from Pi-hole’s DNS sinkhole capabilities, you’ll have to disable the DNS leak protection feature on your VPN.
While your VPN’s DNS leak protection is active, your device can’t use other DNS addresses other than the ones your VPN provides you with.
This means that Pi-hole can no longer block sites/domains effectively, which would expose you to tracking and advertisements once more.
We don’t necessarily recommend you use this method, since it would make your DNS requests visible.
It’s not the best in terms of privacy, but it will work if you plan to use a VPN for geo-unblocking, and not so much to hide your traffic.
Final thoughts on using VPN with Pi-hole
Whether you want to configure a VPN server on your Pi-hole host and connect to it remotely or use Pi-hole side-to-side with your favorite consumer VPN, there are ways to do it.
However, you shouldn’t rush into it if you don’t fully understand the implications of your actions. Some of the methods we’ve explained in this article can have quite an impact on your privacy if implemented haphazardly.
Read our disclosure page to find out how can you help VPNCentral sustain the editorial team Read more

Improve this guide


User forum
4 messages