Your VPN IP Address Doesn’t Change? Find Three Quick Fixes!
Get a fresh IP address whenever you reconnect your VPN.

So, your VPN IP address doesn’t change regardless of what you do? Worry not! This problem is easy to fix.
I understand how frustrating this is, especially when accessing geo-restricted content. Without the IPs switching, you’ll be stuck endlessly trying to find the problem.

Access content across the globe at the highest speed rate.
70% of our readers choose Private Internet Access
70% of our readers choose ExpressVPN
Browse the web from multiple devices with industry-standard security protocols.

Faster dedicated servers for specific actions (currently at summer discounts)
Lucky for you, we’ll begin by exploring the potential causes. Then, we shall dive deep into the solutions.
Ready? Let’s begin.
Why doesn’t my VPN IP address change?
Your VPN’s IP address may not change due to various reasons. Most commonly, some VPNs have limited IPs, causing them to assign the same addresses repeatedly.
A malfunctioning VPN app can also fail to prompt a switch in IPs. If not, sometimes vendors intentionally issue static addresses to maintain service consistency.
Another cause some users may overlook is using a proxy over a VPN. While not widely used, it forces your device to use your proxy’s IP over the VPN’s.
VPN IP address doesn’t change – Solutions
There are multiple workarounds to restore your VPN’s IP switching capabilities. I’ll explain them one-by-one below:
1. Clear the VPN cache
Clearing the cache removes stored connection data, forcing the app to reconnect afresh. This can prompt the VPN to assign a new IP address from its pool.
Here’s how:
- Disconnect the VPN if it’s running.
- Open Settings on your device.
- Go to the Apps Management option.

- Select your VPN from the list of apps.
- Choose Storage Usage.
- Scroll down and select Clear Data and Cache.
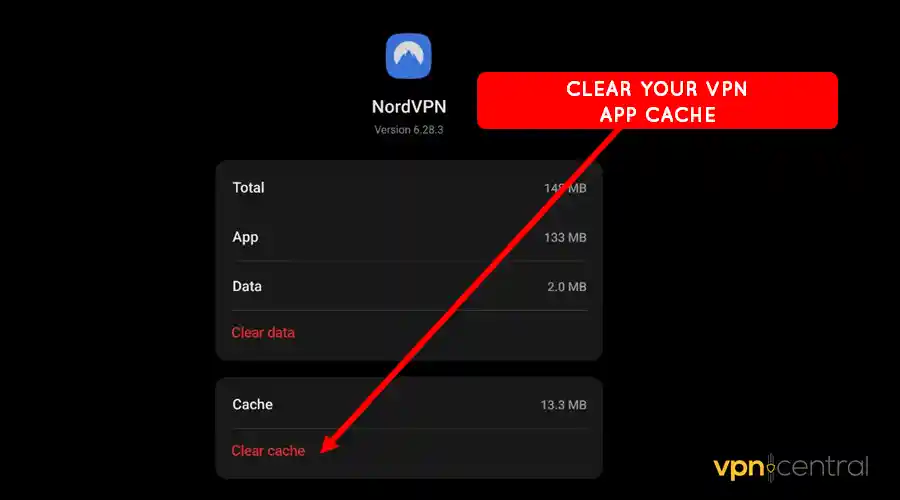
- Relaunch the app to reconnect.
Unfortunately, unlike smartphones, computers don’t have this option. However, uninstalling and reinstalling the VPN works equally similarly.
2. Disable your device proxy
Deactivating your device proxy ensures the VPN handles all traffic directly. This can resolve conflicts that may prevent proper IP assignment or rotation.
Follow these steps:
- Turn off your VPN if it’s active.
- Open Settings on your device.
- Type “Proxy Settings” on the Search Bar.
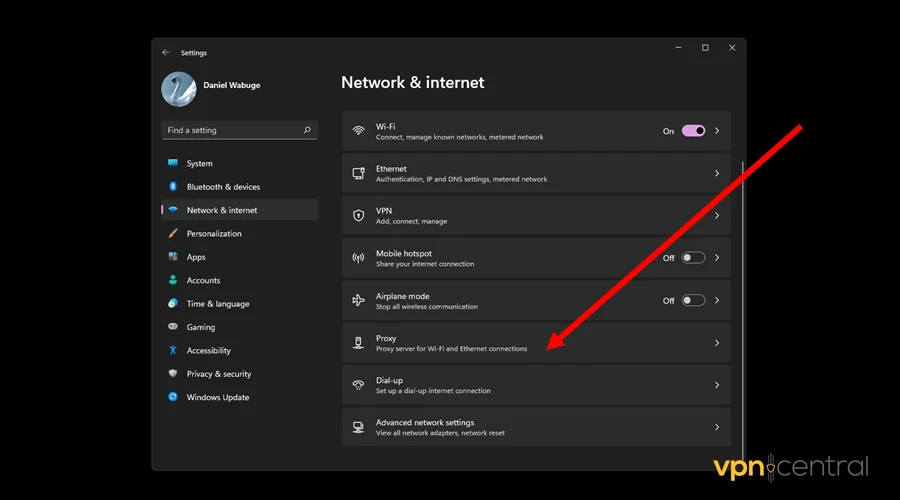
- Click Enter or the Search Icon to generate results.
- Select Manual Proxy Set up.
- Disable the Proxy Server.
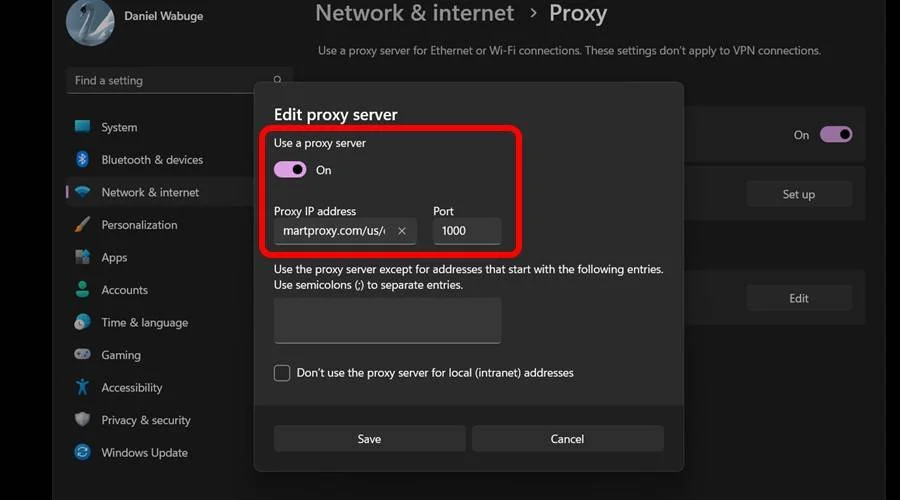
- Reboot your device for the changes to take effect.
- Launch your VPN and reconnect.
The above steps slightly differ across different devices and platforms. You may need to refer to your manufacturer’s manual for better directions.
3. Switch your VPN provider
Some VPNs have limited IPs, leading to frequent reuse of addresses. However, switching to a vendor with a larger pool increases your chances of getting fresh IPs.
That’s why I recommend:
- ExpressVPN: It controls 3,000 servers across 110 countries. This gives you virtually unlimited IP addresses to switch at your convenience.
- NordVPN: This vendor has about 7,000+ servers in about 100 countries. It also offers a web antivirus to shield you from malware, viruses, and spam.
- Private Internet Access (PIA): The vendor boasts a massive 65,000 server network across 100 countries. Moreover, it regularly refreshes IPs to enable users to bypass IP blocks online.
There you go!
Wrapping up
There’s no need to panic if your VPN IP doesn’t change. By using the suggested workarounds, you can resolve this issue quickly.
Consider starting with the basics, like clearing your VPN’s cache. Another thing to do is deactivate your proxy server if you’re using one.
Above all, consider getting a better VPN with a massive IP pool. It’s the only guaranteed way to get a fresh address whenever you reconnect.
Read our disclosure page to find out how can you help VPNCentral sustain the editorial team Read more

Improve this guide


User forum
0 messages