Google One VPN not Connecting? Fix it Easily!
Quite a few people report that Google One VPN is not connecting on their devices.
Instead, it displays error messages, most commonly VPN has disconnected or Trying to reconnect VPN.

Access content across the globe at the highest speed rate.
70% of our readers choose Private Internet Access
70% of our readers choose ExpressVPN
Browse the web from multiple devices with industry-standard security protocols.

Faster dedicated servers for specific actions (currently at summer discounts)
This leaves the device unprotected which can get really frustrating. But you can fix it and we’ll show you how.
However, first things first: let’s figure out why Google One VPN may not connect.
Why is Google One VPN not connecting?
Most of the time, Google One keeps disconnecting because of underlying problems in your configuration.
These can include network problems, conflicting apps, and more:
- Exceeded limit of simultaneous connections
- Poor or unstable internet connection
- App cache causing conflicts
- Regional restrictions
- Operating system bugs or glitches
Now we know what’s causing the problem, so let’s go ahead and see how we can fix it.
How to fix Google One VPN’s connection issues?
There are several things you can try, depending on your particular case, so make sure to check out all the suggestions below.
- Delete the Google One app cache
An app cache operates similarly to a web cache, storing small portions of data, such as code and files, in the app’s memory.
This enables faster retrieval of the data when it is needed again in the future.
However, the stored data can interfere with your VPN’s location masking.
So, if you are experiencing errors or your Google One VPN starts to misbehave, try clearing your app cache.
You can easily do that on any of the supported operating systems.
→ Delete Google One cache on Windows
1. Click the Windows icon located in the bottom left corner of your screen. Alternatively, use the Windows + I shortcut.
2. Select Settings from the Start menu.
3. Click on the Apps tile. This will display all the applications installed on your computer.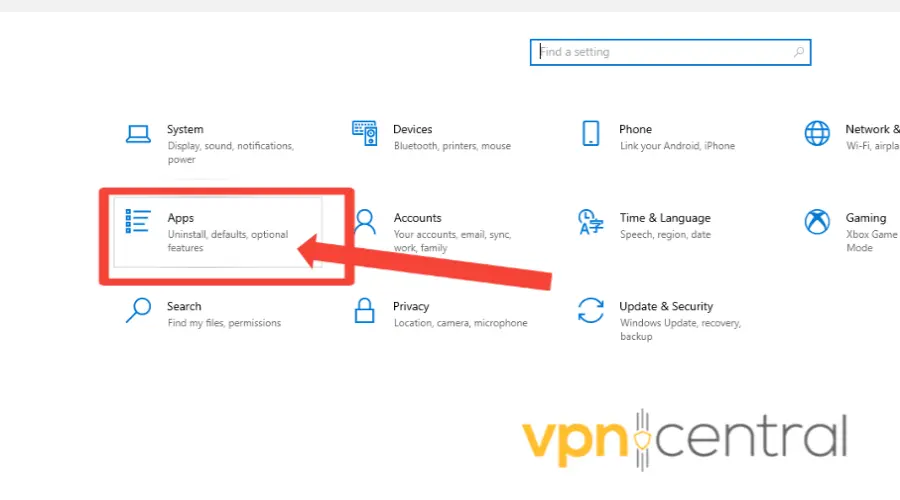
4. Find the Google One VPN application and click on it to expand its options.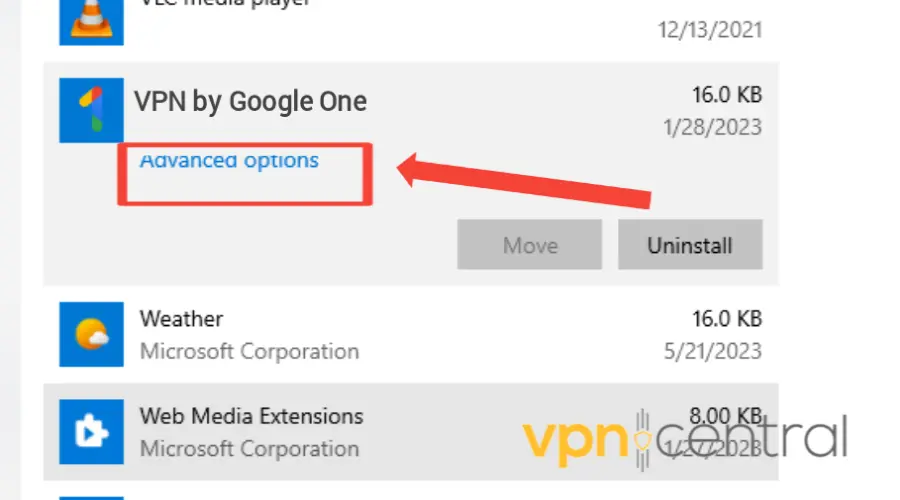
5. Click on the Advanced Options link.
6. Scroll down and locate the Reset button. This feature is used to fix any issues with the application if it’s not functioning correctly.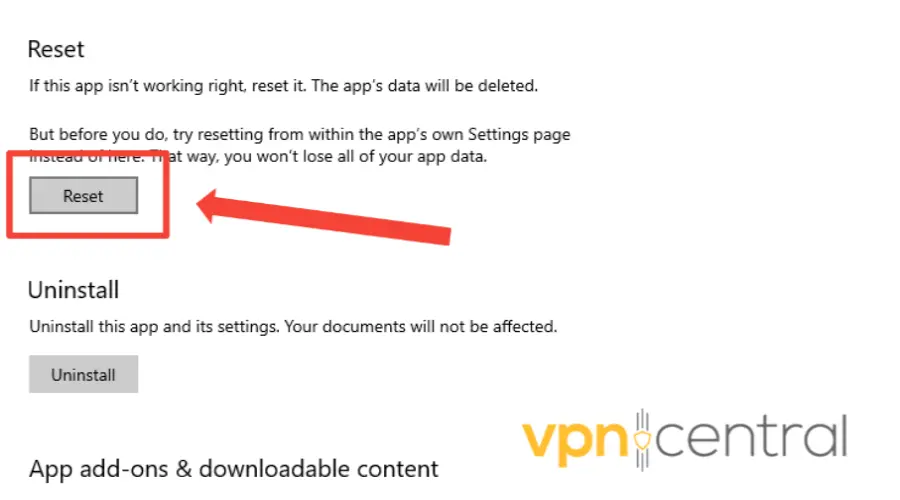
7. A warning message will appear, informing you that resetting the Google One VPN will delete your app data and sign you out of your account. If you agree to these terms, click on Reset again.
8. Go to your VPN app and try connecting again.
The steps are different but easy if you’re a Mac user. This is how to go about it.
→ Delete Google One app cache on Windows
1. Open Finder and choose the Go menu.
2. Click Go to Folder.
3. Type /Users/[YourUserName]/Library/Caches in the window and select Go.
4. It will display the user caches for all your apps. Open each folder, select the files inside, and drag them to the Trash.
5. Try connecting again.
The process is similar on mobile, but you’ll have to delete the whole Google One Suite’s cache.
Here’s how to do it on Android
→ Delete Google One app cache on Android
1. Find the Google One app and long tap on it.
2. Select App info.
3. Go to Storage> Cache.
4. Tap on Clear cache.
If you use Google One VPN on iPhone, the process is just as simple:
→ Delete Google One app cache on iOS
1. Open Settings.
2. Scroll until you find the Google One app.
3. Select it and scroll down.
4. Enable the Clear temp data on the next start.
5. Close settings and make sure the app isn’t running in the background.
Is there any risk in doing this?
No. It will give your app a fresh start. The only thing to keep in mind is that it will log you out, so make sure you know your Google account email and password. - Check and fix your WiFi status
If your Google One VPN is not connecting, it may be because of a bad connection.
Here’s how to check your WiFi status.
→ Check WiFi status on Windows
1. Check your WiFi status and Look for the No internet connection icon on the right side of the taskbar.
If you see it, proceed to the next step.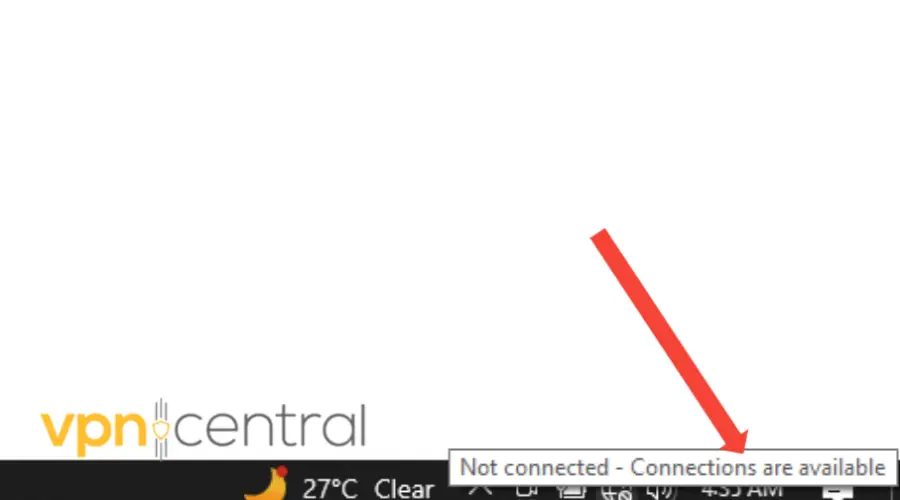
2. Click the icon and ensure that WiFi is turned on.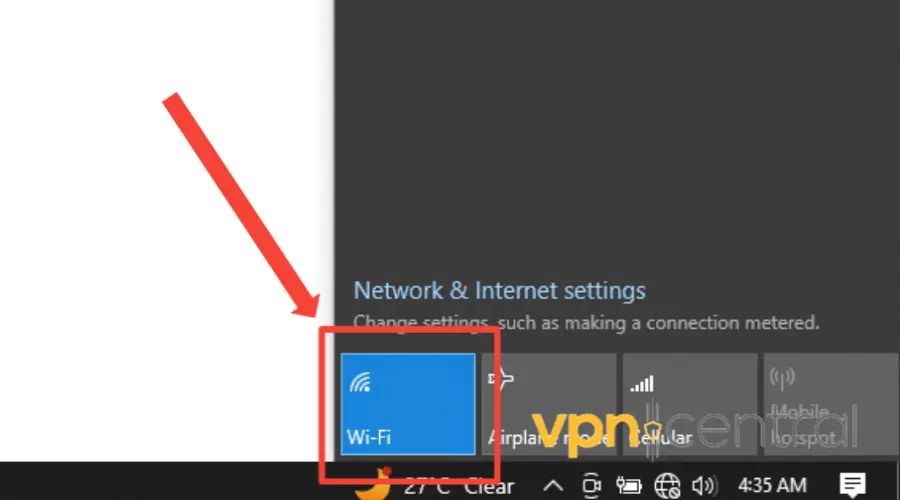
3. Confirm that Airplane mode is turned off. Airplane mode disables all wireless connections, including Wi-Fi.
4. Wait for the connected icon to appear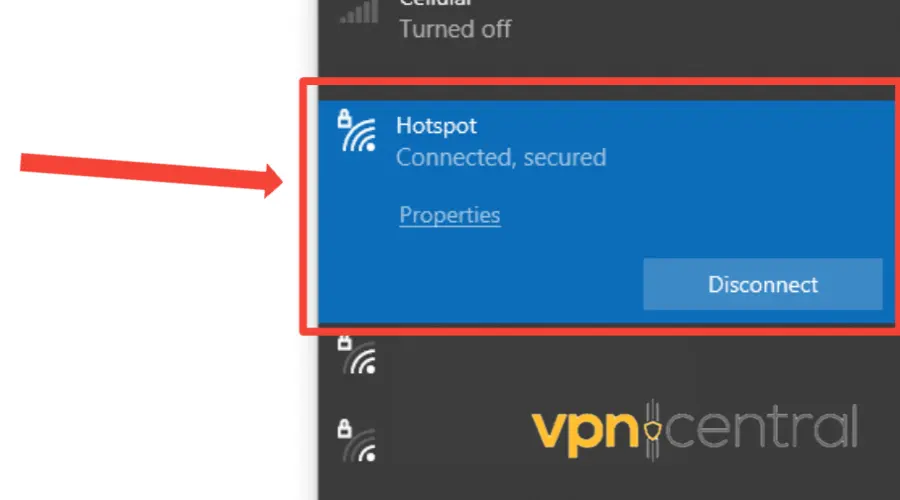
5. Try connecting again.
On the other hand, if you’re using a Mac computer, you should follow these steps:
→ Check WiFi status on macOS
1. Click on the Apple menu.
2. Select System Preferences.
3. Click on the Network icon.
4. Look for the network service you are currently using, and ensure that it displays a green indicator along with the word Connected.
5. If not click, click on Connect and ensure it is.
6. Try connecting again to your VPN.
By following these instructions, you can navigate to the network settings on your Mac, verify the connection status of your network service, and ensure you’re connected. - Connect to a network on a different frequency band
Consumer Wi-Fi routers often broadcast on two distinct network frequency bands: 2.4 GHz and 5 GHz.
Sometimes, switching between them can solve issues with apps that require WiFi, so give it a shot.
→ Change the frequency band on Windows
1. Right-click on the Start Button.
2. From the list, choose Device Manager.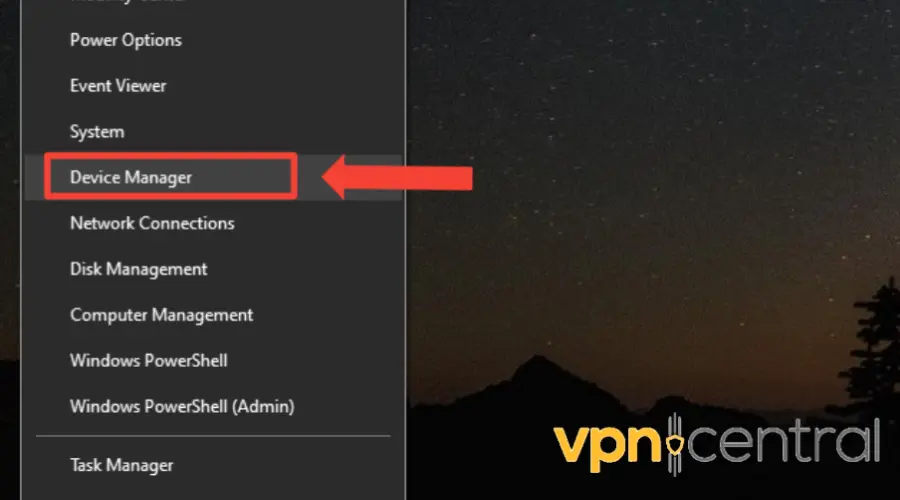
3. Click on the Network Adapters section.
4. Right-click on your Wi-Fi adapter and select Properties.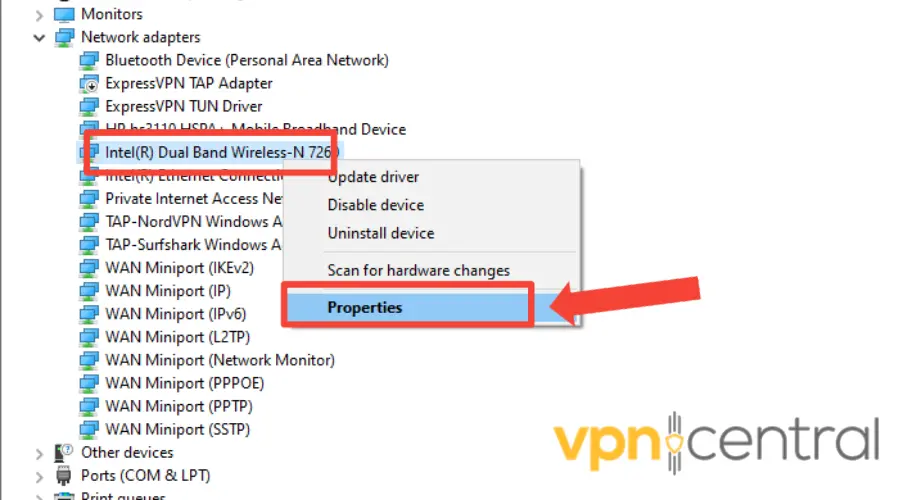
5. Locate the Advanced tab, and select Preferred Band under the Property label.
6. Expand the dropdown menu under Value and select your preferred band.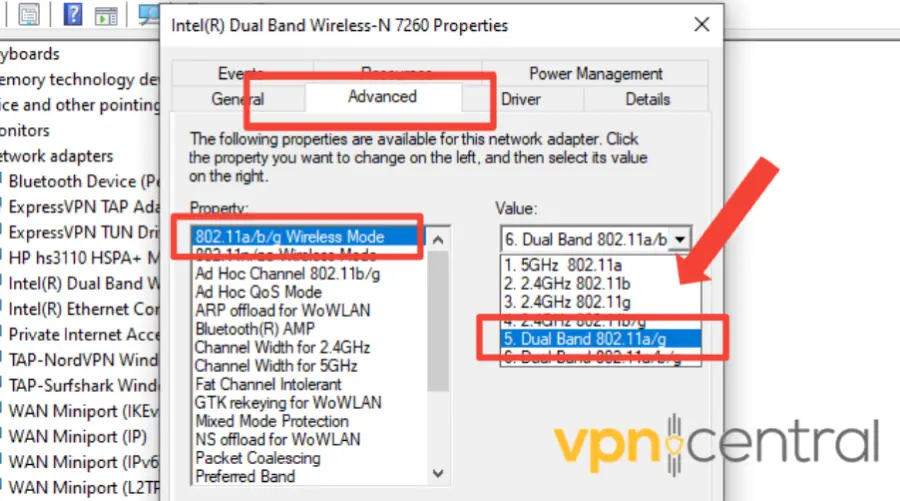
The 2.4 GHz network band has the advantages of a longer range, better obstacle penetration, and wider device support.
However, it is slower at transferring data and often gets crowded when many household devices and Bluetooth devices are around.
In contrast, the 5 GHz network band is faster and gets less congested.
But it has a shorter range, is less effective at going through obstacles like walls, and is not as widely used by other devices.
Now, if you’re using a Mac computer, you’ll follow a different process entirely—changing the preferred network order.
→ Change preferred network order on macOS
This means your Mac will try to connect to the network at the top of the list before trying others.
It’s not exactly like forcing the connection to a specific band, but as long as your preferred network is available, your Mac will prioritize it over other options.
Follow these steps to do that.
1. Click the Apple logo.
2. Select System Preferences.
3. Select Network.
4. Select Advanced.
5. Under preferred networks, drag your Wi-Fi networks into your desired order. - Update your network adapter drivers (PC)
Using outdated network drivers is another possible cause that can make Google One VPN not connect.
To resolve this, you should update the drivers.
You will find multiple network adapter drivers for different protocols within the Device Manager.
Unless you are certain about the specific protocol Google VPN uses, we recommend updating all of them.
Here’s how to do that.
1. Right-click the Windows Start button.
2. Choose Device Manager from the list.
3. Expand the Network adapters category.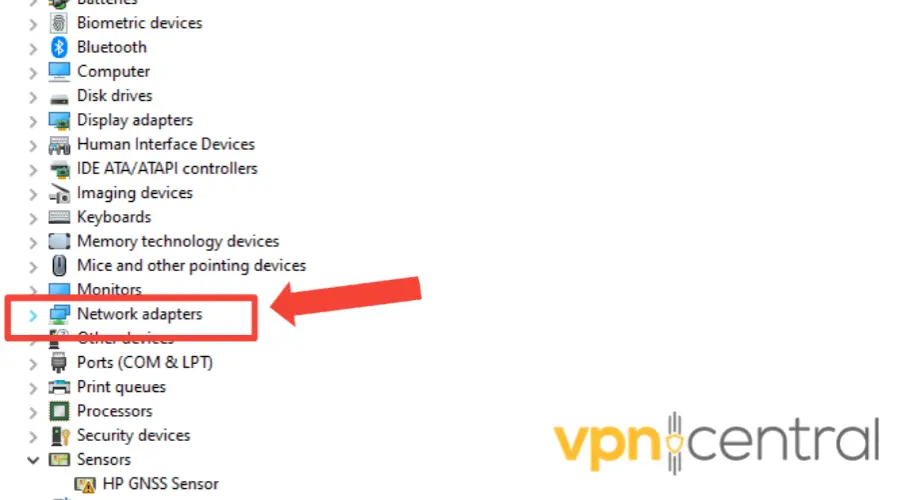
4. Right-click on the relevant driver and choose Update driver.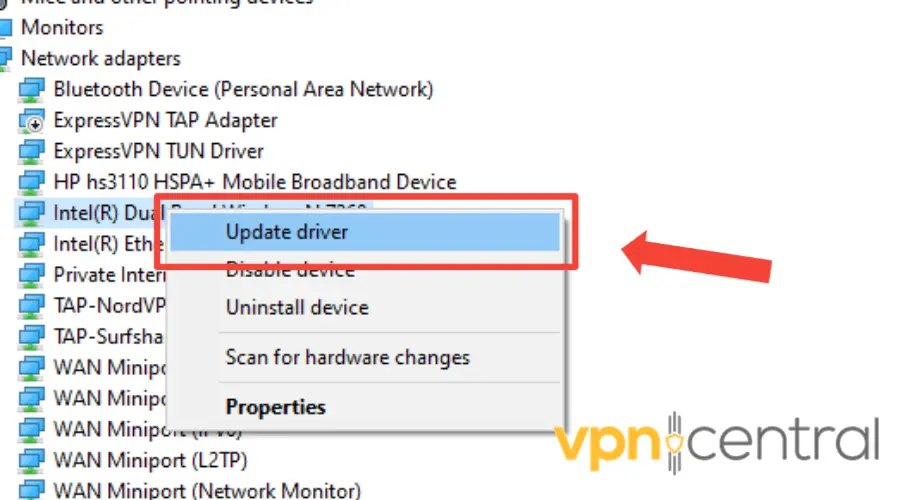
- Try another VPN provider
If you find that Google One VPN fails to meet your expectations or you continue to experience connection problems, it might be worth considering an alternative provider.
One such reliable option is ExpressVPN, which offers many features such as quick connection, security, and excellent customer support.
Here’s how to use it:
1. Subscribe to an ExpressVPN plan and download the software compatible with your device.
2. Install the ExpressVPN app on your computer.
3. Login with your credentials.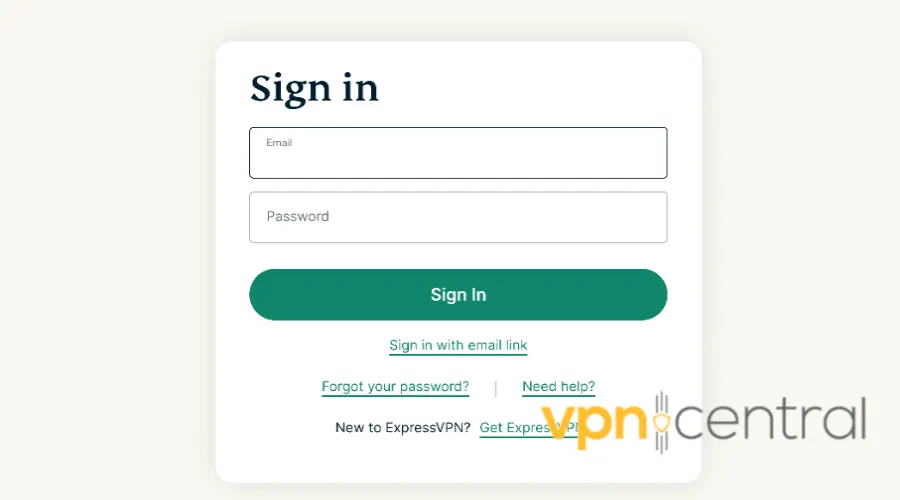
4. Search for a server.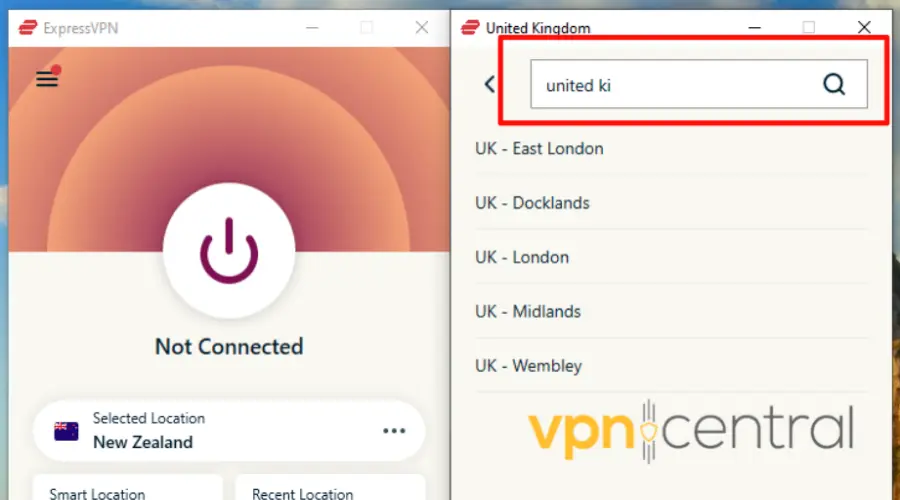
5. Select and connect.
6. Once connected to the server, try browsing the internet.
When we compared ExpressVPN and Google One VPN, we noticed both could enhance your security and privacy by hiding your data and network activity from hackers.
However, in Google One, you can’t pick a server location. On the contrary, ExpressVPN lets you do that so that you can bypass geo-blocks on any platform of your liking.
For instance, if you want to access Google’s Gemini from EU countries, you absolutely need to be able to select your location manually.
ExpressVPN allows you to choose from a vast network of over 3,000 servers in 160 locations across 94 countries.
It is compatible with various platforms and devices, including Windows, Mac, iOS, Android, and Kindle.
This flexibility allows users to protect their online activities across 5 devices simultaneously.
That’s not all— you’ll experience lightning-fast internet speeds and connections with advanced protocols such as Lightway (TCP and UDP) and OpenVPN.

ExpressVPN
Say goodbye to connection issues by upgrading to a leading VPN service!Summary
To help you fix Google One VPN not connecting, the first thing we did was figure out why this is happening.
That helped us test out potential fixes and in the end, we listed all those that actually work.
Whatever the case, be it geo-blocking or interfering cookies, by following the solutions provided, you can get your Google One connected again.
However, if any of them couldn’t help your issue, you may consider switching to a new provider and save yourself the stress of troubleshooting.
Read our disclosure page to find out how can you help VPNCentral sustain the editorial team Read more

Improve this guide


User forum
0 messages