How to Fix a DNS Leak on iPhone [4 Tested Methods]
Using a VPN on your iPhone is a great way to keep your online activity private. But if your DNS leaks, your security will be seriously compromised.
Luckily, there are several solutions for this issue.

Access content across the globe at the highest speed rate.
70% of our readers choose Private Internet Access
70% of our readers choose ExpressVPN
Browse the web from multiple devices with industry-standard security protocols.

Faster dedicated servers for specific actions (currently at summer discounts)
And they’re easy to follow, too!
Other than learning how to fix a DNS leak on iPhone, you’ll also find out:
- How to detect it
- What causes it
- How to prevent it
- Why it’s dangerous
So, let’s get down to business!
How to detect a DNS leak?
The DNS (Domain Name System) serves as a middleman between you and the website you want to access. It translates the website’s domain address into its IP address for you.
That way, you don’t have to remember random letters and numbers every time you want to go to YouTube, for example. You can just type in “youtube” — not its IP address.
If you use a VPN, the traffic between your browser, DNS, and YouTube’s server will be secured in an encrypted tunnel.
However, during a leak, your DNS server requests will be visible despite the use of a VPN. Your data is exposed to third parties and your IP can be tracked down.
So, if you want to check how well your VPN does its job, you should conduct a leak test.
It’s pretty straightforward:
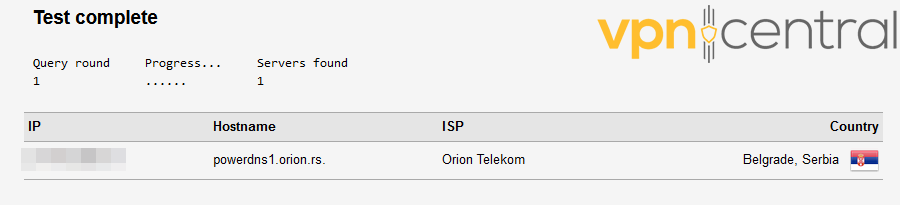
- First, turn off your VPN service.
- Go to ipleak.net, dnsleaktest.com, or dnsleak.com.
- When you load the page, click to start the test. It will display your IP, Hostname, ISP, and country.
- Now, turn on your VPN, pick any location, and revisit the page. It should show you a different IP address, ISP, and location. That means you’re leak-free!
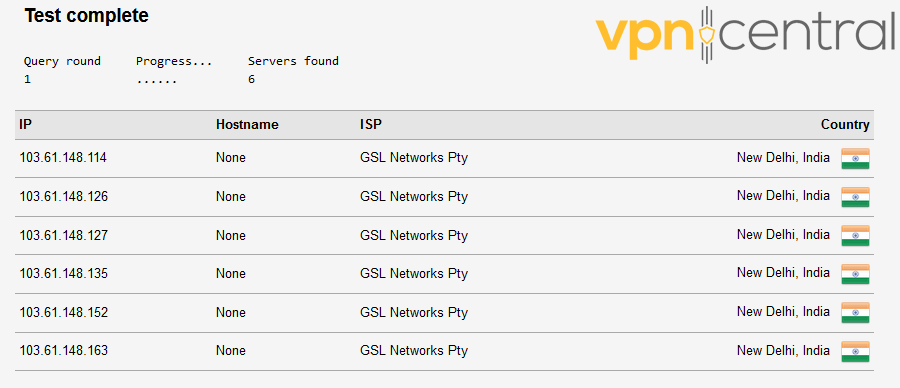
- If it repeats the same info from before, your VPN is suffering from a DNS leak.
Keep in mind that if you’re not using a VPN, your ISP and others can track your activity by default.
How to fix a DNS leak on iPhone?
So, you’ve conducted the leak test on your iPhone, and surprise, surprise: Your DNS queries are exposed!
What can you do to rectify this problem?
Here are some solutions that are bound to work:
1. Use a robust VPN service
Free VPNs are notoriously prone to DNS leaks.
If you want reliable protection, you’re best off with ExpressVPN. It uses military-grade AES-256 encryption and works perfectly on iOS 12 and newer.
To set it up:
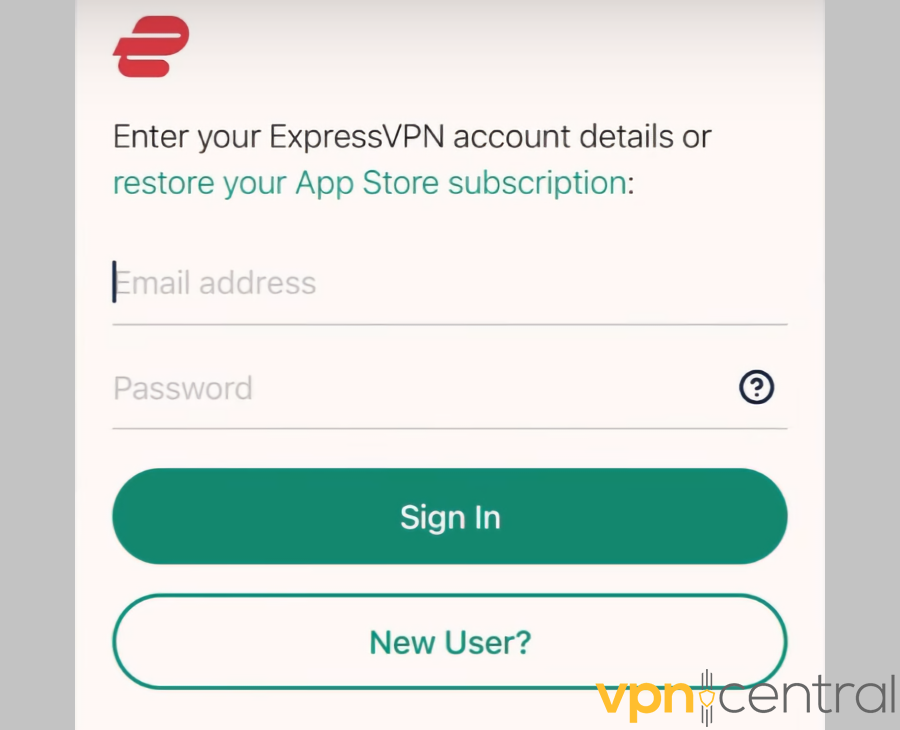
2. Find the app on the App Store and download it.

3. Open it and sign in with your account.
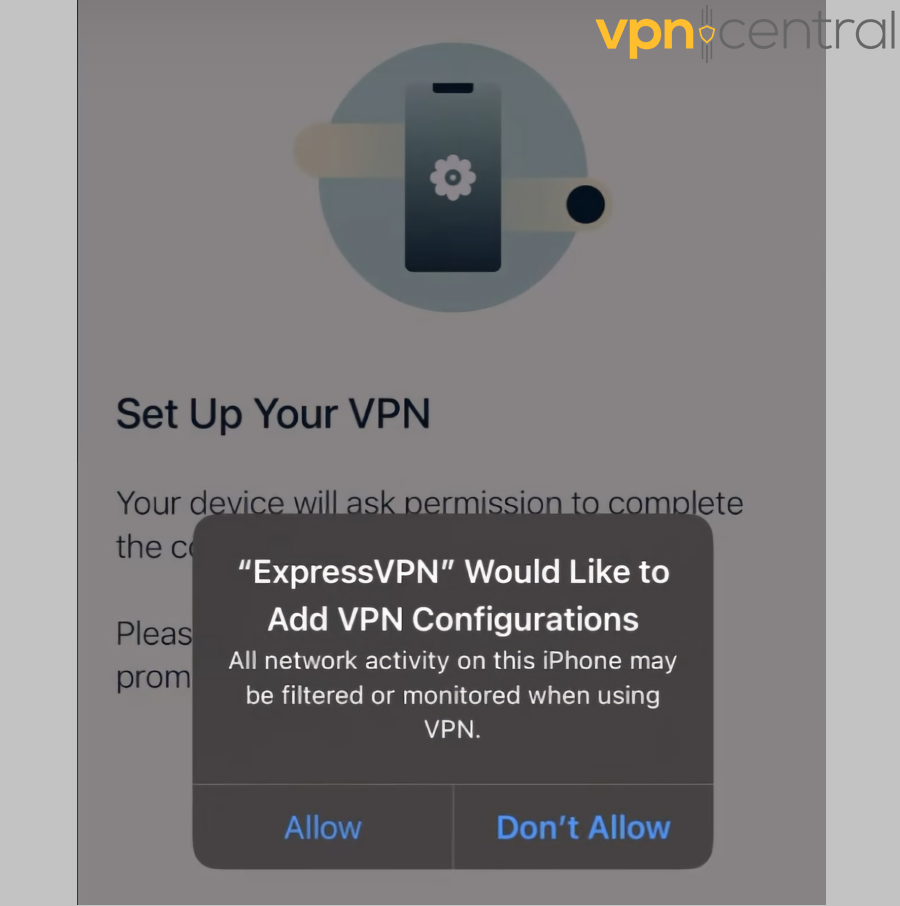
4. As part of the setup, you’ll be asked to Add VPN Configurations. Tap Allow.
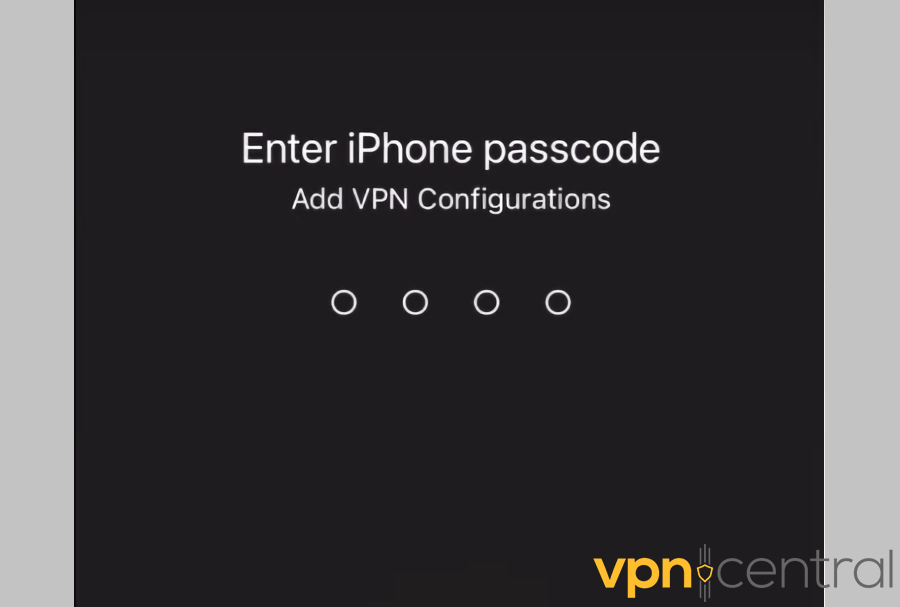
5. Use TouchID or enter your passcode to proceed.
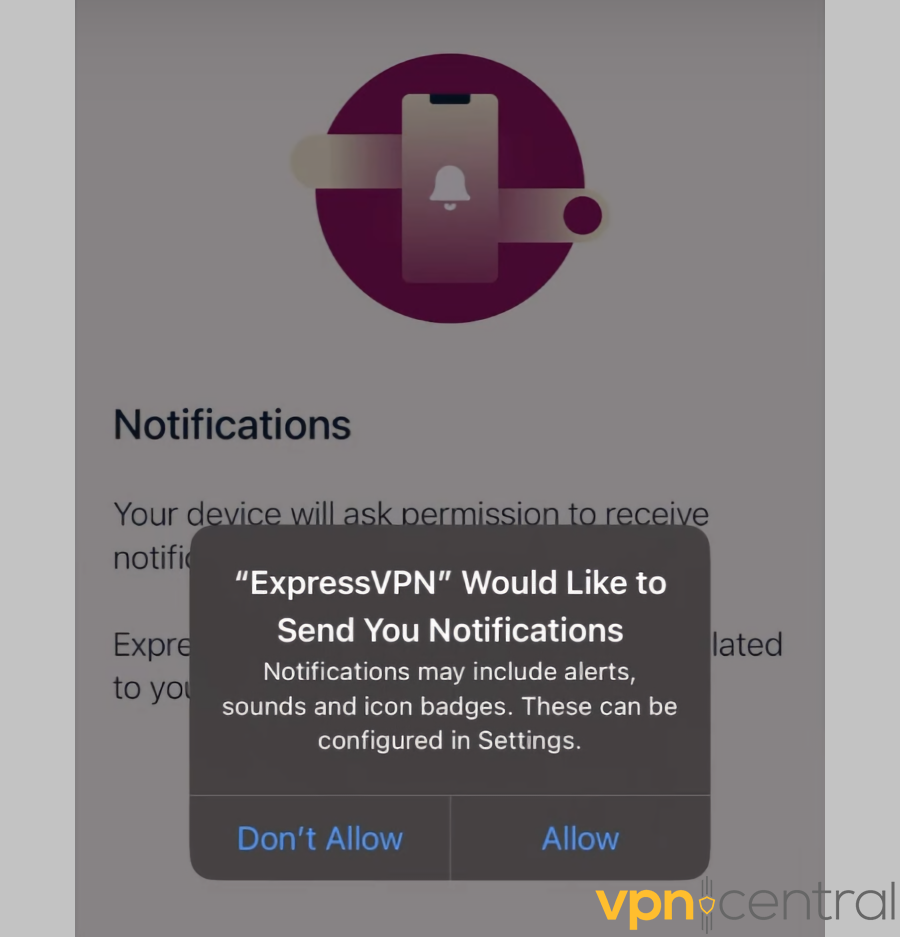
6. You’ll also be asked whether you’d like to receive notifications from the app.
7. Now you can choose your new server location.
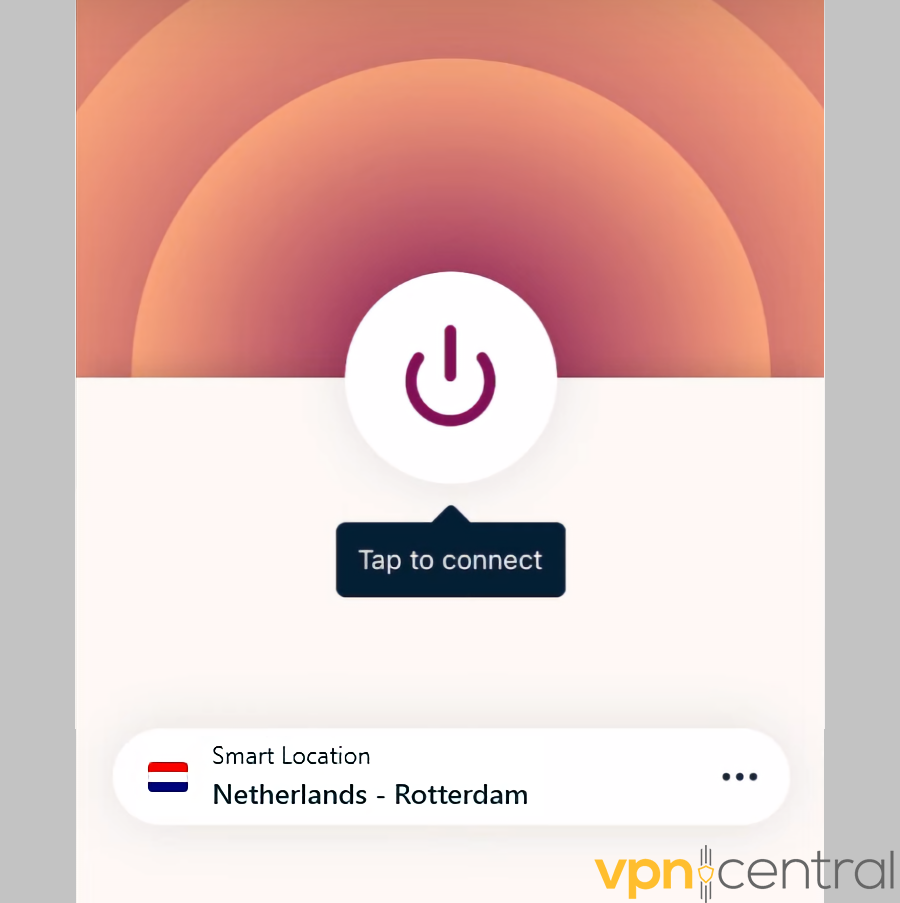
8. Tap the power button to connect — and you’re done!
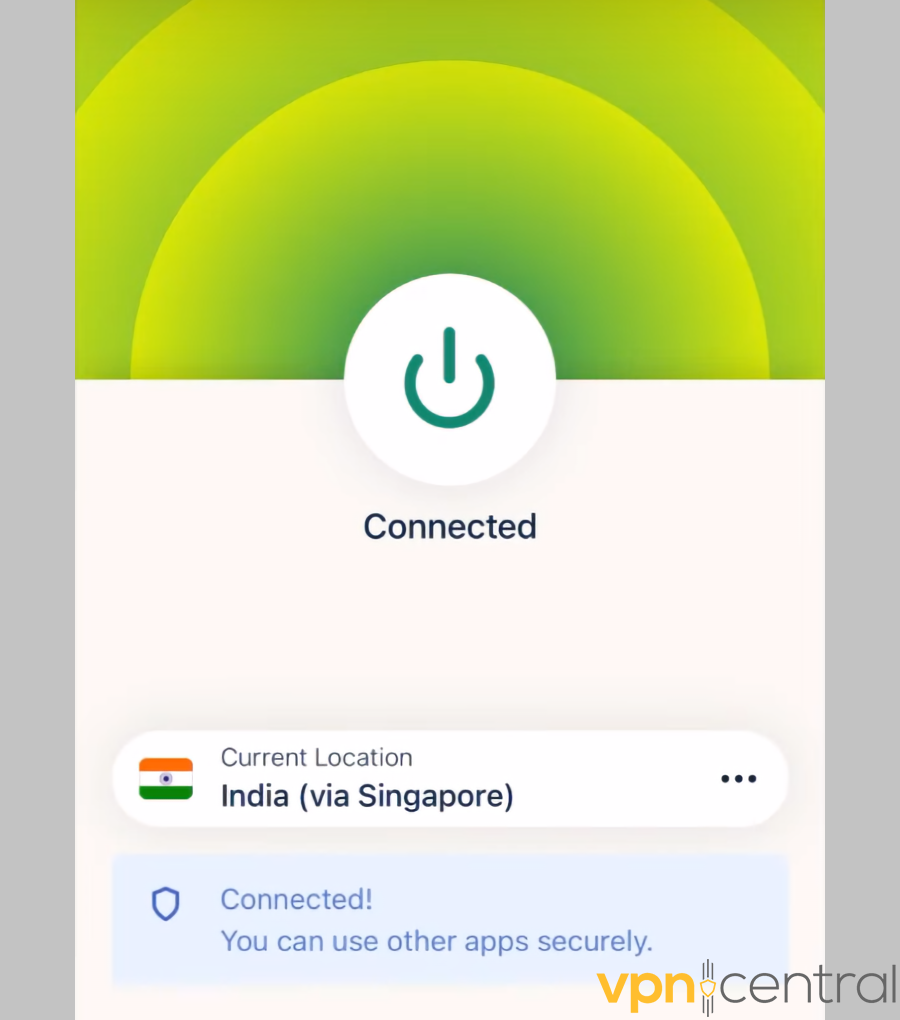
ExpressVPN has a built-in kill switch that automatically kicks in and disconnects your device if a server is down.
That will ensure that none of your data slips out of the encrypted tunnel.
It also blocks IPv6 address detection to prevent leaks. You can disable this option if you really need IPv6 connectivity, but it’s not recommended.
2. Change the DNS settings on your iPhone
Another smart idea is to switch to another server in your DNS settings.
Let us show you how:
1. Go to Settings.
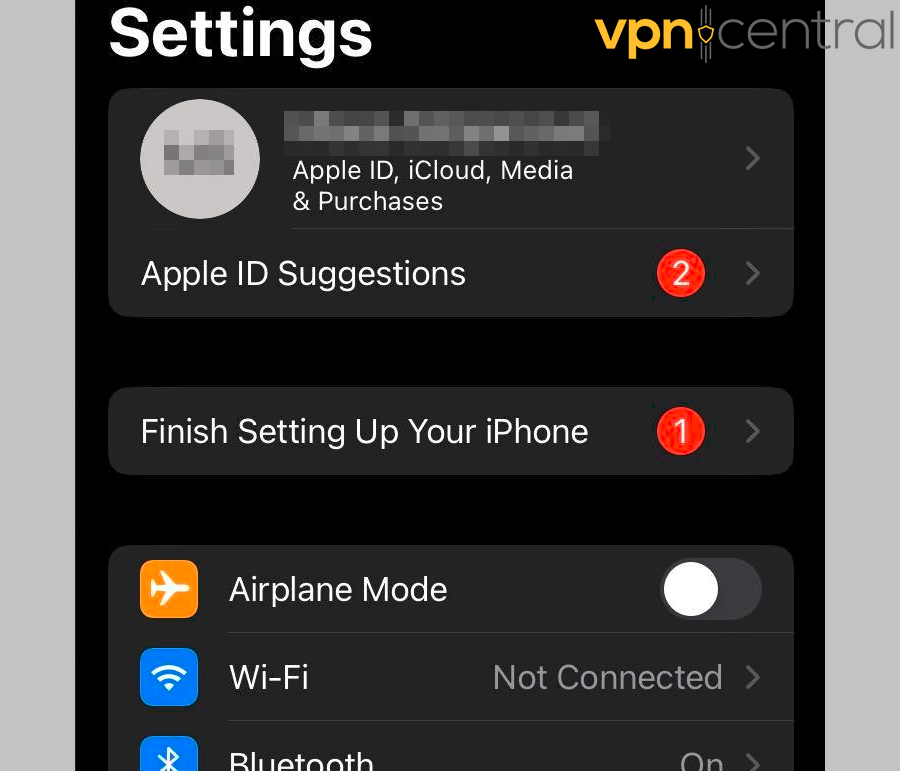
2. Select Wi-Fi, and you’ll see a list of available networks.
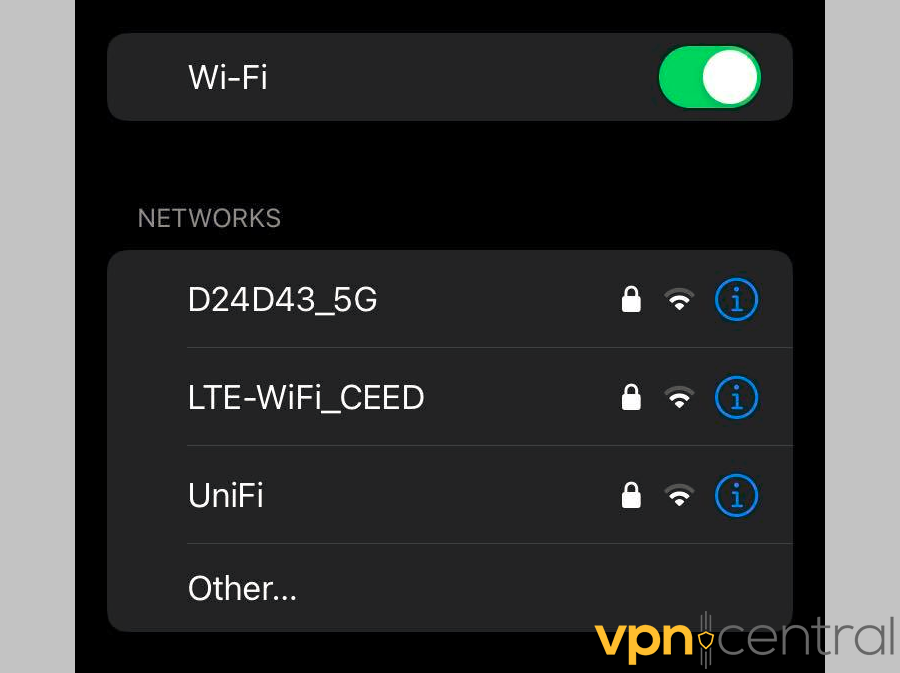
3. Tap the small round icon with an “i” that’s next to your network.
4. Scroll down to Configure DNS. It should be set to Automatic by default.
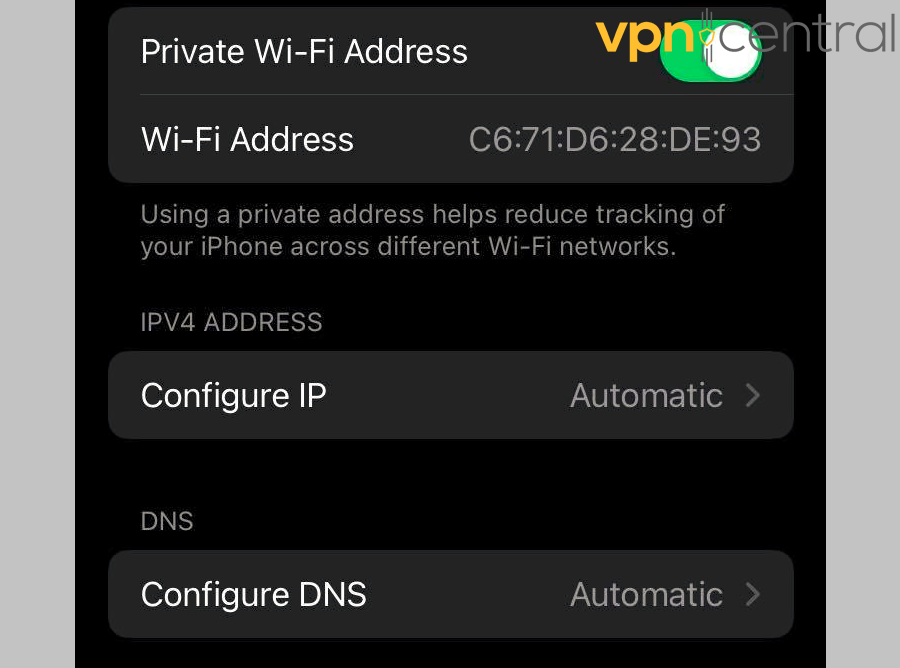
5. Tap it and switch to Manual.
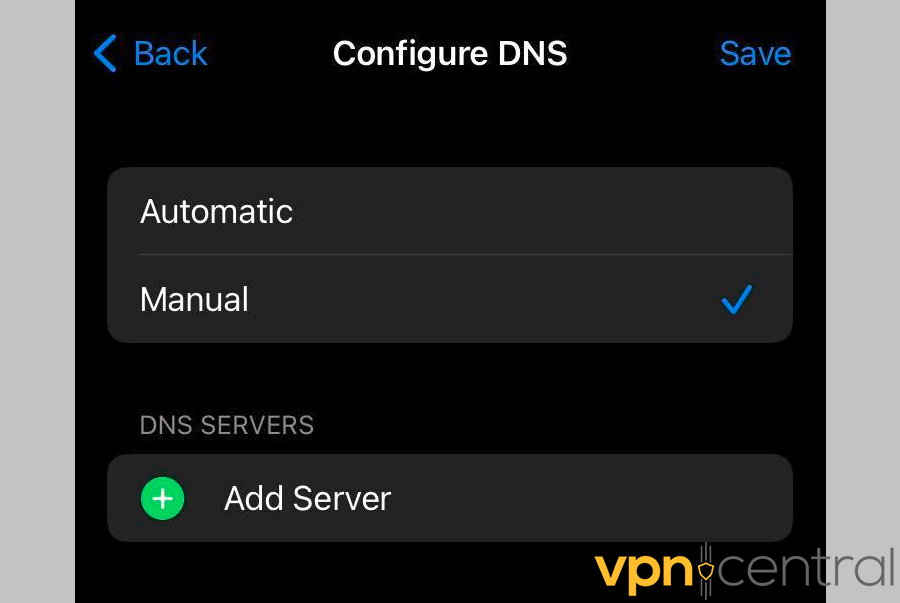
6. Delete the servers you’ve been using by pressing the red minus icon next to them.

7. Tap Add Server and type in your new address.
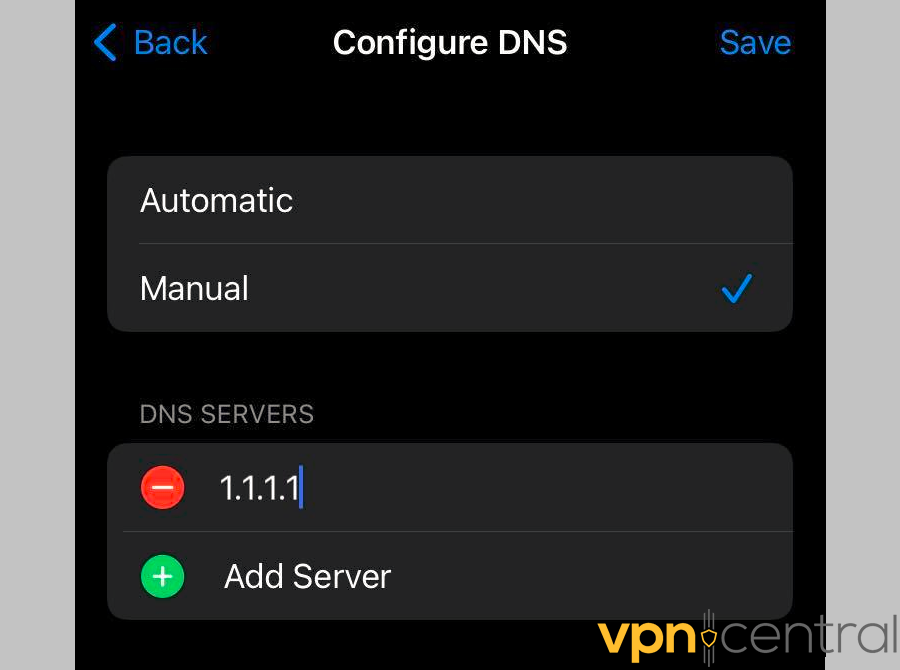
You can choose between several public servers:
| IPv4 | IPv6 | |
| Cloudflare | 1.1.1.1 and 1.0.0.1 | 2606:4700:4700::1111 and 2606:4700:4700::1001 |
| 8.8.8.8 and 8.8.4.4 | 2001:4860:4860::8888 and 2001:4860:4860::8844 | |
| Quad9 | 9.9.9.9 and 149.112.112.112 | 2620:fe::fe and 2620:fe::9 |
| OpenDNS | 208.67.222.222 and 208.67.220.220 | 2620:119:35::35 and 2620:119:53::53 |
8. Choose Save in the upper right corner of the screen.
Changing to free public DNS servers is a good way to evade your ISP’s prying eyes. They won’t log your IP address or sell your data to third parties.
These servers could also be faster than the default ones provided by your ISP. You can contrast and compare their speeds with DNS Benchmark.
Alternatively, you can use your VPN provider’s servers.
Here’s how to do it on Android devices if you need to.
3. Clear your DNS cache
You should also clear out your DNS cache on a regular basis to ensure it works properly. The easiest way to do so on an iPhone is to toggle Airplane mode.
Here’s how:
1. Access Control Center on your phone.
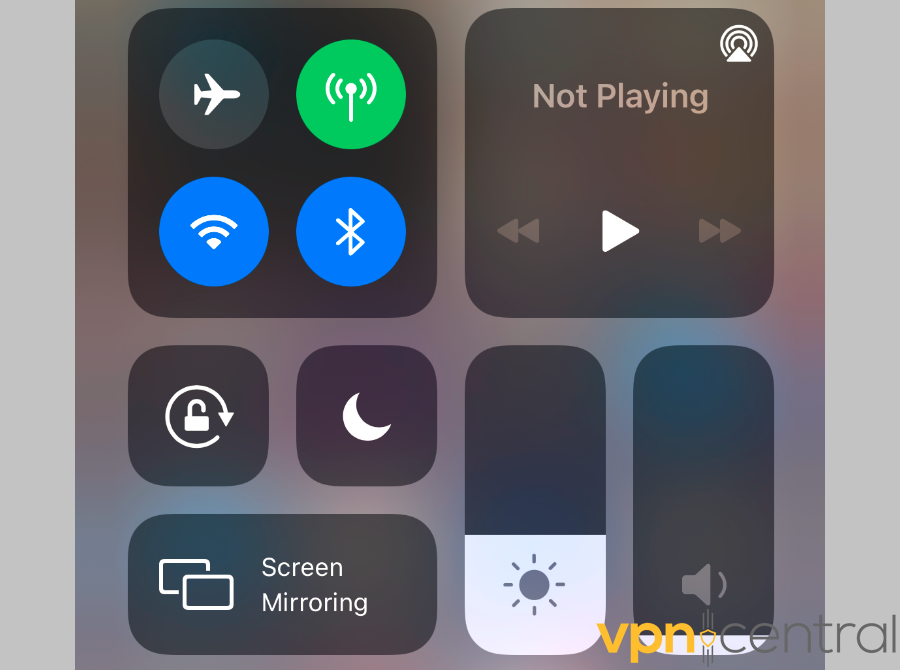
On iPhone X and later, you’ll need to swipe down from the top-right corner of your screen. On older models, swipe up from the bottom edge.
2. Tap the Airplane mode icon in the upper left corner of the Network settings section.
3. Leave it for at least 15 seconds before tapping and disabling it again.
Every time you toggle it, your cellular services and wireless features will be disabled. In turn, iOS will also flush your DNS cache.
Another way to do so is to reboot your phone. However, that method takes a bit more time.
Either way, this should become part of your regular phone maintenance.
It prevents DNS hijacking, which is a form of manipulating DNS queries to redirect you to alternative (and often malicious) sites instead.
ISPs often use a similar tactic with transparent DNS proxies. They essentially force you to use their DNS services for all lookups.
Additionally, a good flush will get rid of all invalid information that’s clogging up your storage.
4. Use a reputable DNS service
Finally, you can subscribe to a reliable DNS service to encrypt all traffic and prevent leaks.
Paid options often include customizable filtering and security features that’ll keep you safe from:
- Malware and phishing
- Unwanted content
- Botnets
- Ads
You can even get an Enterprise-wide secure DNS connection.
What causes a DNS leak?
Besides using an untrustworthy VPN service, there are other reasons your DNS queries aren’t protected.
Common causes include:
- Improper DNS network configuration — If you switch between networks in different locations (home, office, coffee shop, etc.), automatic DNS configuration could be a problem. Your system will automatically assign you DNS servers that aren’t your preferred VPN’s or public ones. That means your requests will bypass the encrypted VPN tunnel.
- IPv6 leaks — Although IPv4 is still the most commonly used protocol, IPv6 is slowly catching up. And that’s a problem because most VPN protocols were developed using IPv4. So, if your VPN doesn’t support IPv6, you’ll experience DNS leaks.
- Transparent DNS proxies — Your ISP could be using transparent DNS proxies to intercept your requests. In that case, your queries will be sent to your ISP’s servers even if you opted for a public DNS service.
How to prevent a future DNS leak?
When it comes to DNS leaks, prevention is better than cure.
So, if you value your privacy, you’ll want to take the following precautions:
- Change the DNS servers on your router — That way, every connected device will use your preferred addresses instead of the default ISP ones.
- Regularly use a VPN service — Always go for one that will offer you a kill switch for extra protection. You should also look into how well it can handle IPv6 connectivity. Additionally, the best providers own their DNS servers instead of renting them.
- Configure your firewall — You can set up your firewall to only allow traffic through your VPN tunnel. All other requests will be blocked, and you’ll be safe from leaks.
- Opt for a safe browser — Other than Tor, you can use Brave, Iridium, IceCat, or Waterfox for an extra layer of security.
- Use a VPN monitor — This service will send you real-time alerts on compromised privacy and inform you of your VPN’s performance.
If you’re not careful, your DNS records could be used against you — especially if you’re trying to access prohibited content.
In some countries, leaks can lead to censorship, limited internet use, and legal penalties. Your ISP could also sell your data to advertising companies.
On top of that, your search history could be used for cybercrimes. Hackers only need to take one look at your frequently visited websites and they’ll know how to target you with phishing emails.

ExpressVPN
Ensure your online privacy and security with this VPN’s robust and reliable service.Wrap up
All in all, DNS leaks are nothing to scoff at. They will counteract any security you might get from VPNs and turn them useless.
But now you know how to fix a DNS leak on iPhone! You can safely browse the internet — and your ISP won’t know a thing about it.
Read our disclosure page to find out how can you help VPNCentral sustain the editorial team Read more

Improve this guide


User forum
0 messages