FIX: No Internet After Uninstalling VPN
No internet after uninstalling VPN? This article is for you. It contains the methods to fix this problem.
Sometimes, you may need to uninstall the VPN client on your PC for various reasons. But, that may cause a new problem that prevents your PC from connecting to the Internet. Though this problem is rare. But, if you are unlucky, it may happen in your case.

Access content across the globe at the highest speed rate.
70% of our readers choose Private Internet Access
70% of our readers choose ExpressVPN
Browse the web from multiple devices with industry-standard security protocols.

Faster dedicated servers for specific actions (currently at summer discounts)
Fortunately, there are several working ways to troubleshoot no Internet after uninstalling the VPN problem. However, before that, let’s go through some helpful information.
What causes no Internet after uninstalling a VPN app?
Usually, it is rare to see this no Internet problem. But, you may encounter it after uninstalling if the VPN app is problematic.
If you see no Internet, it may have the following reasons:
- The VPN app was problematic
- It left some network settings that are creating the problem
- VPN left its own DNS addresses
- There are leftovers
- Something created a network driver problem
After seeing the possible reasons, you can easily understand what to do to troubleshoot this problem. There are multiple working ways to resolve this type of issue.
Problematic VPNs that cause Internet issues after uninstalling
This issue is not specific to a single VPN client but has actually been reported to arise after uninstalling a wide variety of VPNs.
According to user experiences, the trickiest VPNs that cause problems after uninstalling are:
- NowVPN – the uninstaller wizard leaves residuals in the system which can lead to errors, all files related to VPN should be removed
- ExpressVPN – some users suggest that your ExpressVPN DNS server address may still be set as default, and you should remove it as well from Network Settings
- Private Internet Access – updating your network adapter and making sure you restore your DNS settings to default should help
- Surfshark – check your network adapter settings and make sure its drivers are up to date, also remove any leftover files
- CyberGhost – remove residual files and disable or completely delete the VPN’s network from the Network Connections list
- NordVPN – people that can’t connect to the Internet after uninstalling NordVPN should try to restore the adapter settings, delete leftover files and make sure your drivers are up to date
We noticed that VyprVPN doesn’t seem to impose these issues. There have not been many complaints about this VPN. We decide to test it out and find out for ourselves.
- We went to the VyprVPN website and downloaded and installed the dedicated app for PC.

- We connected to a VPN server by pressing the Connect button in the main UI.

- We let it run for a few minutes and then uninstalled the app. Then we connected directly to the Wi-Fi. There were no problems with the Internet connections whatsoever.
So if you want to avoid such problems in the future, consider this VPN.
However, all the above-mentioned VPNs are actually very reliable and the issue can be fixed in a few simple steps, as you’ll see below.
How can I fix no Internet after uninstalling VPN?
1. Check DNS settings
1.1 Verify DNS and change it
- Press Win + I on the keyboard to open Windows settings.
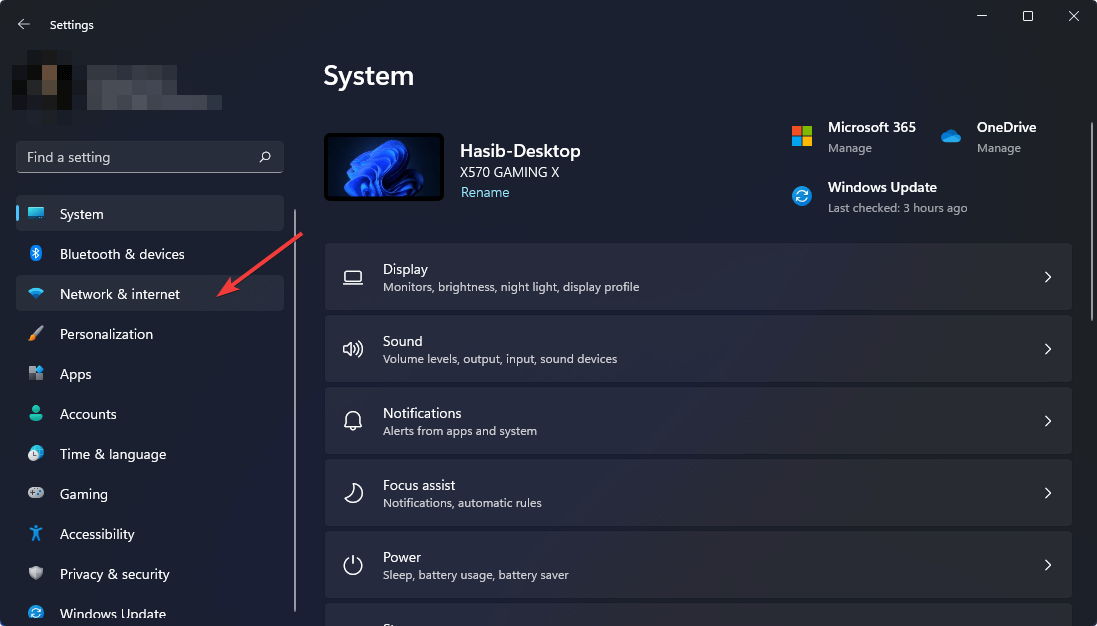
- Click on Network & internet.
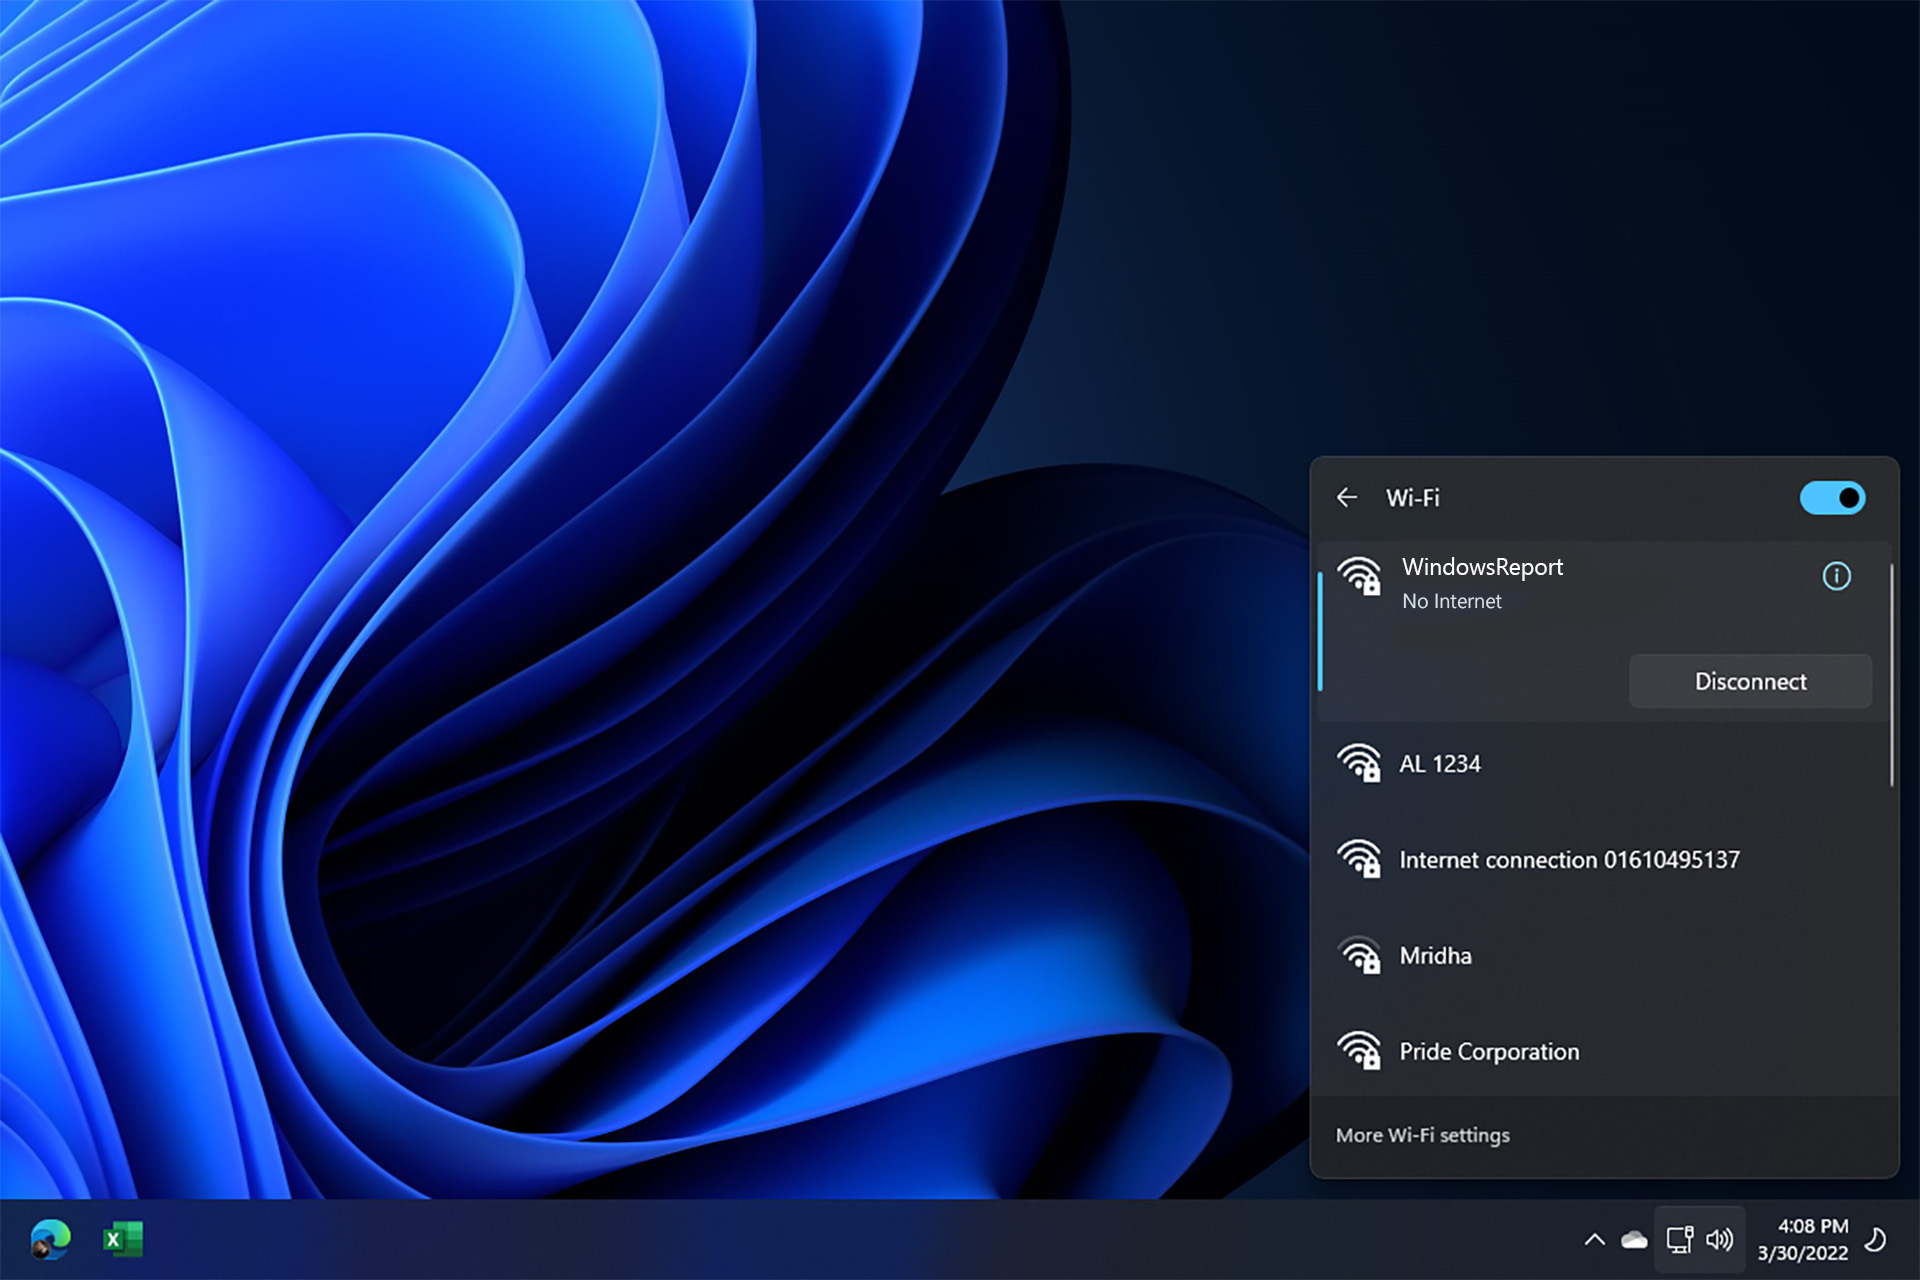
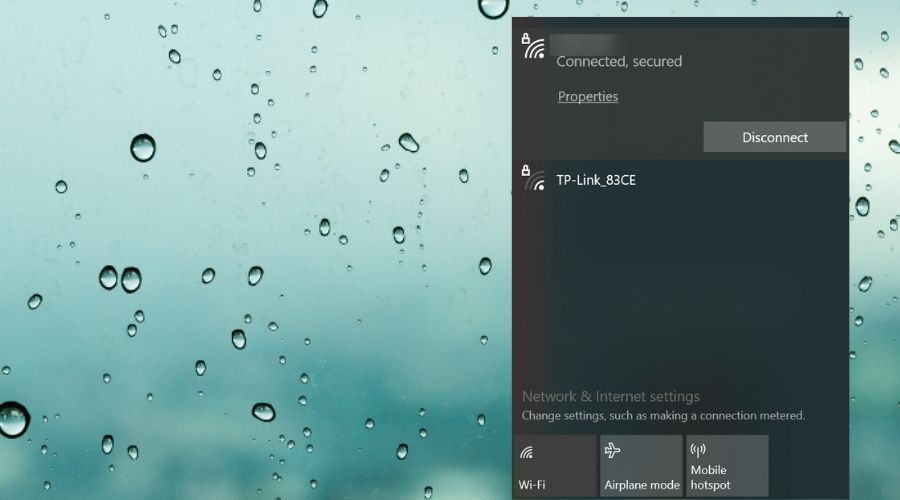
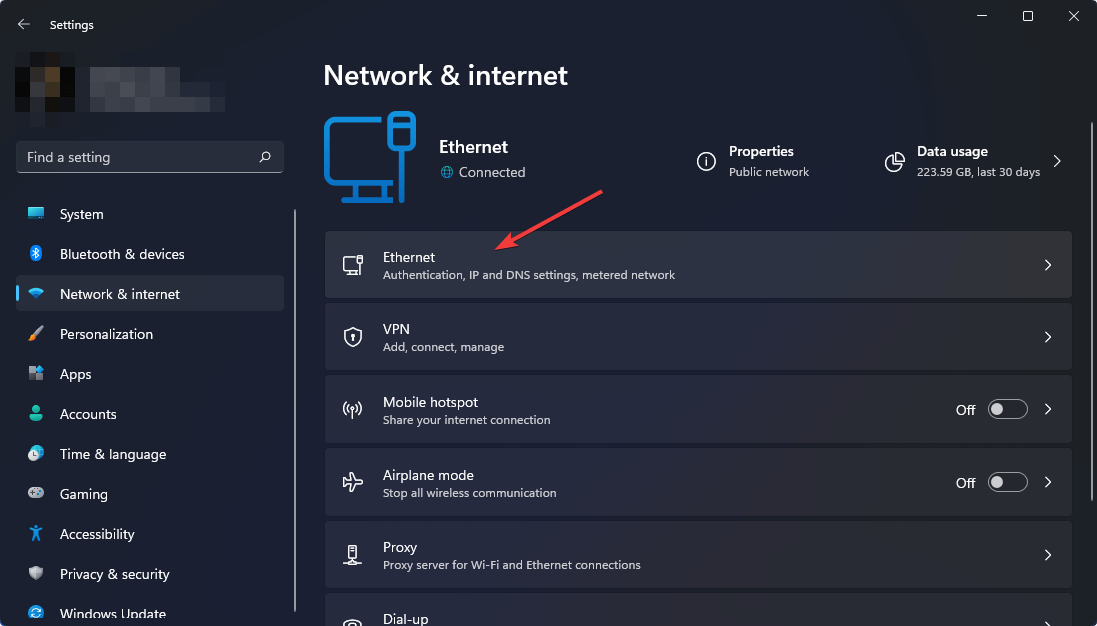
- Click on Ethernet or Wi-Fi, depending on which connection you are using right now.
- Next click on Edit next to the DNS server assignment.
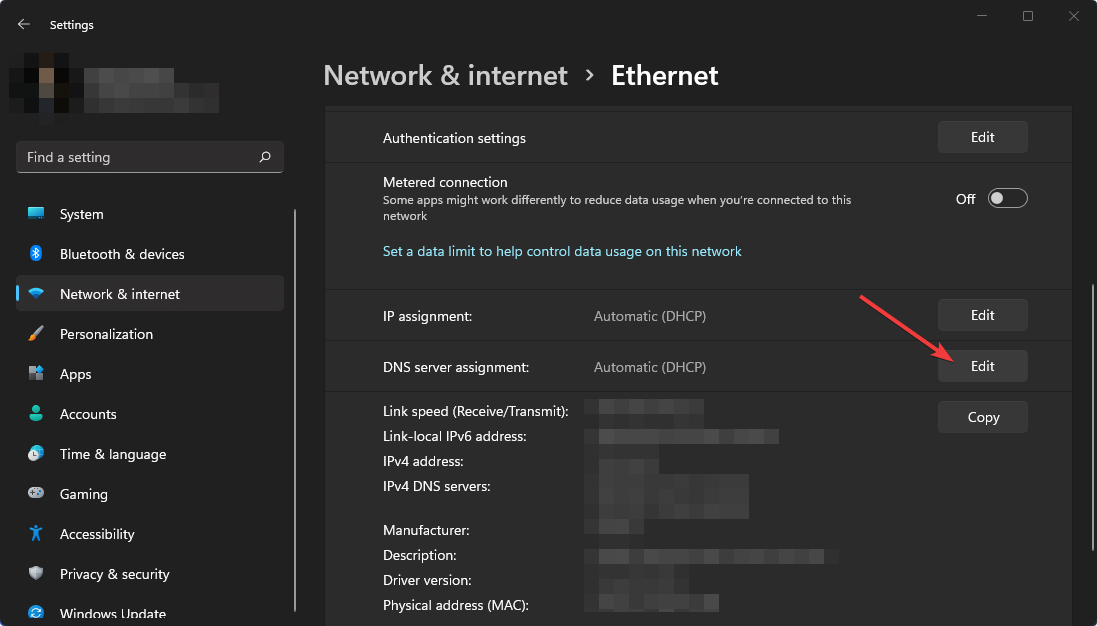
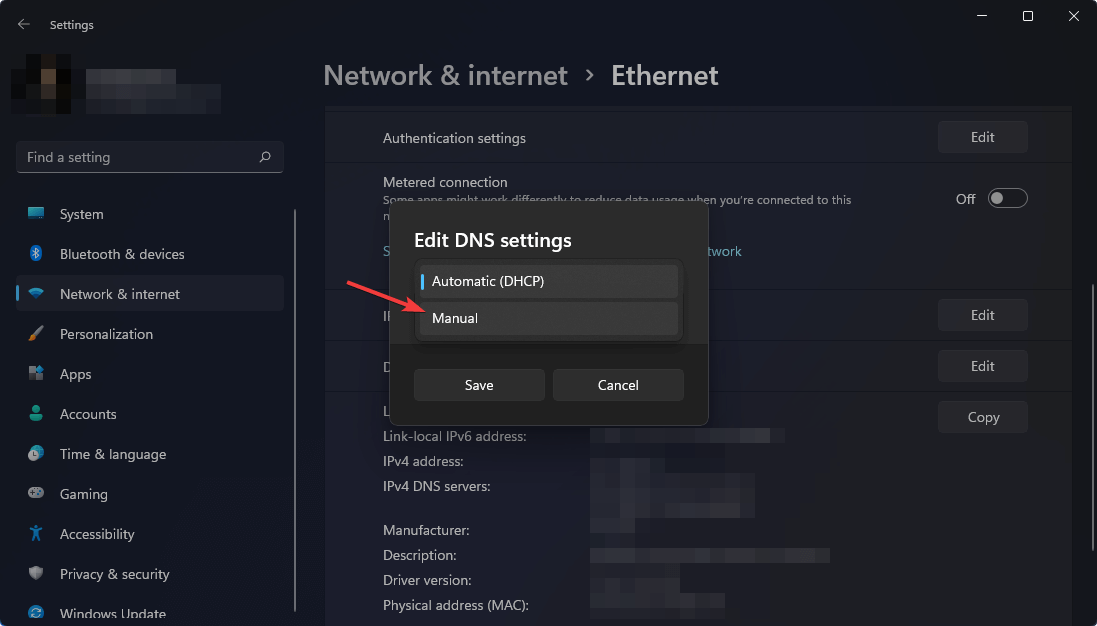
- Select Manual if DNS settings are set as Automatic.
- If there is any unknown DNS server assigned, you can set the settings to Automatic or set IPv4 DNS as 8.8.8.8 and 8.8.4.4.
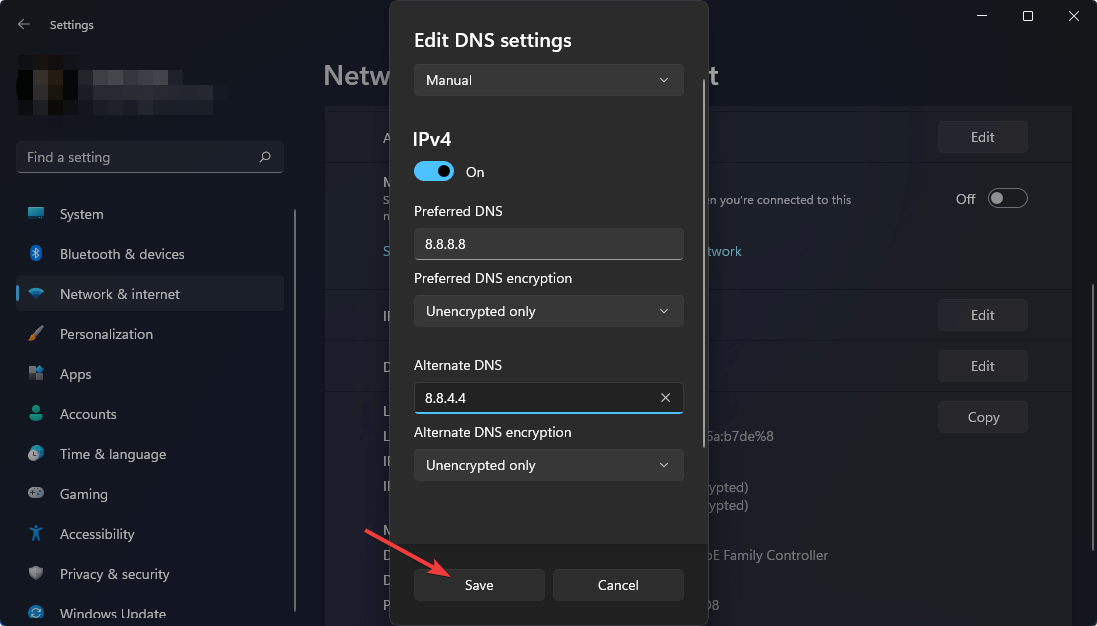
- Click on Save.
1.2 Flush DNS
- Open Start Menu, type cmd, and hit Enter to open the Command Prompt.
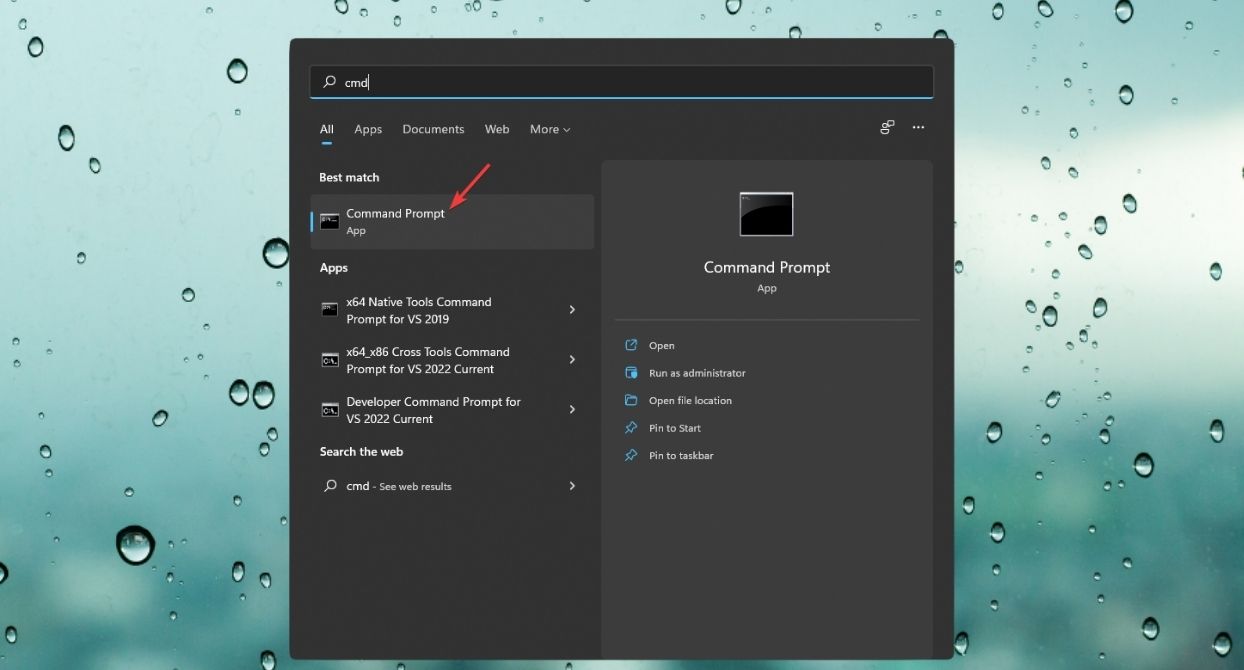
- Type the following command and press Enter to execute it:
ipconfig /flushdns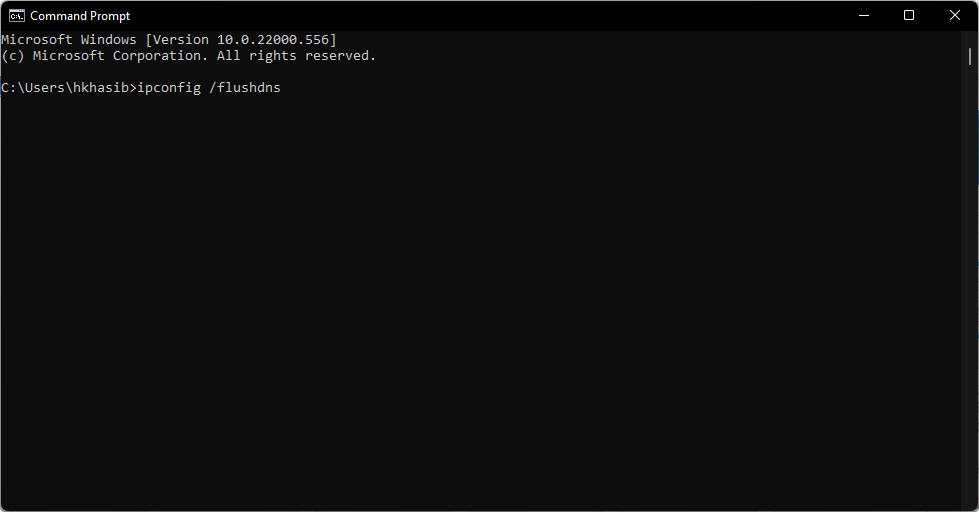
If necessary, you can restart your PC to complete the DNS flushing process.
2. Reset the network
- Go to Network & internet settings like before.
- Click on Advanced network settings.
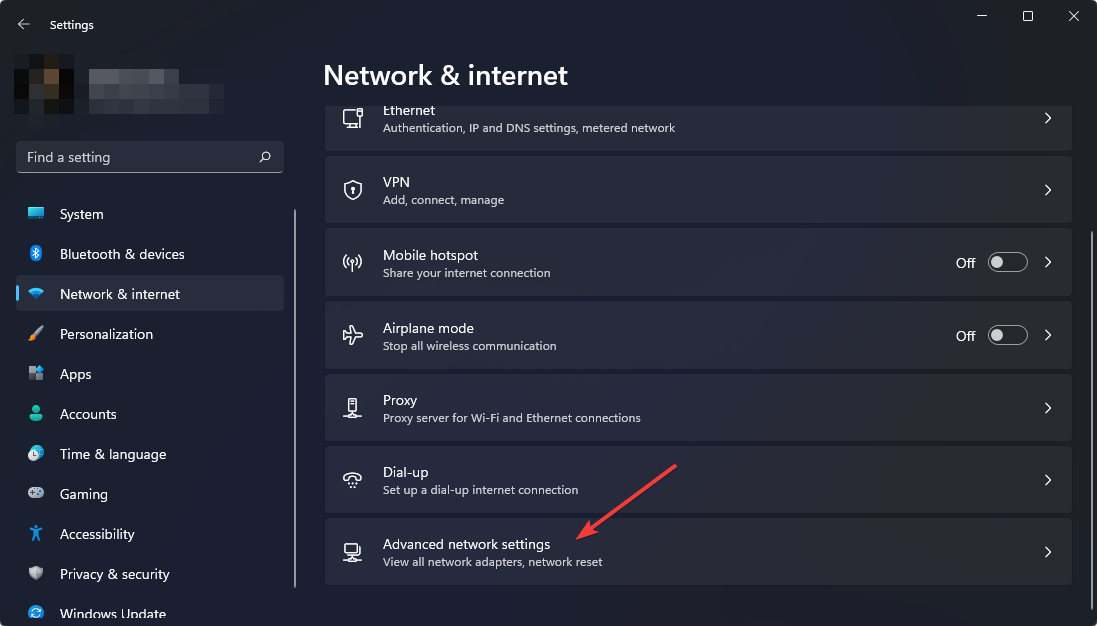
- Click on Network reset.
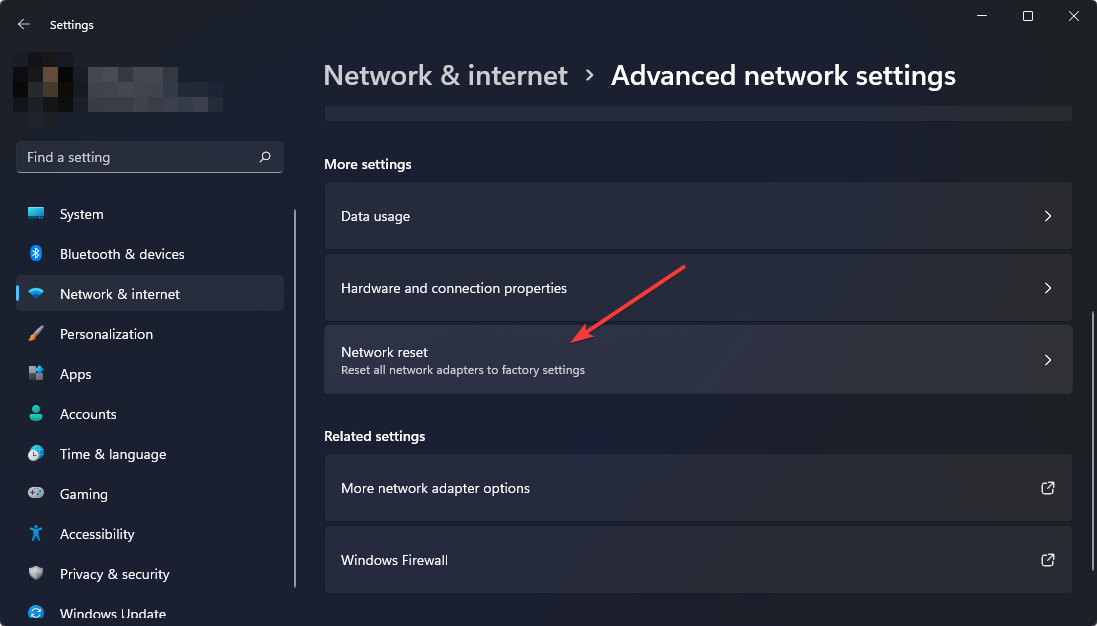
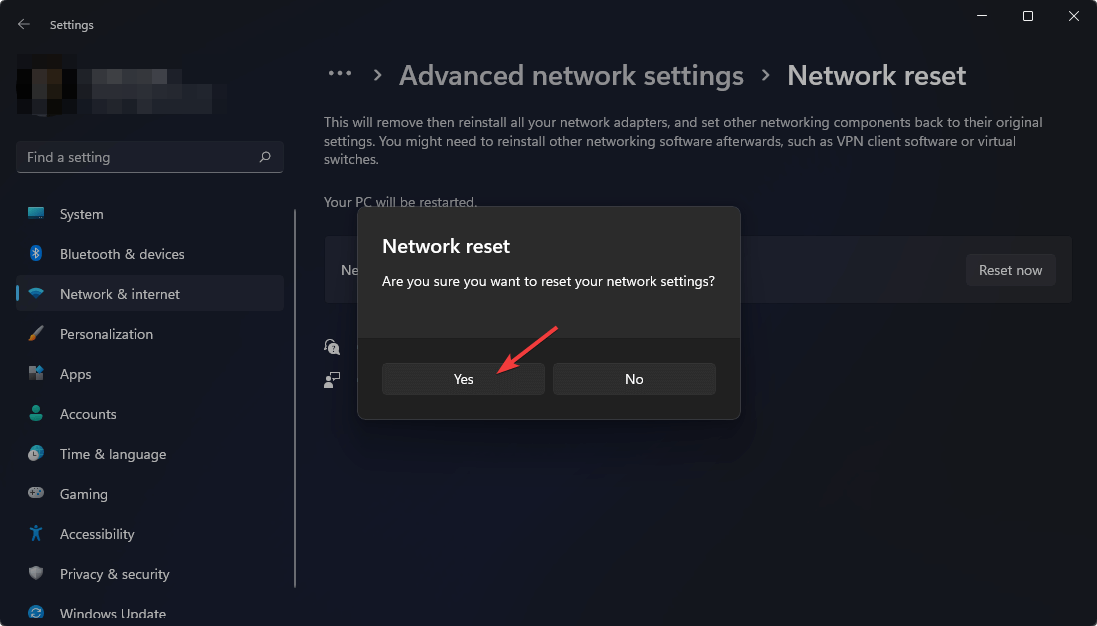
- Next click on Reset now.

- Choose Yes.
3. Troubleshoot Internet connections
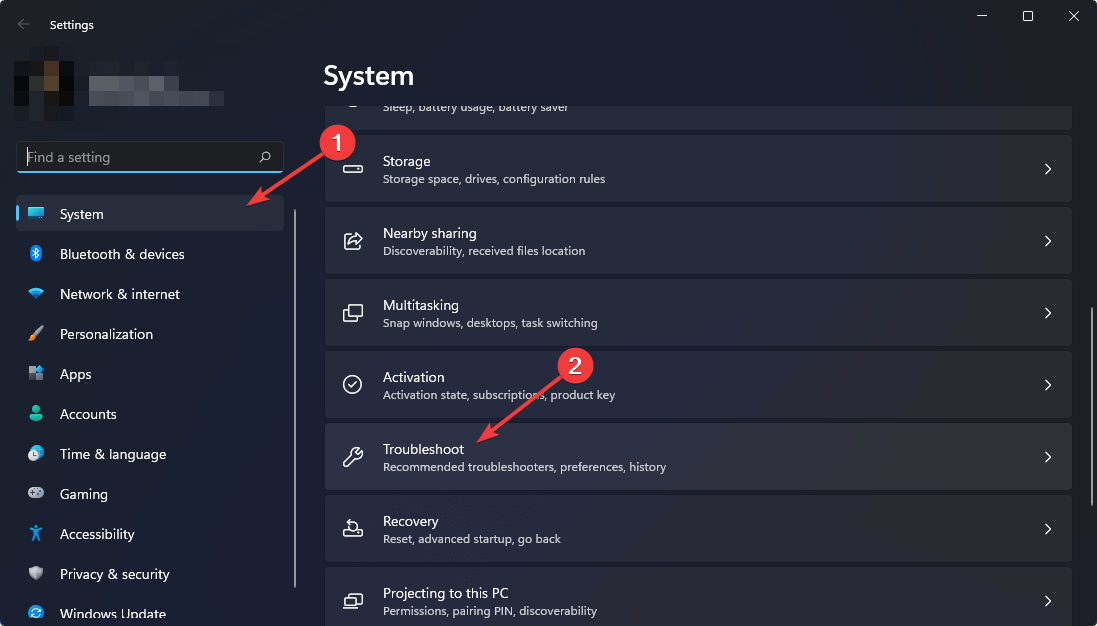
- Press Win + I to open Windows settings.
- Go to the System tab and then click on Troubleshoot.
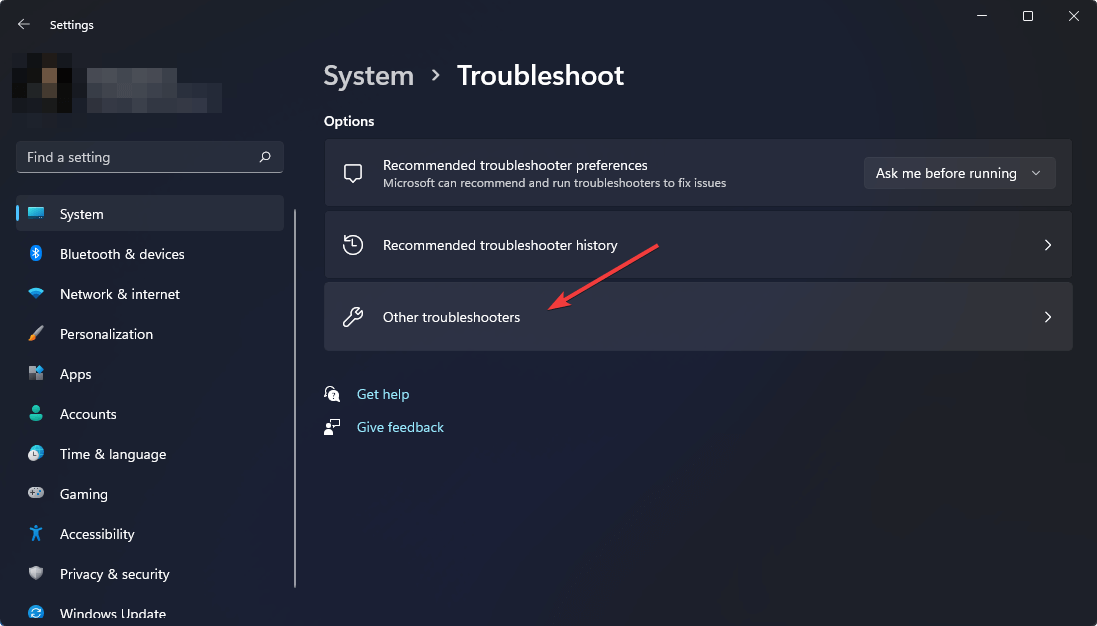
- Go to Other troubleshooters.
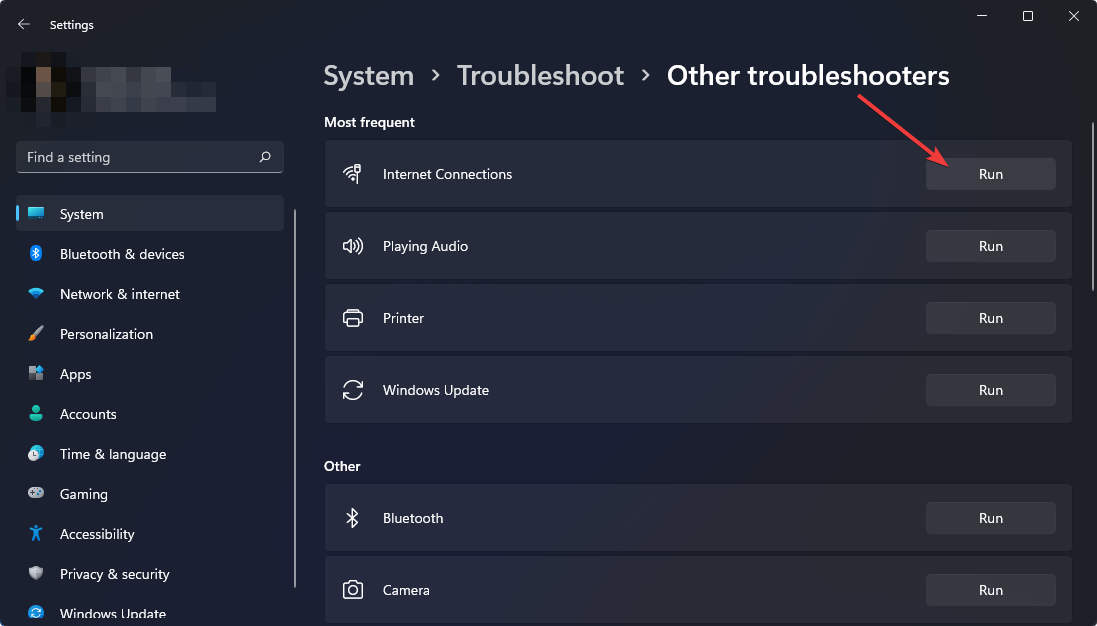
- Click on Run next to the Internet Connections.
- Choose Troubleshoot my connection to the Internet.
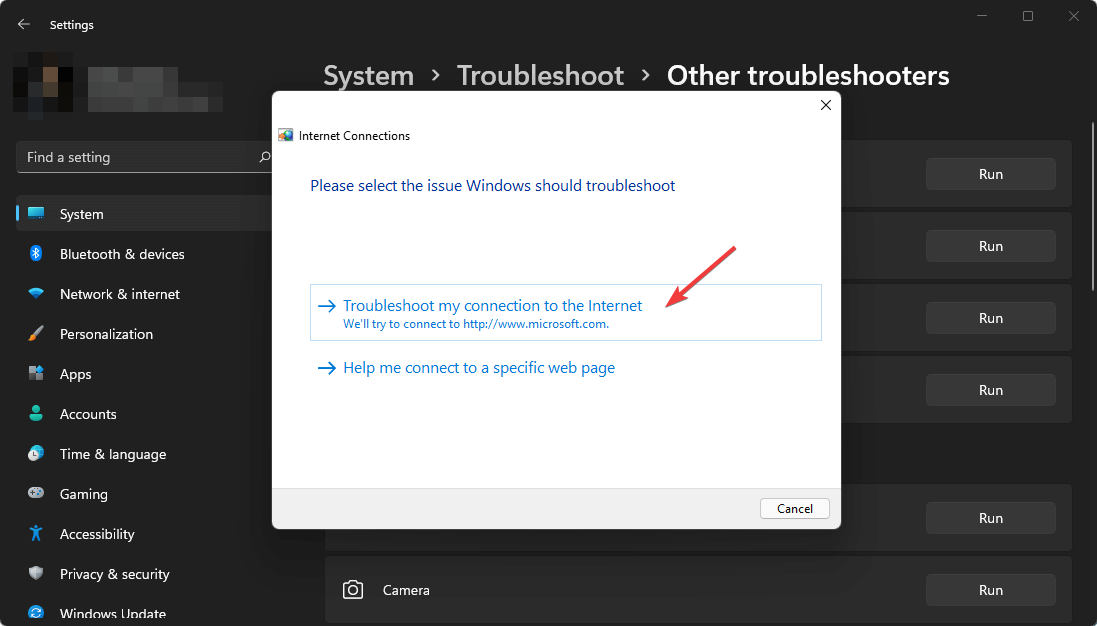
- It will find and fix the problems. If it asks for your permission, grant it.
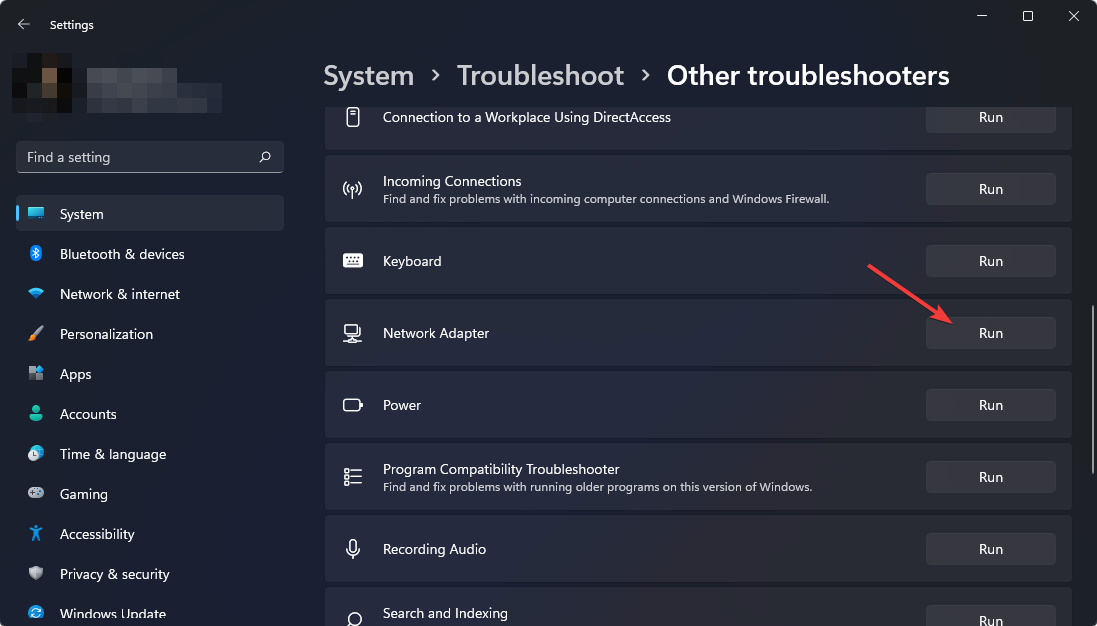
4. Troubleshoot network adapter
- Open Troubleshoot in Windows settings like before.
- Then, go to Other troubleshooters as shown above.
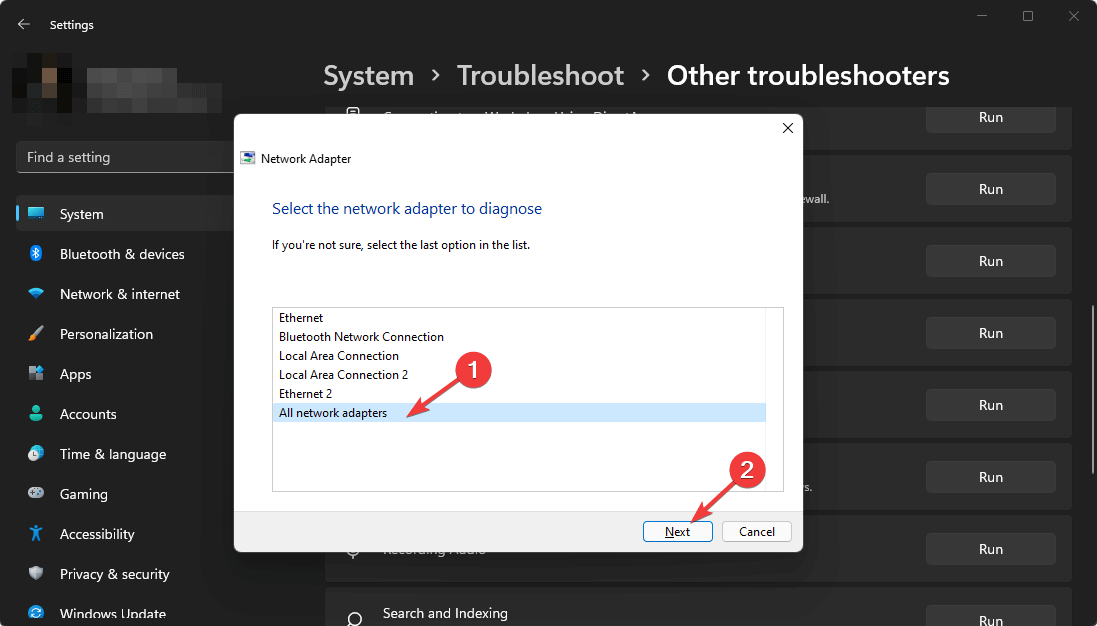
- Find and click on Run next to the Network Adapter.
- Select All network adapters.
- Click on Next.
5. Reinitialize the network states
- Open Command Prompt like before.
- Type the following command and press Enter:
netsh winsock reset catalog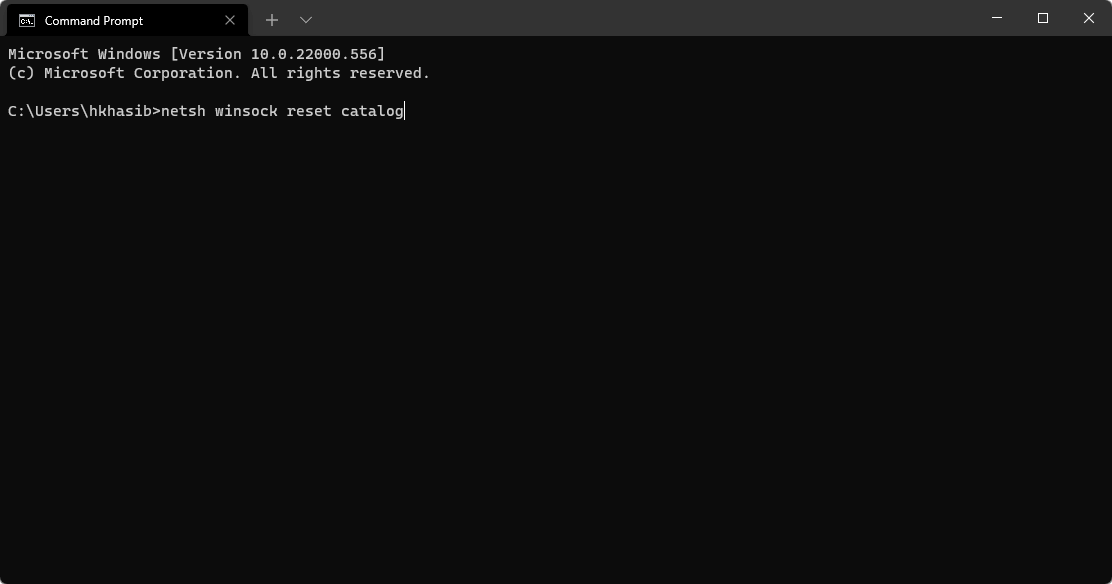
- Run the following command to reset TCP/IP:
netsh int ip reset reset.log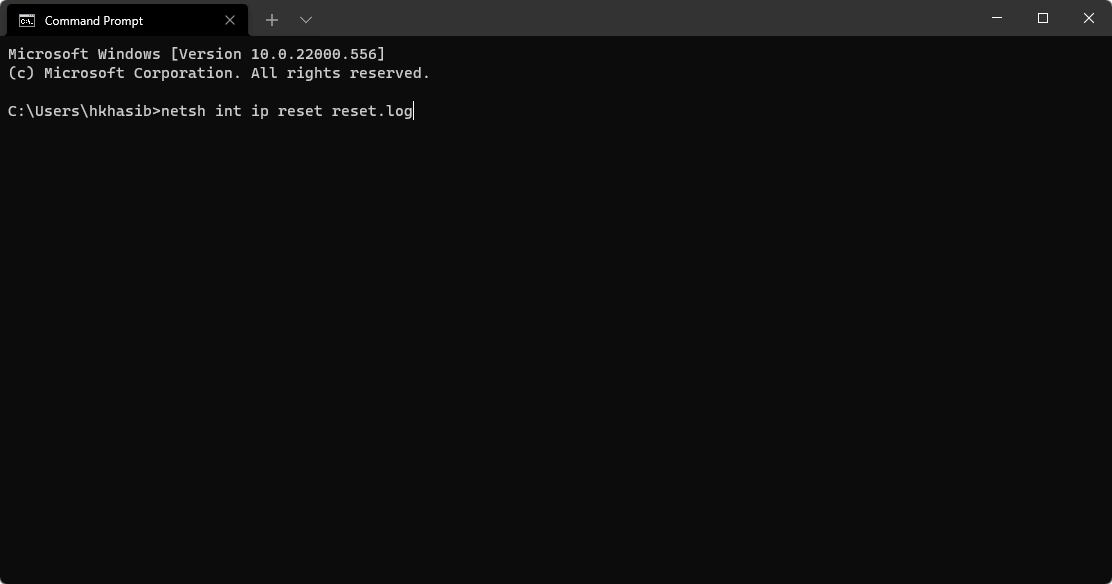
- Execute the command to reset the Firewall:
netsh advfirewall reset
- Then flush DNS by executing the following command:
ipconfig /flushdns - Renew DNS client and refresh DHCP leases by this command:
ipconfig /registerdns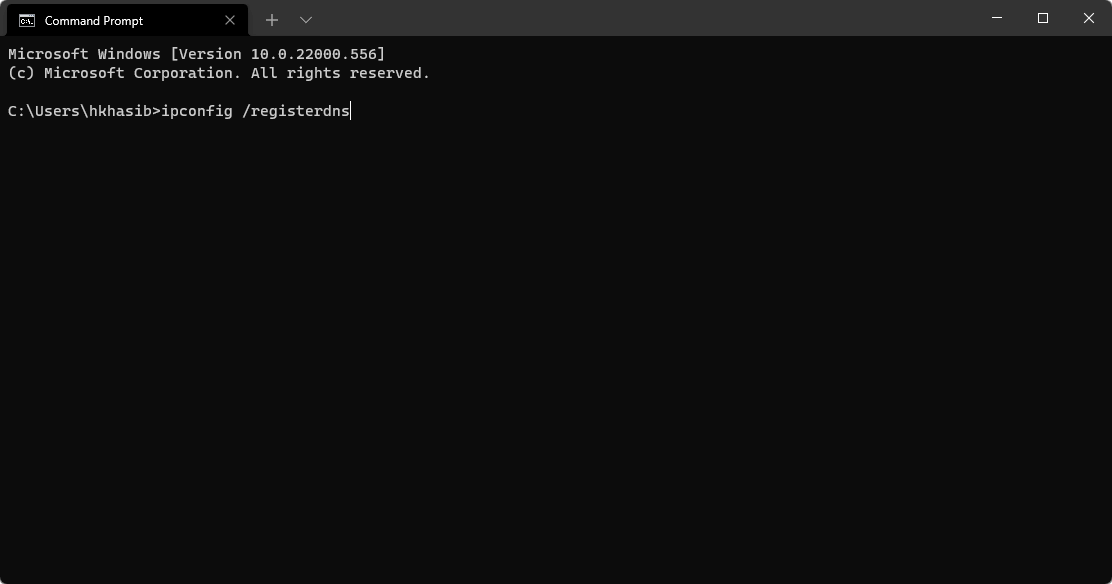
- Last, flush routing by running this command:
route /f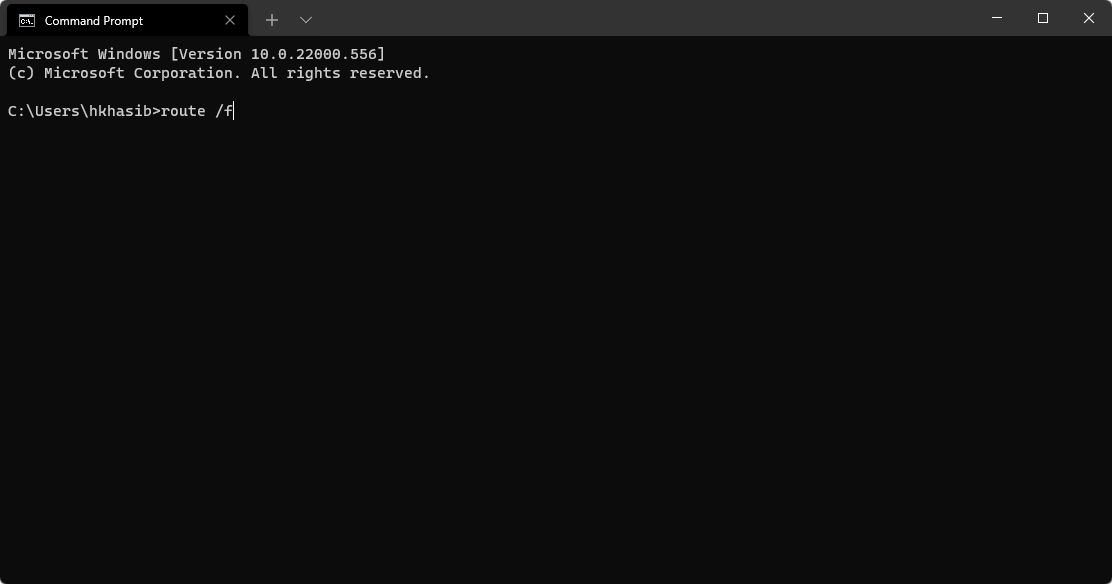
6. Update network driver
- Open the Start menu.
- Type device manager and hit enter to open Windows Device Manager.

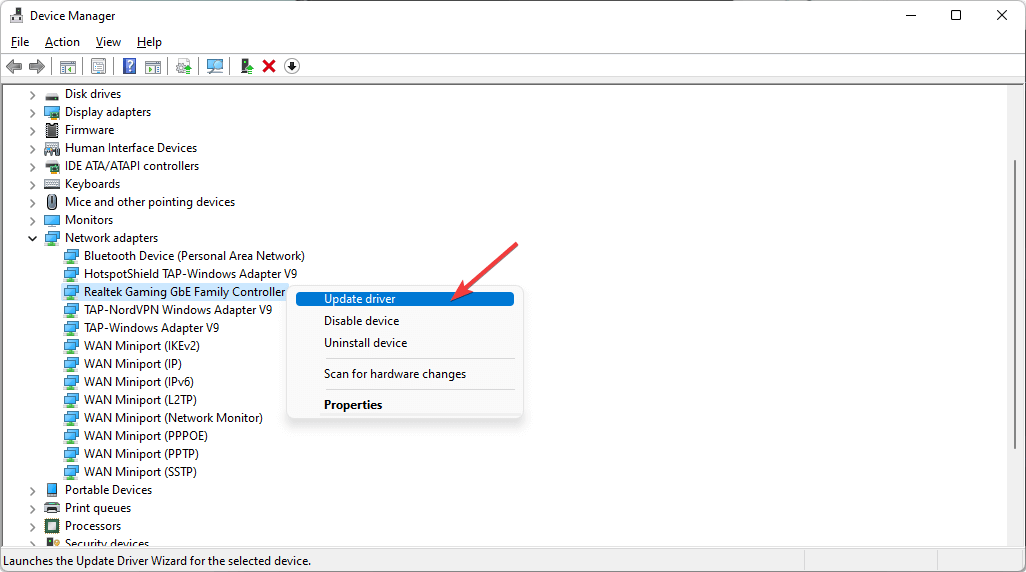
- Expand Network adapters.
- Now, right-click on the network driver you want to update and choose Update Driver.
- Click on Search Automatically for drivers.
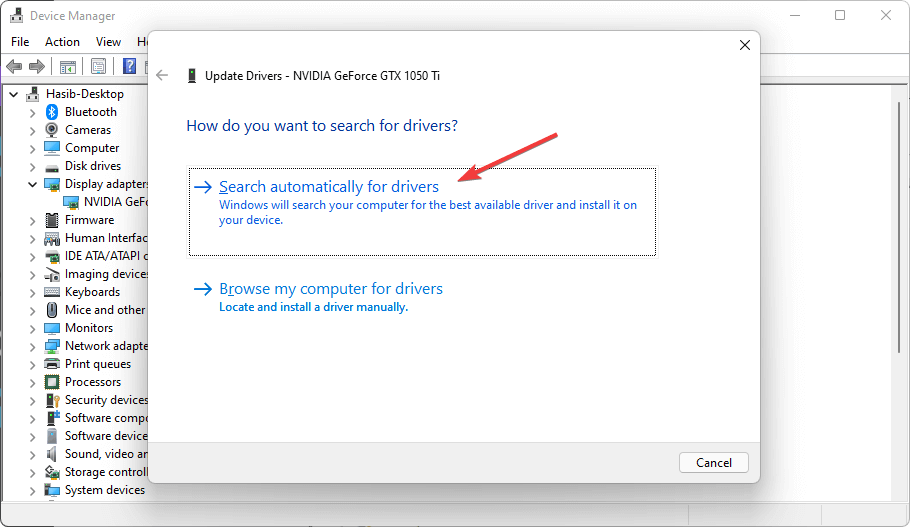
- If it finds an updated driver version, Windows will install automatically.
Windows may fail to find the latest driver sometimes. So, it will be more effective if you use a third-party driver updater.
7. Reinstall the network driver
7.1 Uninstall network driver
- Open the Device Manager like before.
- Find the network driver.
- Right-click on the driver, and choose Uninstall device.
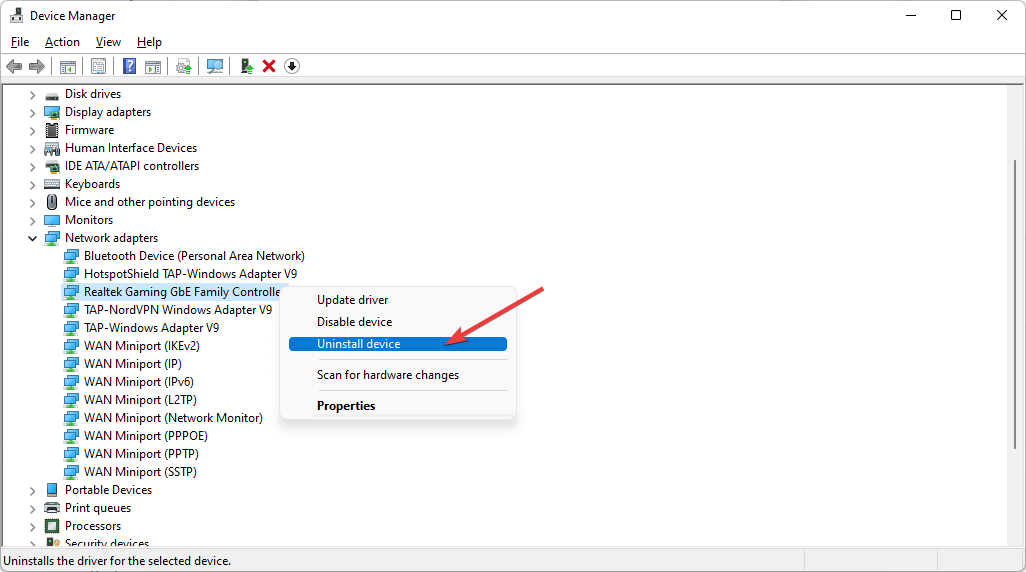
- Check Attempt to remove the driver for this device.
- Click on Uninstall.

7.2 Install the driver again
Restart your computer. It will reinstall the driver automatically. If it doesn’t reinstall, download the correct driver in another computer, copy it to a pendrive, and install the driver in the problematic PC from the Pendrive.
8. Remove the VPN app’s leftovers
If, after uninstalling, the VPN app leaves leftovers on your PC, that may be the reason you are facing the no-Internet problem. In this case, it will be hard to identify the leftovers.
But, you can install the VPN app again and uninstall using a dedicated uninstaller software. It will uninstall the app along with all the leftovers.
9. Repair corrupted system files
9.1 Use System File Checker
- Open Start Menu, type cmd.
- Right-click on Command Prompt and choose Run as Administrator.
- Run the following command:
net stop wuauserv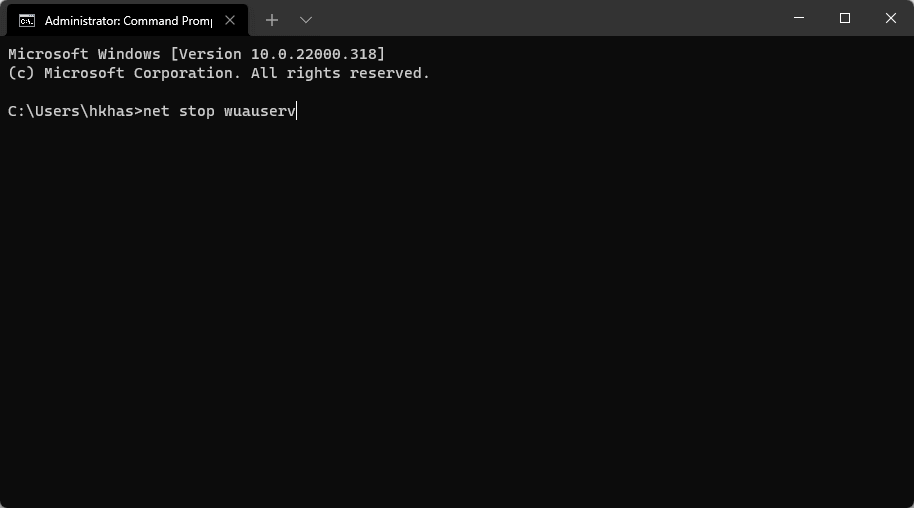
- Type the following command and press Enter:
cd %systemroot%\SoftwareDistribution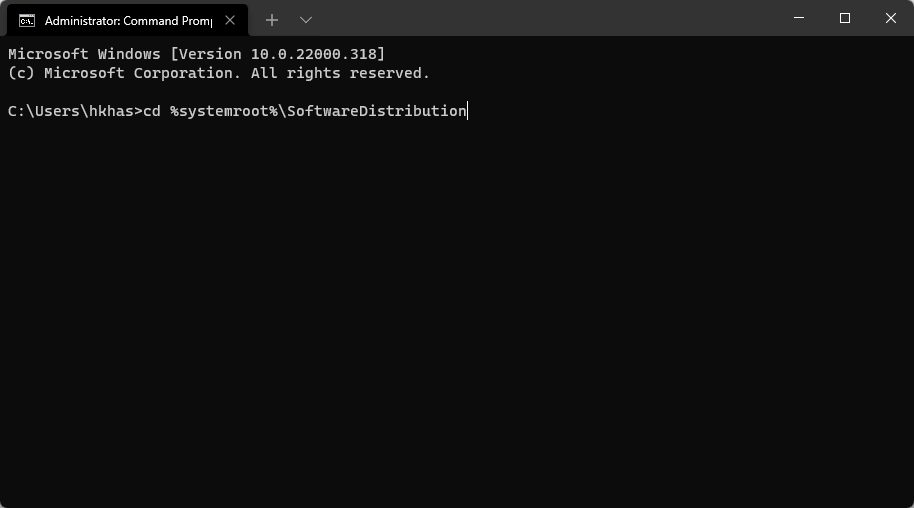
- Run the following command:
ren Download Download.old
- Next, write the following command and hit Enter:
net start wuauserv
- Type the following command and press Enter:
net stop bits
- Next type the command given below and hit Enter:
net stop cryptsvc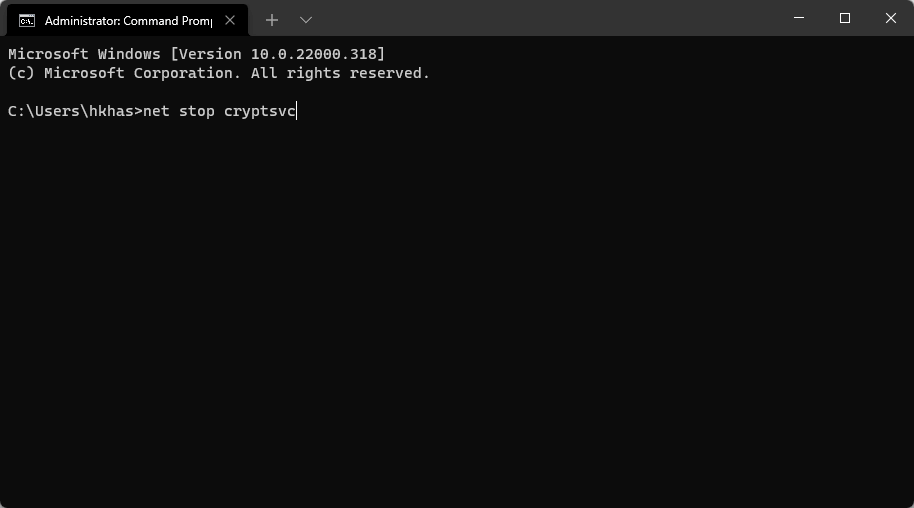
- Write the following line and press Enter:
cd %systemroot%\system32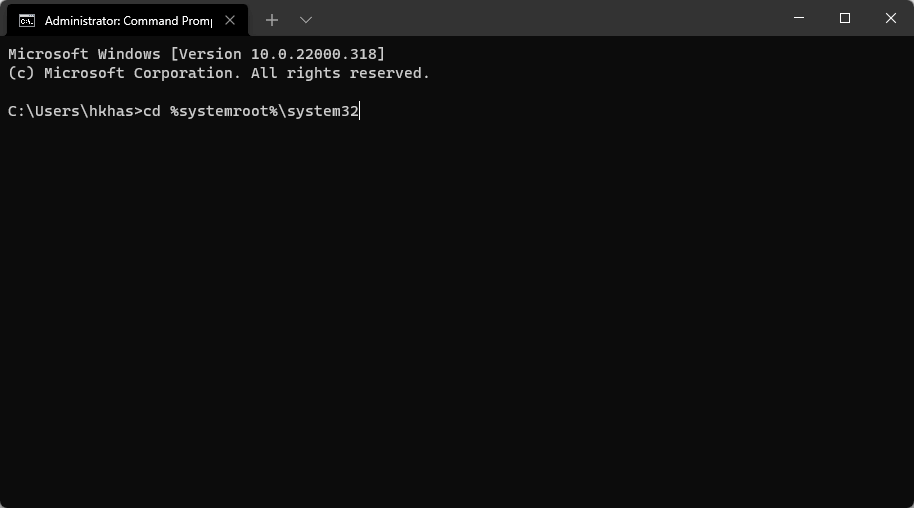
- Then, type that command and press Enter:
ren catroot2 catroot2old
- Run the following command:
net start bits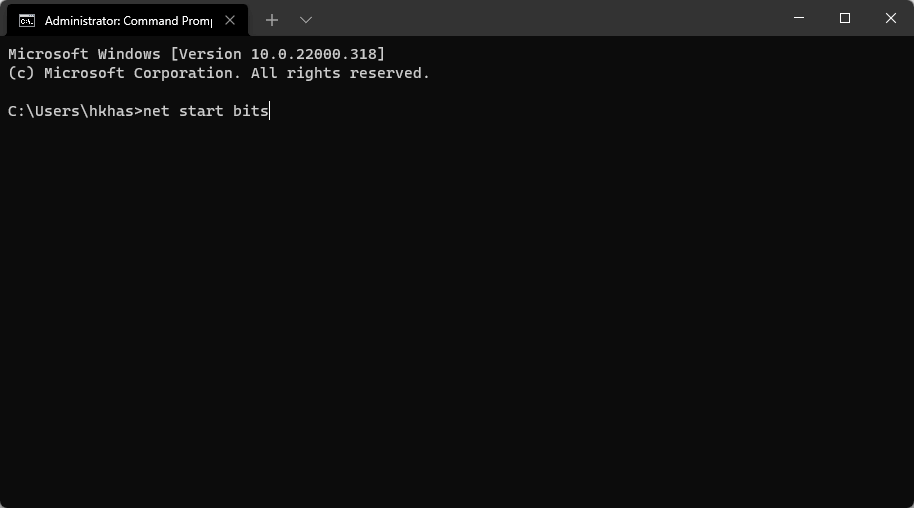
- Write the following command and run it by pressing Enter:
net start cryptsvc
- At last, type this command and hit Enter to execute it:
SFC /SCANNOW
9.2 Use the DISM tool offline
- Download the Windows Media Creation tool on another PC.
- Open the tool and connect an empty Pendrive.
- Choose Create installation media.
- Click on Next and follow the onscreen instructions to create the bootable Windows drive.
- Make sure you have opened the terminal or command prompt as administrator.
- Then, type the following command and press Enter to execute:
DISM /Online /Cleanup-Image /RestoreHealth /source:F:\Sources\Install.wim:1 /LimitAccess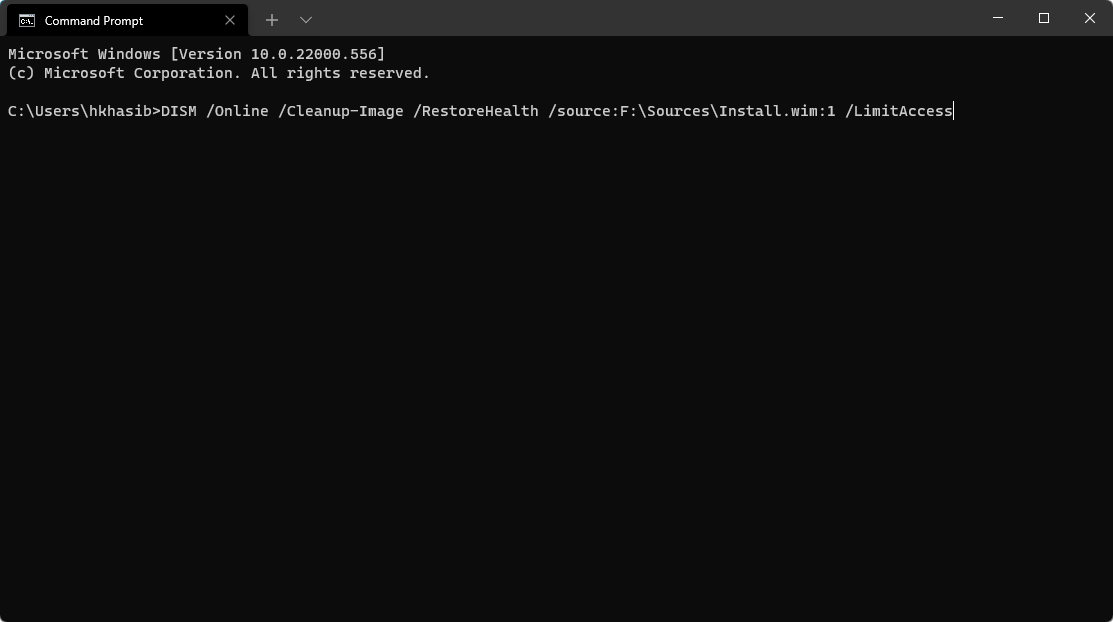
- Restart Windows.
Note: While typing the command, ensure you have replaced F:\ with the bootable Pendrive path. For example, it can be G:\.
This way, Windows repairs its system components. It may fix no Internet problems if they appear after uninstalling any VPN.
Why are VPN apps still better than manual configuration?
There are countless reasons you should use VPN apps to connect to any VPN network because manual methods can be annoying and impractical in many cases.
For example, you have purchased a VPN subscription that has 100 VPN servers. By using the app, you can connect to any of them anytime without worrying about the configuration. It is also easy to pick your preferred protocols from an app.
However, using built-in Windows settings, you would need to configure these 100 server connections one by one, which is very time-consuming to do.
To make things worse, you will need to go to particular VPN connection settings to change protocols and other configurations.
Else, Modern VPN apps always show the ping with any server. It helps to decide which one to connect with. Also, if a VPN server is optimized for gaming or streaming, a VPN app shows this information. But, if you follow the manual path, there is no way to know about it.
The manual method makes sense only if you have one or two custom VPN servers for very specific reasons.
However, VPN apps may create problems after uninstalling in some cases. That is a matter of concern.
But, by using uninstaller software to remove any VPN app, you can reduce the chance of getting any error after uninstallation.
If your Internet stops working when VPN is active, you may want to read this guide on how to fix internet not working with VPN for some helpful fixes.
Anyway, the above methods are enough to fix no Internet after uninstalling the VPN issue. If you know any other techniques that may help, you can input them in the comment box.
Read our disclosure page to find out how can you help VPNCentral sustain the editorial team Read more

Improve this guide


User forum
1 messages