How to Open TextPlus with VPN [Troubleshooting Guide]
Quick troubleshooting steps for unlimited texting
Are you having trouble with TextPlus not working with your VPN? No worries – I’ve got your back! At the end of the day, you may just need to change to a different server to fix the issue. But if the problem is a bit trickier, I’ll prepare you for that as well.
So, if you use a VPN to open textPlus but have trouble with it, keep reading.

Access content across the globe at the highest speed rate.
70% of our readers choose Private Internet Access
70% of our readers choose ExpressVPN
Browse the web from multiple devices with industry-standard security protocols.

Faster dedicated servers for specific actions (currently at summer discounts)
How to fix textPlus not working with VPN
To fix the problem, you need to ensure that your VPN actually masks your location and your VPN connection can’t be traced. Here’s how you do it:
1. Change the server
It’s very possible that you’re connected to a server that is down.
Or you mistakenly connected to a country where textPlus is not supported.
The simplest way to fix this problem is to open your VPN app and switch to a different server.
- Open and log into your VPN.

- Go to your server list.
- Scroll down and select a country where textPlus is available.
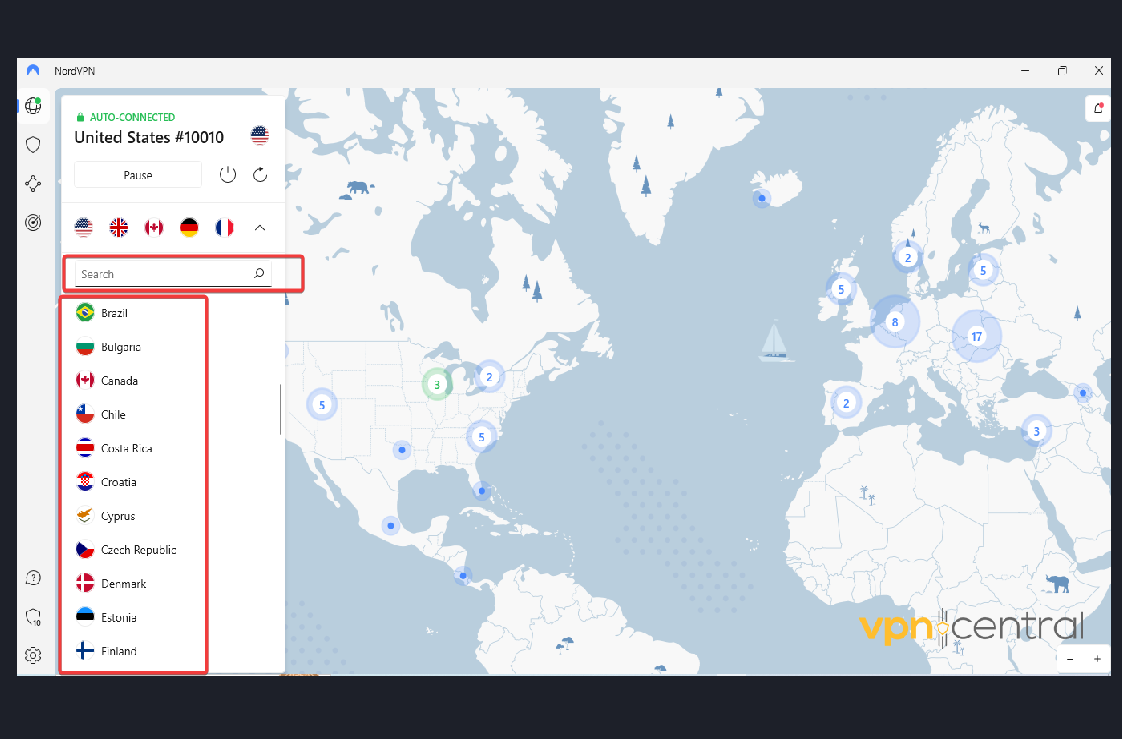
- Connect to textPlus.
As you can see, if the problem is related to your server, a simple switch fixes the problem, allowing you to use textPlus again.
2. Fix DNS leaks
Some VPNs may fail to properly conceal your IP address, allowing your DNS request to leak. This will give away your IP address causing an error when you try to use textPlus with VPN.
To fix this error you have to first test your VPN to see if there is a DNS leak, then fix it if there is any.
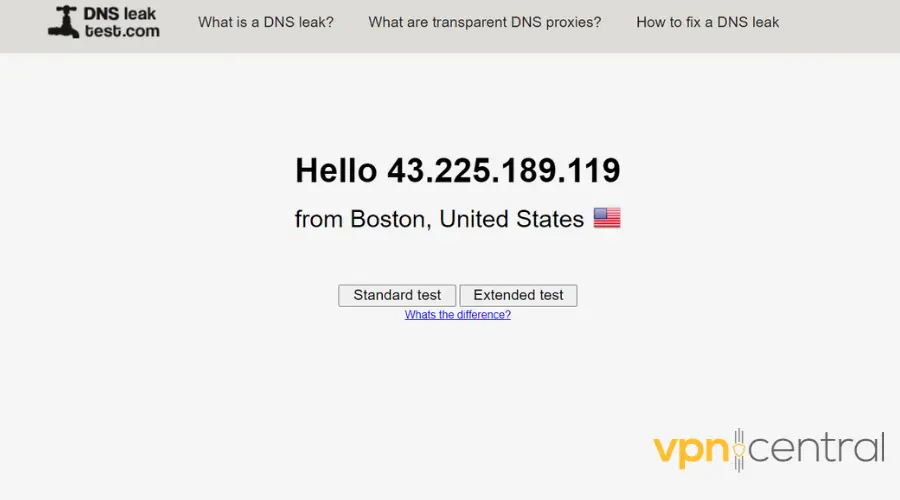
Check for DNS leaks
- With your VPN turned off, go to a leak testing website such as DNS leak test.
- Your hostname, IP, ISP, and country will display on the site once you visit it.
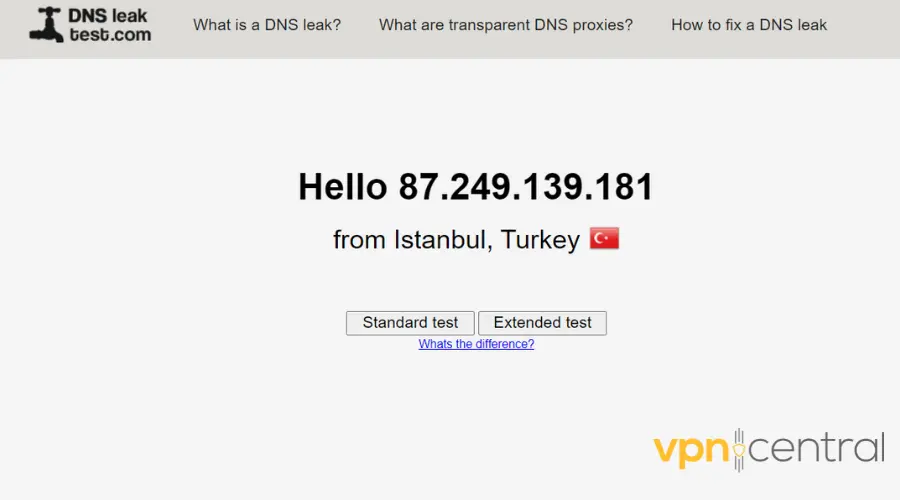
- Now open your VPN and connect to a server.

- Run the test again.
- Now, the test should say your location is in the US (or the corresponding location of your VPN server). If the results are the same as in the first test, then you have a DNS leak.
Flush your DNS
- On your PC, launch Command Prompt.
- Type
ipconfig /flushdnsand press Enter.
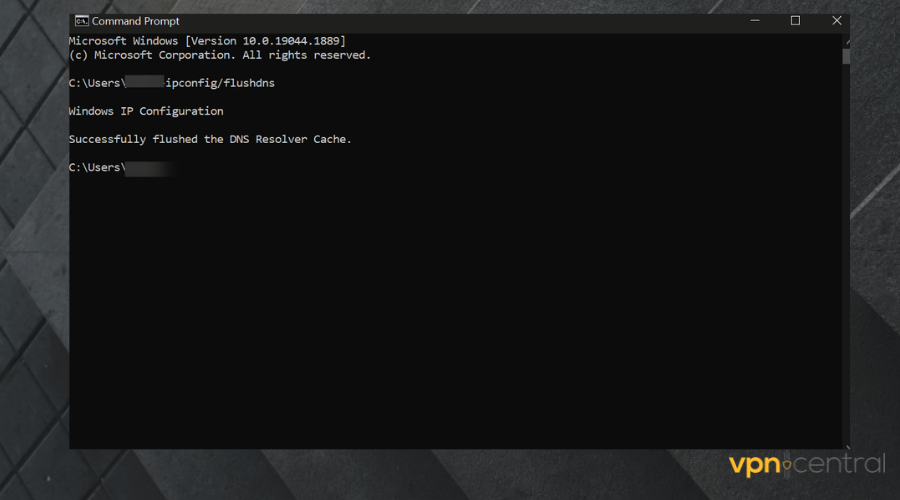
- Wait for the process to complete. This will refresh your DNS cache and should solve DNS problems, including leaks.
- Run the test again. If the address and location of your VPN address show up, then the DNS leak issue is resolved.
Using a VPN with built-in DNS protection can also prevent this from happening. Some users also mention that disabling IPV6 can work in case your VPN or device doesn’t support the protocol.
3. Change your VPN client
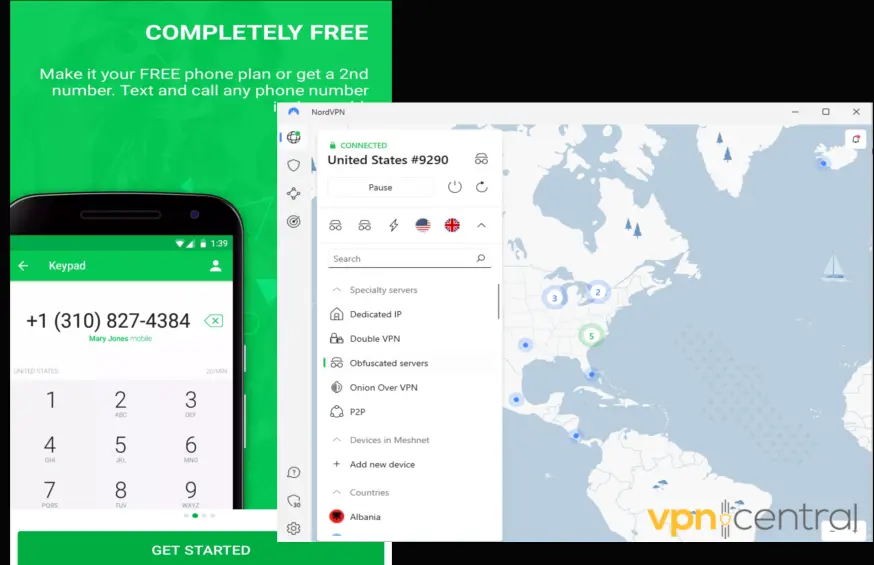
For textPlus, I recommend using a VPN service with obfuscated servers. These will use multiple layers of encryption to make sure none of your actual information is visible.
They’re especially useful for geo-blocking, so they should work great for textPlus. NordVPN is a great option for that, with obfuscated servers in multiple locations, including the US and Canada.
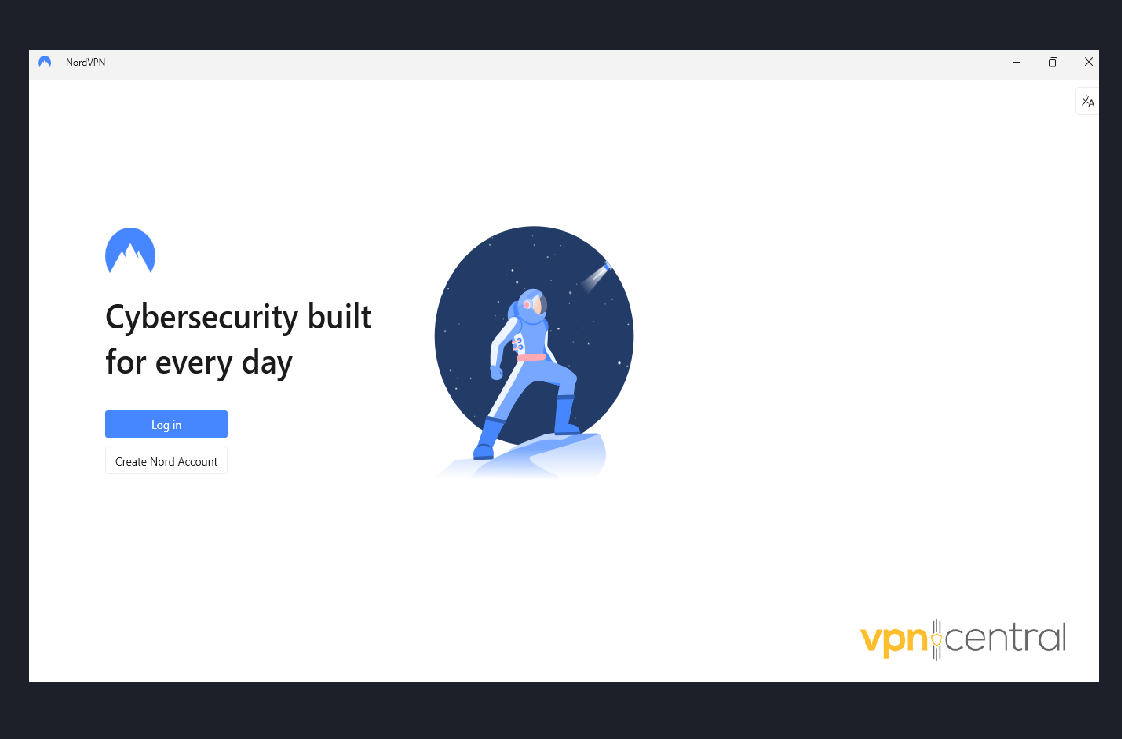
- Get NordVPN and install it on your PC.
- Launch the app. Log in with your credential.
- Click Settings at the bottom left corner of the screen.
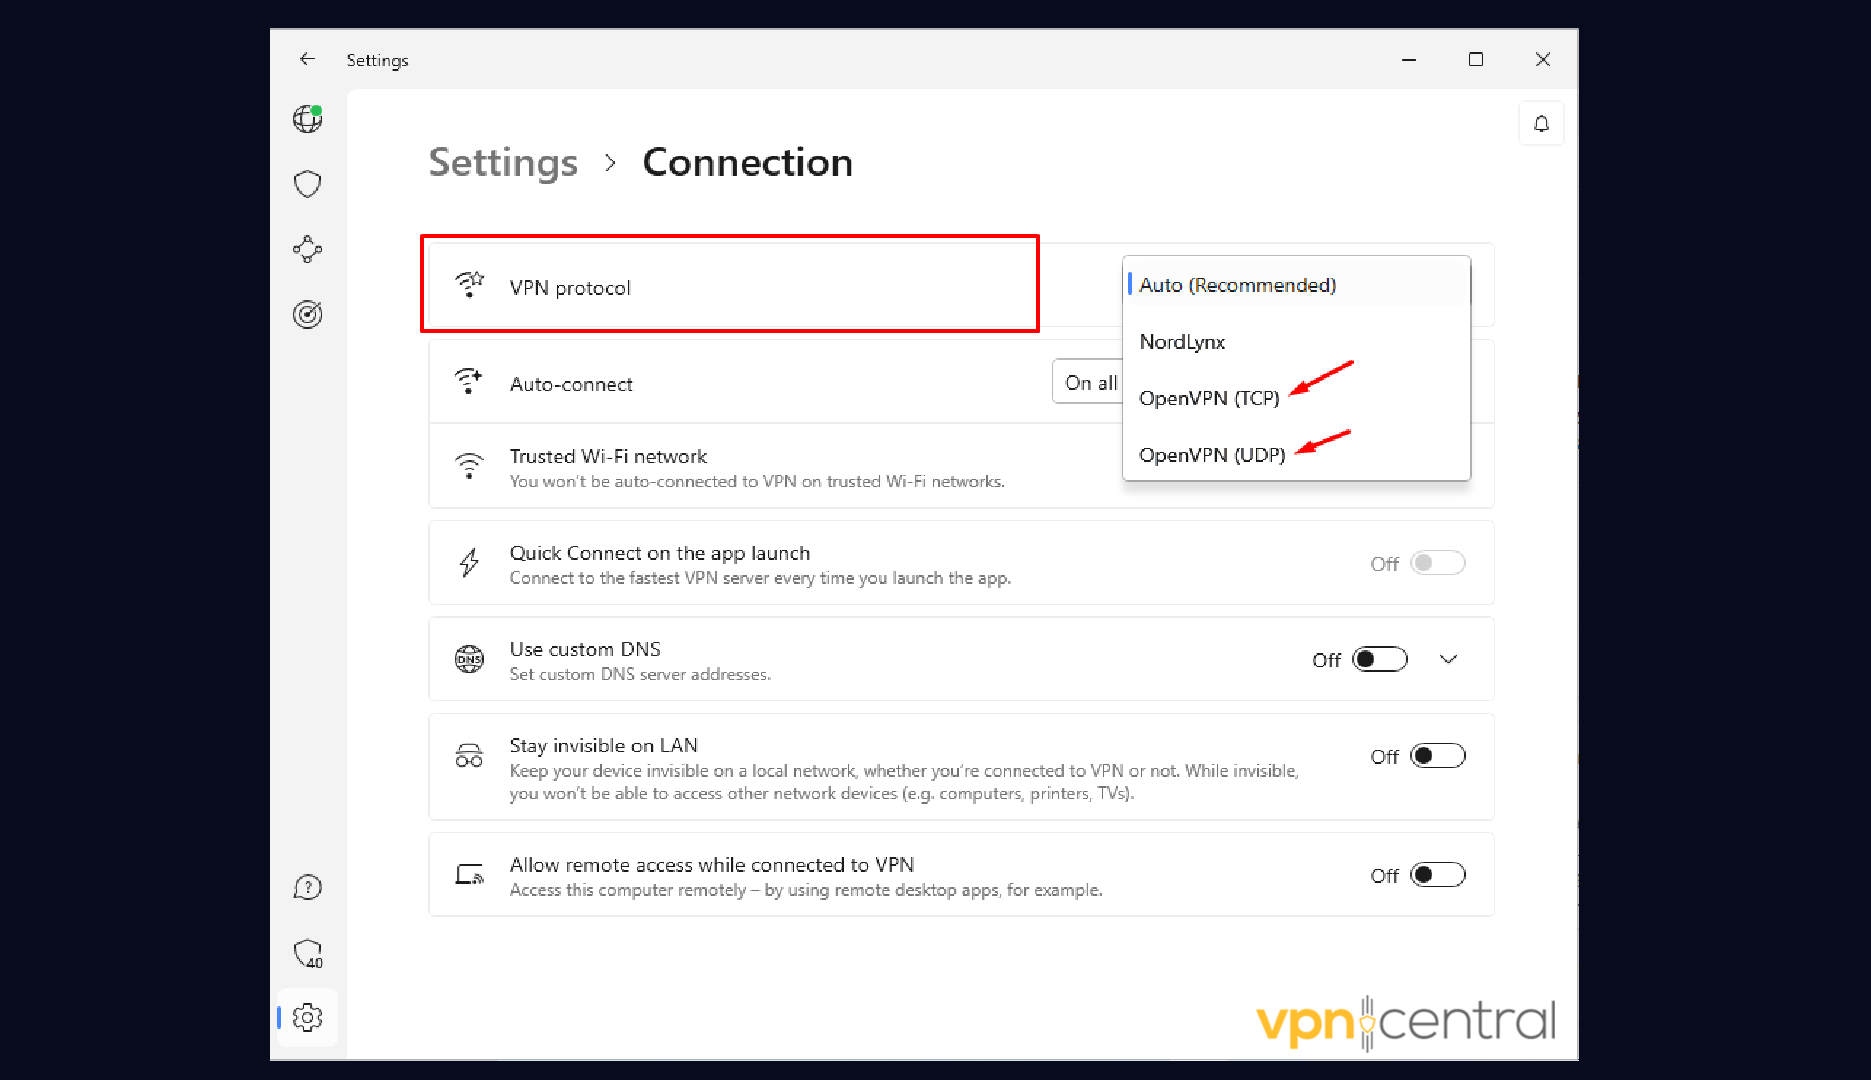
- Under the connection tab, click on Protocol.
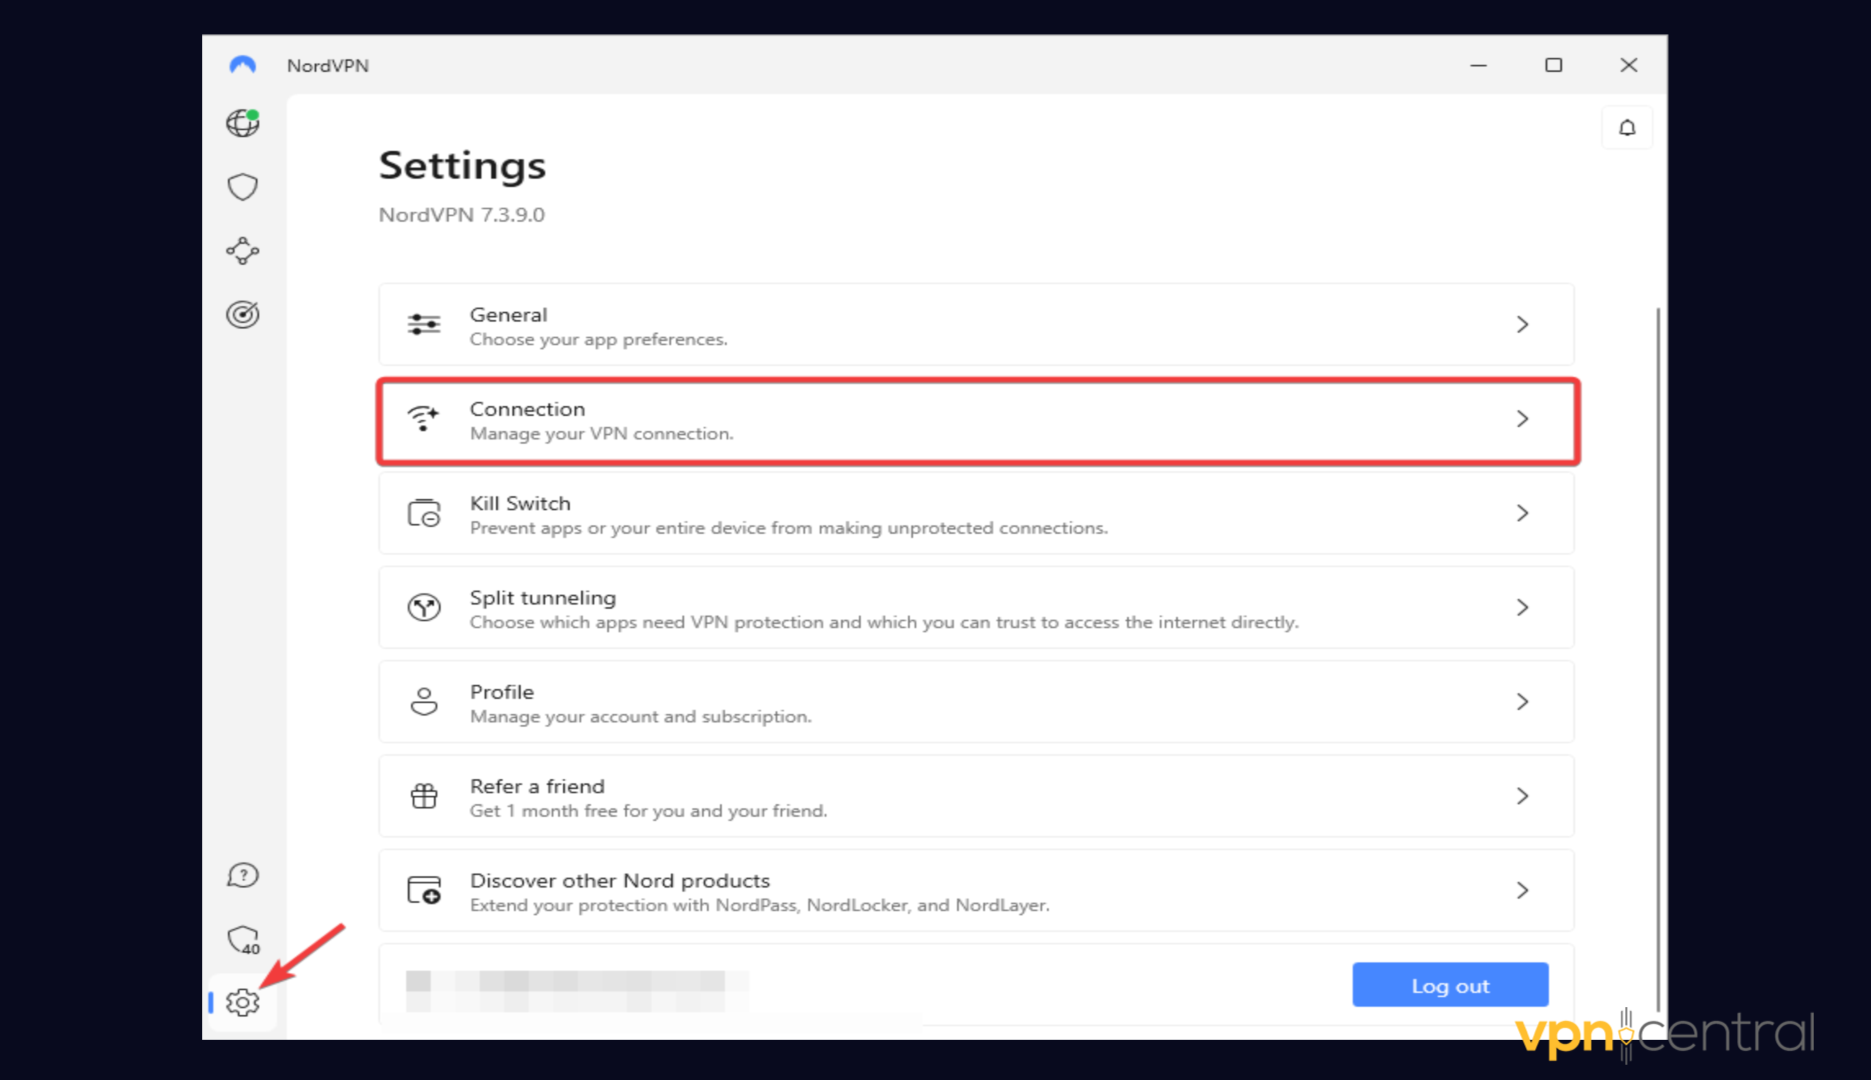
- Set it to either OpenVPN (UDP) or OpenVPN (TCP)
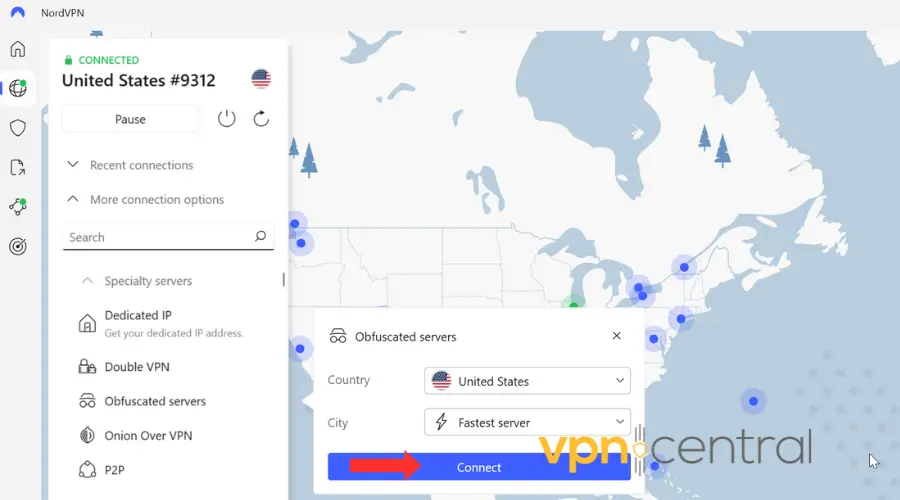
- Go back to the main page and click Specialty server
- Click on Obfuscated and select a server.
- Try using textPlus again.
Apart from the special servers, NordVPN is fast and optimally secure. It uses 256-bit military encryption and unique server addresses to protect users from trackers.

NordVPN
Unlock TextPlus from anywhere without any errors using this reliable and modern VPN!5. Enable Stealth Mode or Obfuscation Technology
Some VPN services include stealth VPN protocols designed to disguise VPN traffic as regular internet activity. TextPlus may use deep packet inspection (DPI) to detect and block VPN traffic, and stealth mode can help you bypass that.
Look for features like:
- Open the VPN app and log in.
- Go to Settings (gear icon).
- Click “Connection” in the left-hand menu.
- Scroll down to VPN Protocol and choose OpenVPN (TCP).
- Obfuscation only works with OpenVPN protocols.
- Toggle on “Obfuscated Servers”.
- Return to the main screen and use the search bar to type and connect to “Obfuscated”.
Not all VPNs offer this. If yours doesn’t, consider switching to one that supports stealth features.
6. Switch to a Different VPN Protocol
If stealth mode isn’t available or doesn’t help, try changing the VPN protocol in your app settings.
- OpenVPN TCP is more stable and less likely to be blocked than UDP.
- IKEv2/IPSec often works better on mobile networks.
Avoid protocols like WireGuard unless you’re using a VPN with stealth or cloaking enhancements (like NordLynx with NordVPN).
To change protocols: Go to your VPN settings > Protocol > Select a different option > Reconnect.
7. Use Split Tunneling to Route TextPlus Outside the VPN
If your goal isn’t to spoof your location, you can try split tunneling to exclude TextPlus from using the VPN. This is useful if TextPlus is blocking all VPN connections.
How to do it:
- In your VPN settings, look for Split Tunneling or App Exclusion.
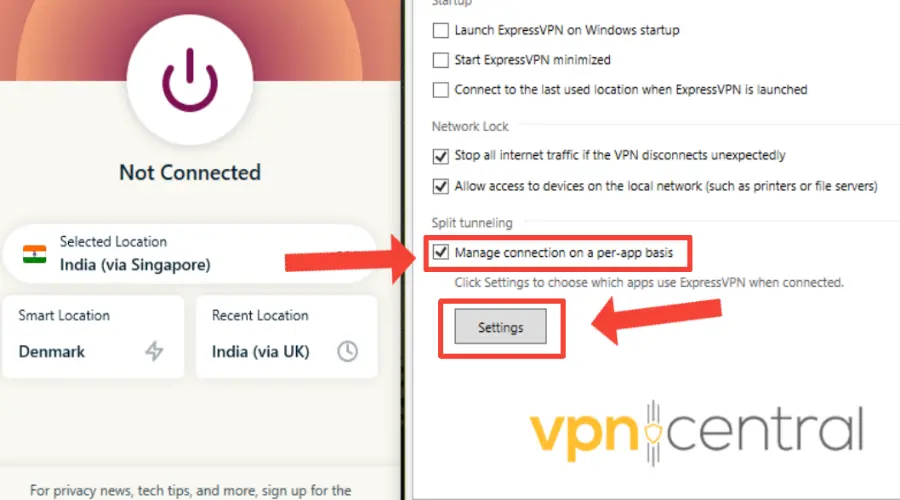
- Exclude TextPlus so it connects via your normal internet while other apps use the VPN.
Note: This won’t change your IP for TextPlus but may fix connectivity issues.
8. Try a VPN With Residential or Mobile IPs
VPNs typically use datacenter IPs, which are easily identified and blocked by apps like TextPlus.
To bypass this, try a VPN or proxy provider that offers residential or mobile IP addresses, which look like real user connections.
Recommended options include:
These services are more reliable for apps that aggressively block VPNs, though they may come at a higher cost.
Why is textPlus not working with VPN?
TextPlus may not work with VPNs for various reasons, including network conflicts, protocol incompatibility, the app itself blocking the VPN, DNS leaks, poor Internet connection, or connecting to a restricted region’s server.
When this happens, you’ll get error messages such as:
- textPlus: This item isn’t available in your country
- textPlus: The device or app version is currently not supported
- textPlus: something went wrong
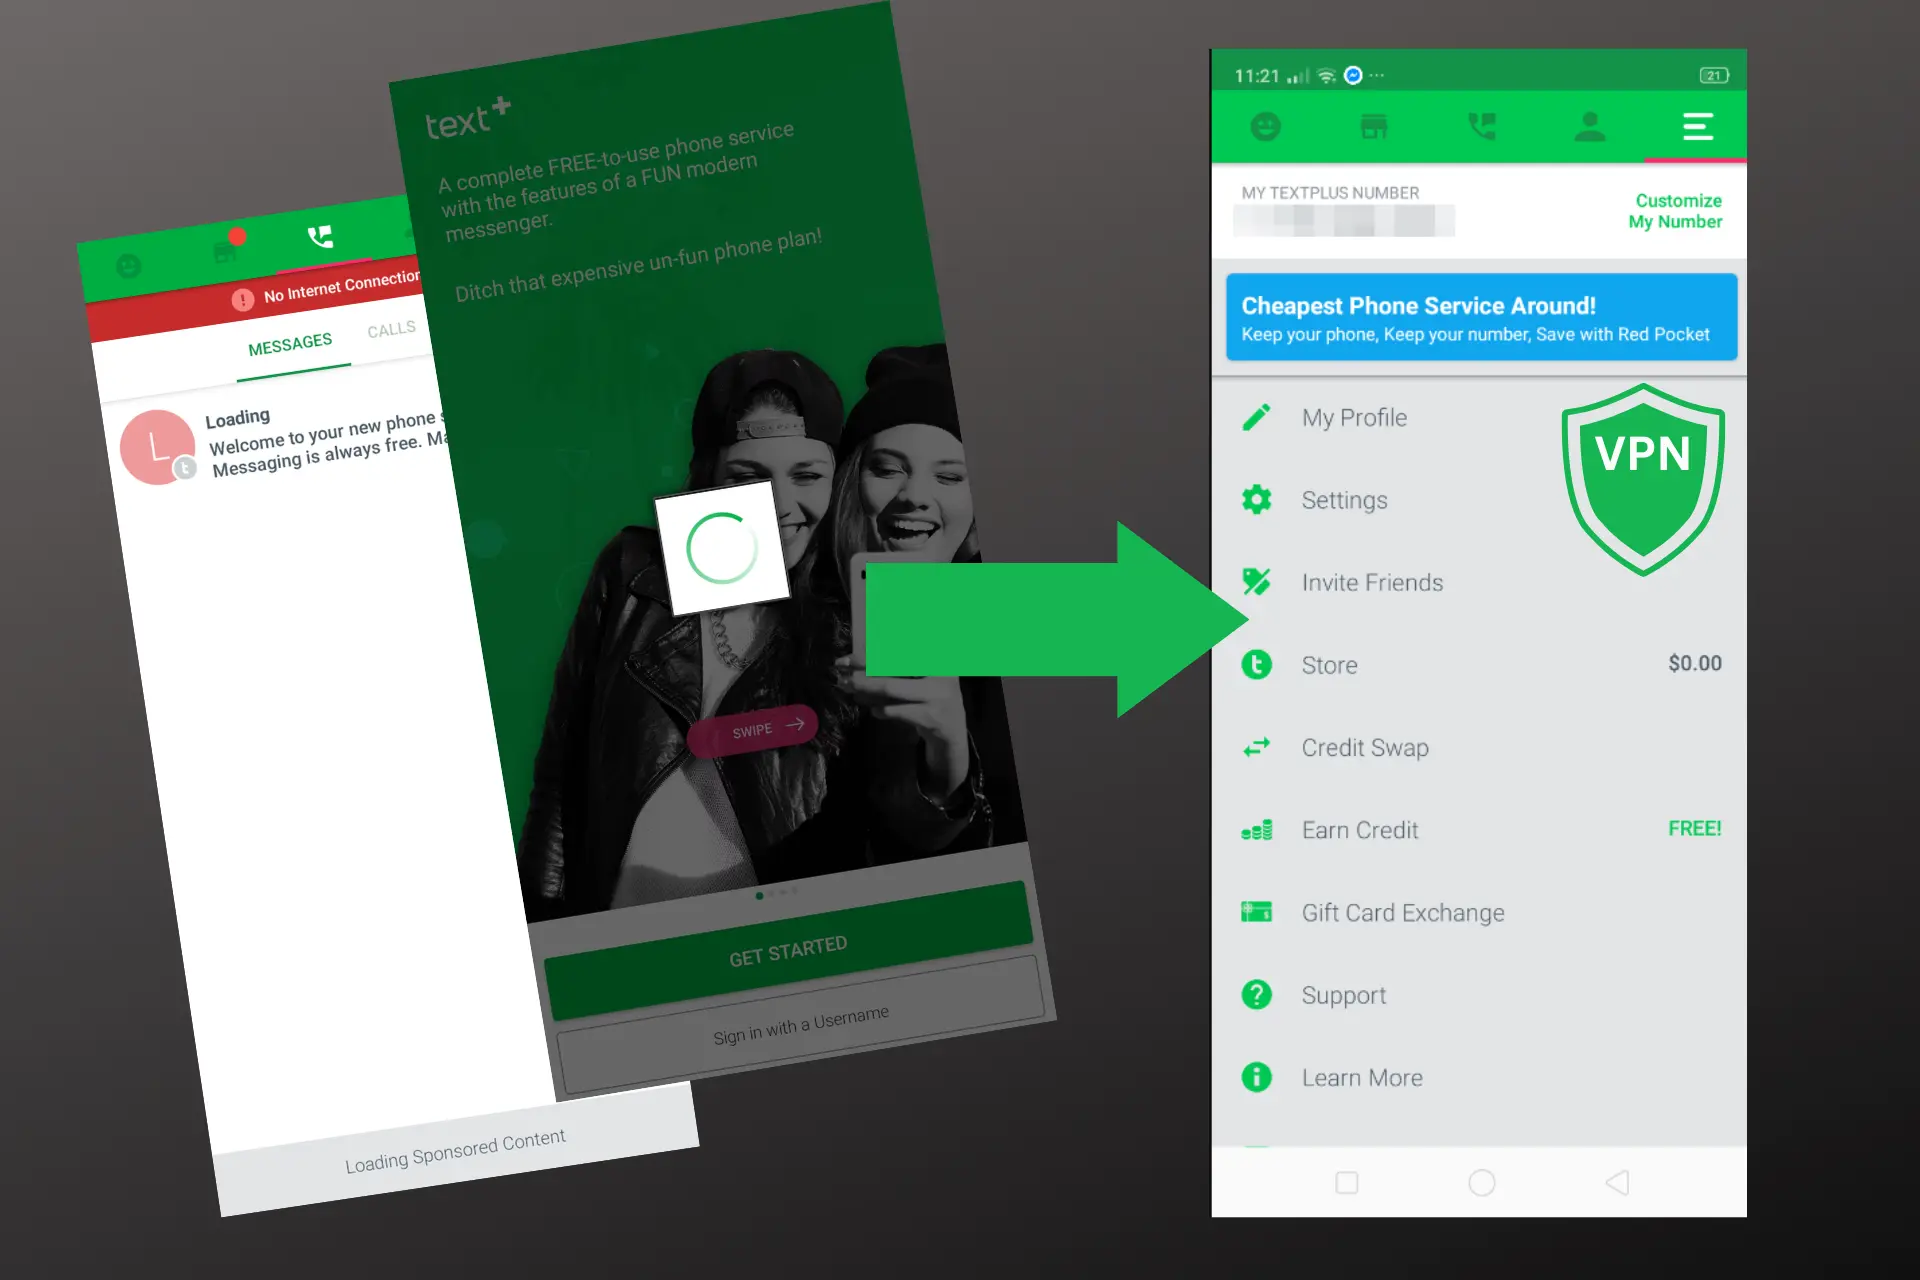
- textPlus is stuck on the loading screen.
Conclusion
Imagine being eager to finally connect to friends on Textplus through a VPN connection, only to receive an error message.
Although the main culprit is a poor network connection, other things can go wrong, including bad VPN tunneling and DNS leaks.
Don’t sulk when it happens because there are ways to correct it. You either connect to another server or fix underlying data leaks. After these steps, Textplus should work with your VPN.
Read our disclosure page to find out how can you help VPNCentral sustain the editorial team Read more

Improve this guide


User forum
17 messages