How to Fix VPN Error 691 [Easy Step-by-Step Guide]
7 expert-tested fixes

VPN error 691 typically indicates that there’s a connection problem between your device and the VPN server.
Luckily, it’s not that hard to fix. Let me explain why you get that error and how to resolve it:
What is a VPN error 691 and why does it happen?
VPN 691 error is an authentication error. It happens when you attempt to connect to your VPN, and the server fails to identify or recognize you, ultimately denying you access. For this reason, you may also refer to it as an Access denied error.
The problem most commonly occurs due to an incorrect username and password or an authentication protocol conflict between the client and the server.
Other causes include network issues, incorrect client configuration, and problems with the remote server.
How to fix the VPN 691 error
The VPN error 691 is simple to fix, and you can do it yourself by reconfiguring your VPN or router settings.
Let’s start with a couple of quick steps
- Check your username and password: The leading cause of VPN error 691 is using the wrong username and password. Ensure you have the correct credentials when setting up the connection.
- Restart or reboot your router or device: Restarting your router is usually the first thing you should try, as it can resolve temporary glitches and connection issues.
Now, if this doesn’t work, it’s time to get into the nitty-gritty.
1. Remove the .local extension from the Domain name
When connecting to the VPN, there’s a field for adding the domain name while entering your password and username. If the field contains the .local extension, removing it might solve the issue.
2. Enable Microsoft CHAP version 2
If the above steps don’t work, you might need to change the protocol from the VPN properties on your computer. Here is how to go about it:
- Press Win + X to open the Windows menu.
- Select Network Connections and open the VPN tab.
- Tap the VPN, click on Advanced options, then select More VPN properties in the tab that opens, and click Edit.

- Go to Security, and bring out the drop-down menu under Use Extensible Authentication Protocol.
- Select Microsoft: Secured password (EAP-MSCHAP v2) and click OK to save changes.

3. Uncheck Include Windows logon domain Box
You can also fix error 691 by disabling the Include Windows logon domain option. Let’s see how to do it:
- Press the Win + X buttons and select Network Connections.
- Right-click the VPN network, then click on Properties.
- Open the Options tab and uncheck the Include Windows logon domain in the Dialing options section.
- Hit OK to save the changes.
4. Change the LAN manager’s parameters
If you’re not afraid to tweak your system’s settings, you can fix the VPN error 691 by changing the LAN Manager parameters. Follow these steps carefully:
- Press the Win + R keys, type gpedit.msc, and click OK to open the LocalGroup Policy Editor.
- Click Computer Configuration -> Windows Settings -> Security Settings -> Local Policies -> Security Options.
- Double-click Network Security: Lan Manager authentication level.
- In VPN Connection Properties, click on Send LM & NTLM responses, and save the changes.
- Go back to the Group Policy Editor table and double-click the Network Security.:Minimum Session Security for NTLM SSP.
- Now, check the Require NTLMv2 session security box and uncheck the Require 128-bit encryption option. Click OK to save the new settings.
- Restart your computer and see if that fixes the error.
5. Update the VPN network driver
Ensure that your network driver is updated, as outdated software often leads to errors:
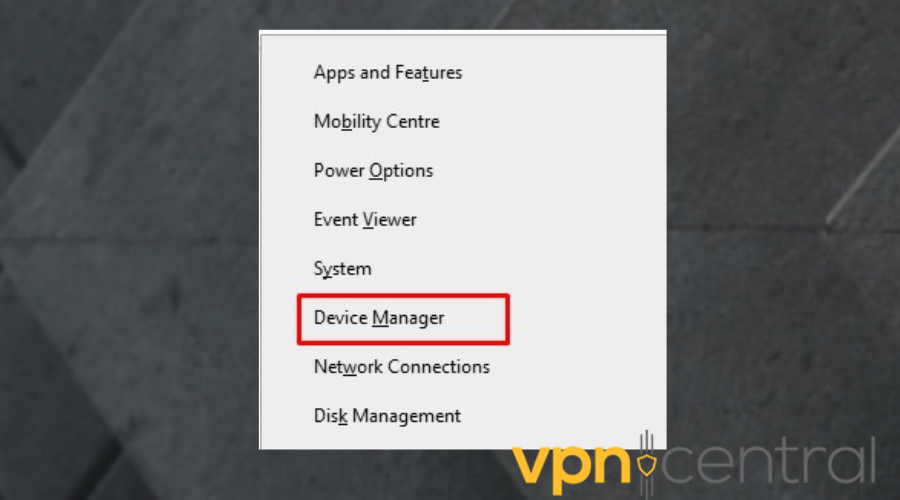
- Press the Win + X keys.
- Select Device Manager from the menu.
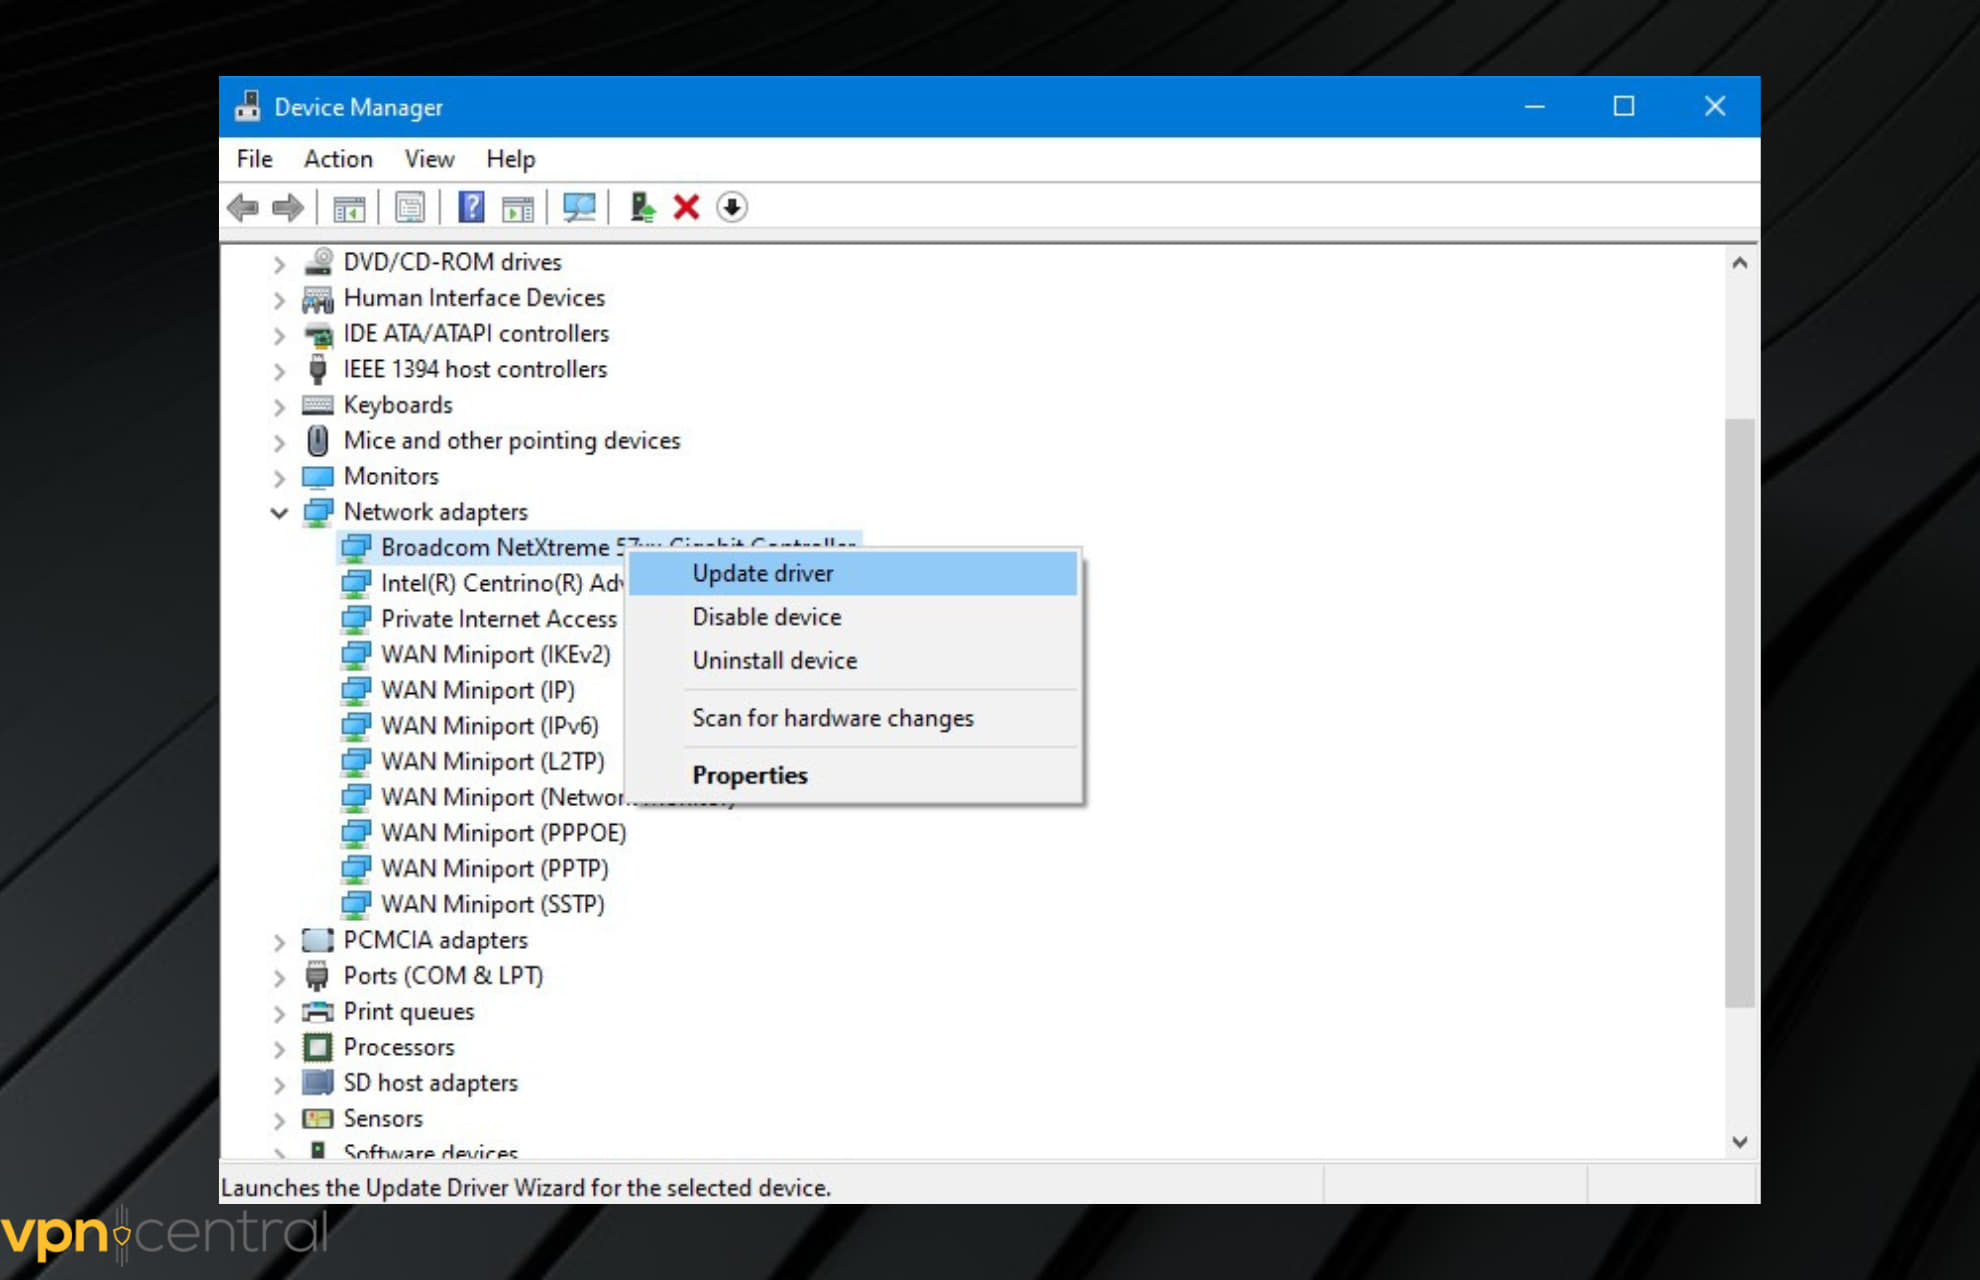
- Expand the Network Adapter tab.
- Find your Wi-Fi receiver driver in the list.
- Click on Update driver.
- Click the Search automatically option. Windows will search for updates and install them.
- Restart your computer, and check if your VPN is working correctly.
6. Use the rasphone command for your VPN connection
For Windows 10 users, there’s a helpful command that can fix VPN error 691. Use the steps below:
- Press Win + X to open the Windows menu and click on the Command prompt.
- Input the following command: rasphone -d VPNname, then press Enter Syntax.
For the VPNname, choose your network’s name. To find it, press Win + I and click on Network & Internet.
7. Re-register the VPN connection
If the VPN error persists, you can delete the VPN connection and add it again.
Take the following steps:
- Press the Win + I buttons to open your computer’s settings.
- Select Network & Internet.
- Find the VPN option on the left, and click on it.

- Go to the right-hand pane, and click the Remove option.

- Click on Add a VPN connection and add the new connection.
- Restart your PC and see if your VPN is working properly again.
Related:
Wrapping up
The VPN error 691 occurs because the server has failed to authenticate you. This can happen due to an incorrect username or password or an authentication mismatch between the VPN server and the client.
Luckily, the fixes are easy.
Simply check the login information and see if that’s correct. Also, consider resetting the network connection by removing the local extension from the domain name. You may also enable Microsoft CHAP version 2 and change the LAN manager parameter, or reinstall the VPN software.
In Windows, you might also encounter VPN error 619. If that happens, follow this step-by-step guide to fix VPN error 619 on Windows. Another common Windows issue is VPN error 720, here’s how to fix VPN error 720 if it pops up.
Read our disclosure page to find out how can you help VPNCentral sustain the editorial team Read more

Improve this guide


User forum
0 messages