FIX: Your IP Has Been Flagged for Potential Security Violations
Being suspected of potential security violations because of your IP is a sure route to get locked out of your WordPress account.
Although you may eventually regain access to it, there’s no question that it’s inconvenient. Even worse, getting accused of some mysterious wrongdoing can be super confusing.
What could you have done to lose your WordPress login privileges? Are you really the problem, or is it something else?
Why has your IP been flagged?
WordPress has flagged your IP because Jetpack (WP’s security system) thinks that you’re a hacker. It could happen when your plugin is outdated.
Or it could be because its Brute Force Attack Protection (formerly Protect) feature detects that your IP has been trying to log into numerous WordPress accounts. If you have multiple WordPress sites, dealing with this error message can be frustrating.
Whether it’s a false alarm or not, you’ll see it after a failed login if your IP smells fishy to Jetpack.
Fix: your IP has been flagged for potential security violations
The best way to prevent this Jetpack error is to whitelist your IP. The problem is that you need access to your account to do it.
If you’re locked out, here’s what we recommend:
1. Get a different IP from a VPN
Connecting to a VPN server allows you to hide your banned IP from Jetpack and use its own instead when logging into WordPress. But using a VPN is more than just IP masking. It can privately handle your DNS queries to keep your ISP from snooping on you.
Moreover, a VPN can strongly encrypt your traffic to keep your data safe from theft, especially when you’re surfing the Web through a public WiFi hotspot.
There are tons of VPN options on the market. But for this particular job, ExpressVPN is your best bet. Its server network covers 94 countries and territories, so you can obtain an IP from as many international jurisdictions.
When it comes to privacy, ExpressVPN has it all: private DNS, RAM-only servers, a kill switch, an impartially verified no-logs policy, and a non–Fourteen Eyes country HQ.
To get started, follow these steps:
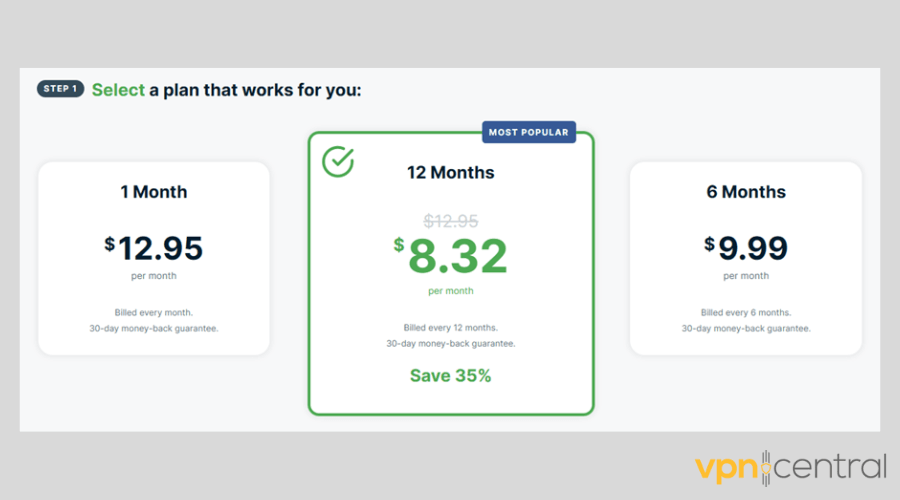
- Visit ExpressVPN’s website to pick a subscription and set up an account.
- Install the right app for your device.

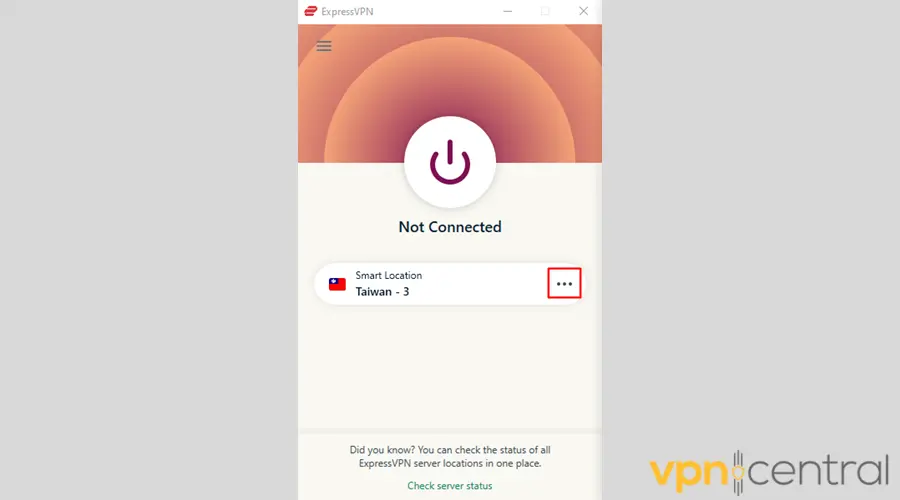
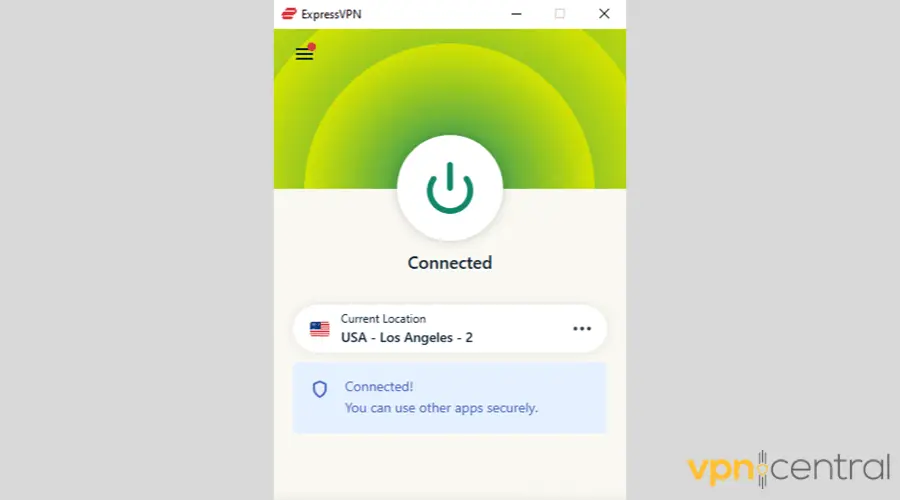
- Launch ExpressVPN.
- Click the ellipsis icon to check out all of the server location options.
- Connect the location of the IP you want to mask yours with.
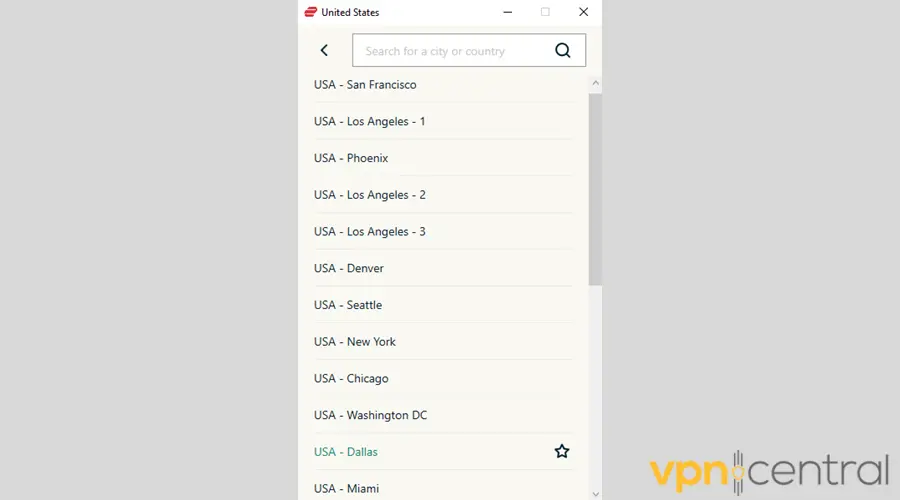
- Once connected, log into your WordPress account.
2. Type in your exact domain
Do you still have WordPress cookies stored on your browser? If the platform remembers you, you might be able to access your dashboard directly by typing this URL: https://www.(insert your domain here)/wp-admin/edit.php.
3. Contact your web host
If the above methods fail, get in touch with your hosting provider’s customer support team. They should be able to help you figure out how you regain access to your WordPress account.
Summary
Discovering that your IP has been flagged for potential security violations when you didn’t do anything wrong can create some problems.
But if you heed our pieces of advice, you should be able to log into your WordPress account in no time.
Read our disclosure page to find out how can you help VPNCentral sustain the editorial team Read more

Improve this guide


User forum
0 messages