How to Change Region on Samsung Smart TV
Bypass geo restrictions in just a few simple steps
Are you tired of being limited by the apps available on your Samsung Smart TV? Whether you’re craving exclusive shows or seeking diverse content, changing your TV’s region is the solution.
We’ll explore step-by-step methods tailored to various Samsung Smart TV series. Plus, we’ll explain how to get around those pesky blocks that keep you from watching what you want.
Let’s dive in and unlock the full potential of your TV!
How to change the region on Samsung TV
Depending on your Samsung Smart TV series, you can change your region as shown in the examples below.
Samsung Smart Hub
- Press the Smart Hub button on the remote control.
- After Smart Hub has loaded, press 2, 8, 9, then (fast forward, 2, 8, 9, rewind).
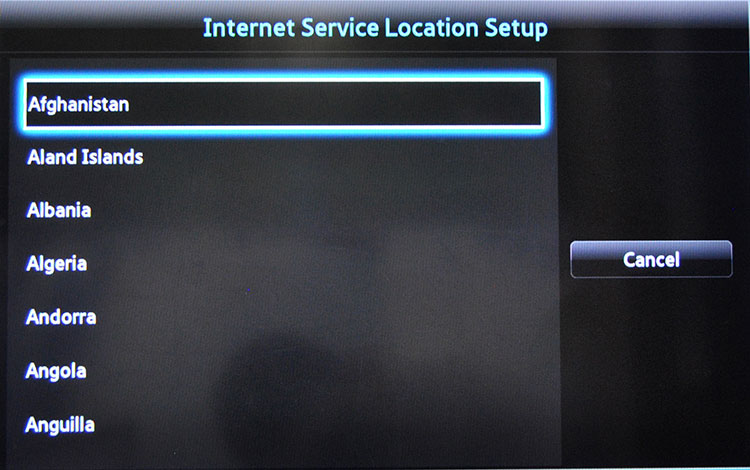
- Under Internet Service Location Setup, choose the country of your choice. Beware that you can only have apps from one region installed at a time. In other words, you can’t have US and Canada’s applications installed concurrently.
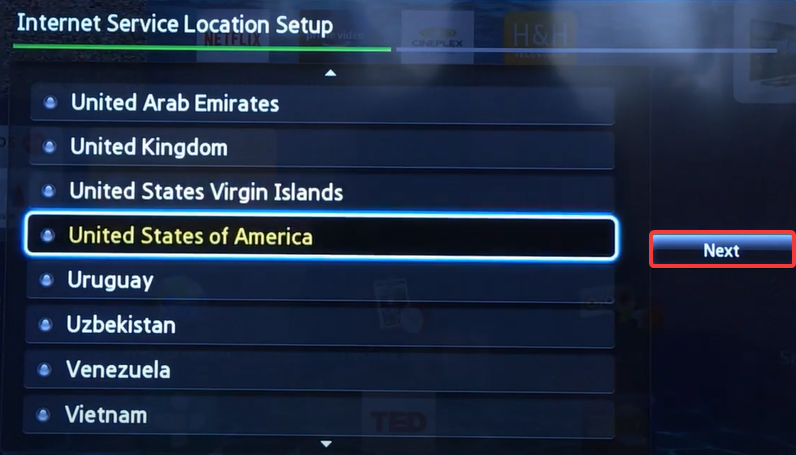
- Select Next.
- Agree to the Terms of Service Agreement.

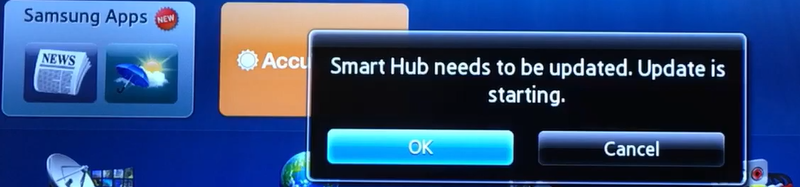
- Select OK to start the update.
- Restart your Samsung Smart TV.
❗After the update, your old applications will be removed and default ones for the new region will be installed. After Smart Hub is rebooted, you can install applications from the new region.
Samsung Smart TV F-Series and J-Series
- Press the Source button on your remote control.
- Select TV Source.

- Press the Menu button on the remote.
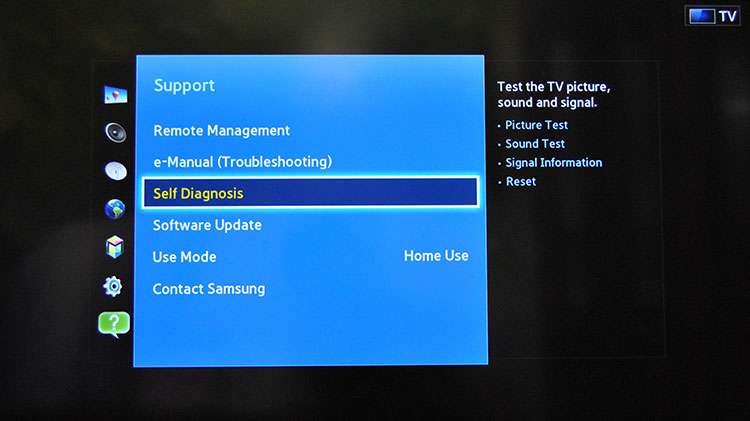
- Choose Setup (if you are allowed to choose Setup, go to step 10; otherwise, go to Support).
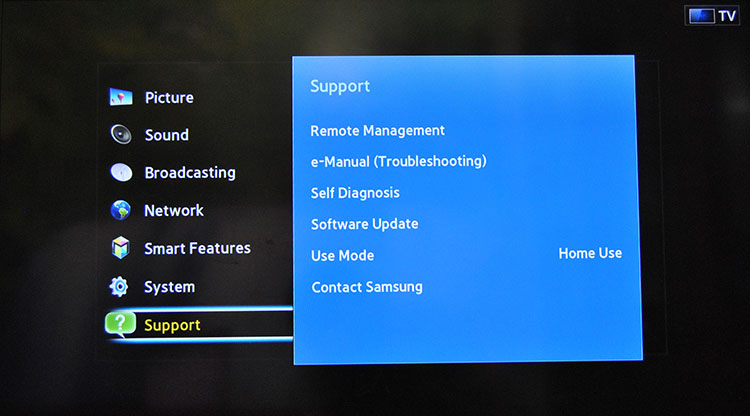
- Select Self Diagnosis.
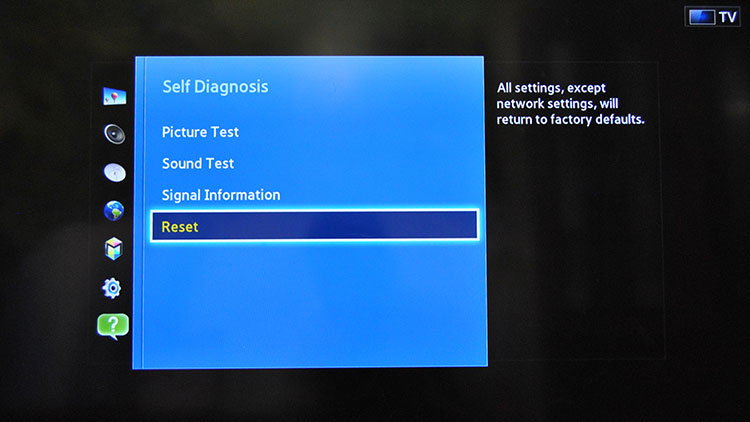
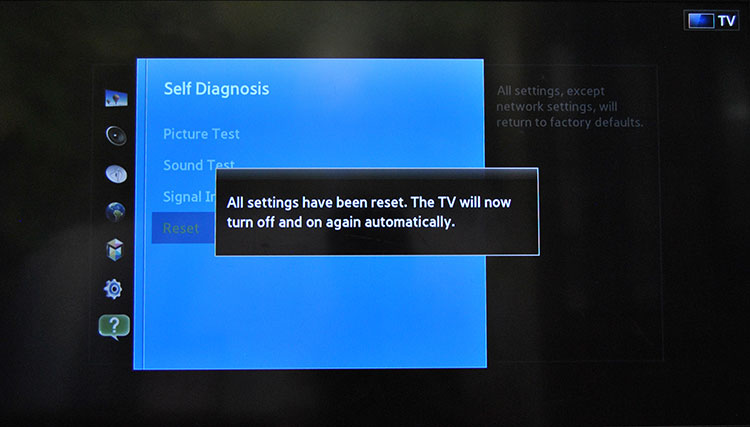
- Select Reset.
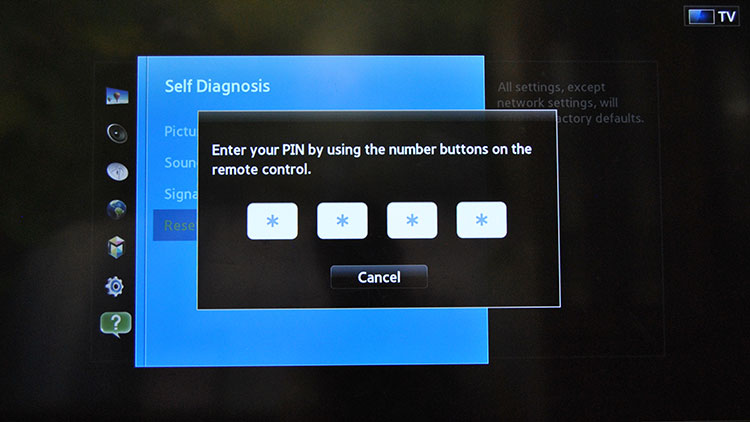
- Enter the PIN code. It is 0000 (four zeros) by default unless you changed it.
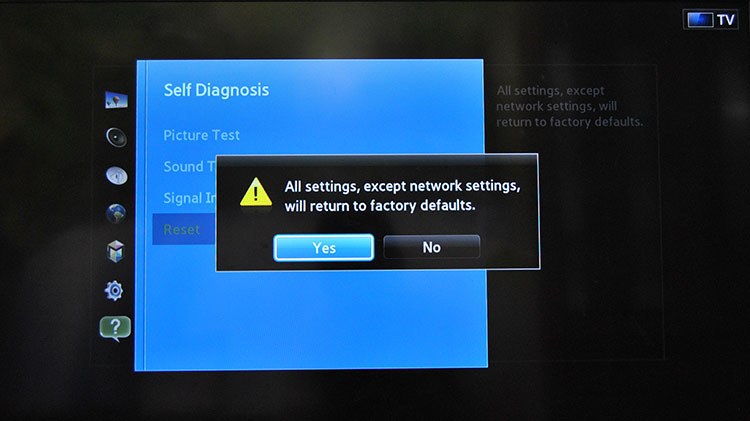
- Select Yes to return to factory defaults.
- After the reset, your TV will restart, and then you’ll be able to continue with the setup.
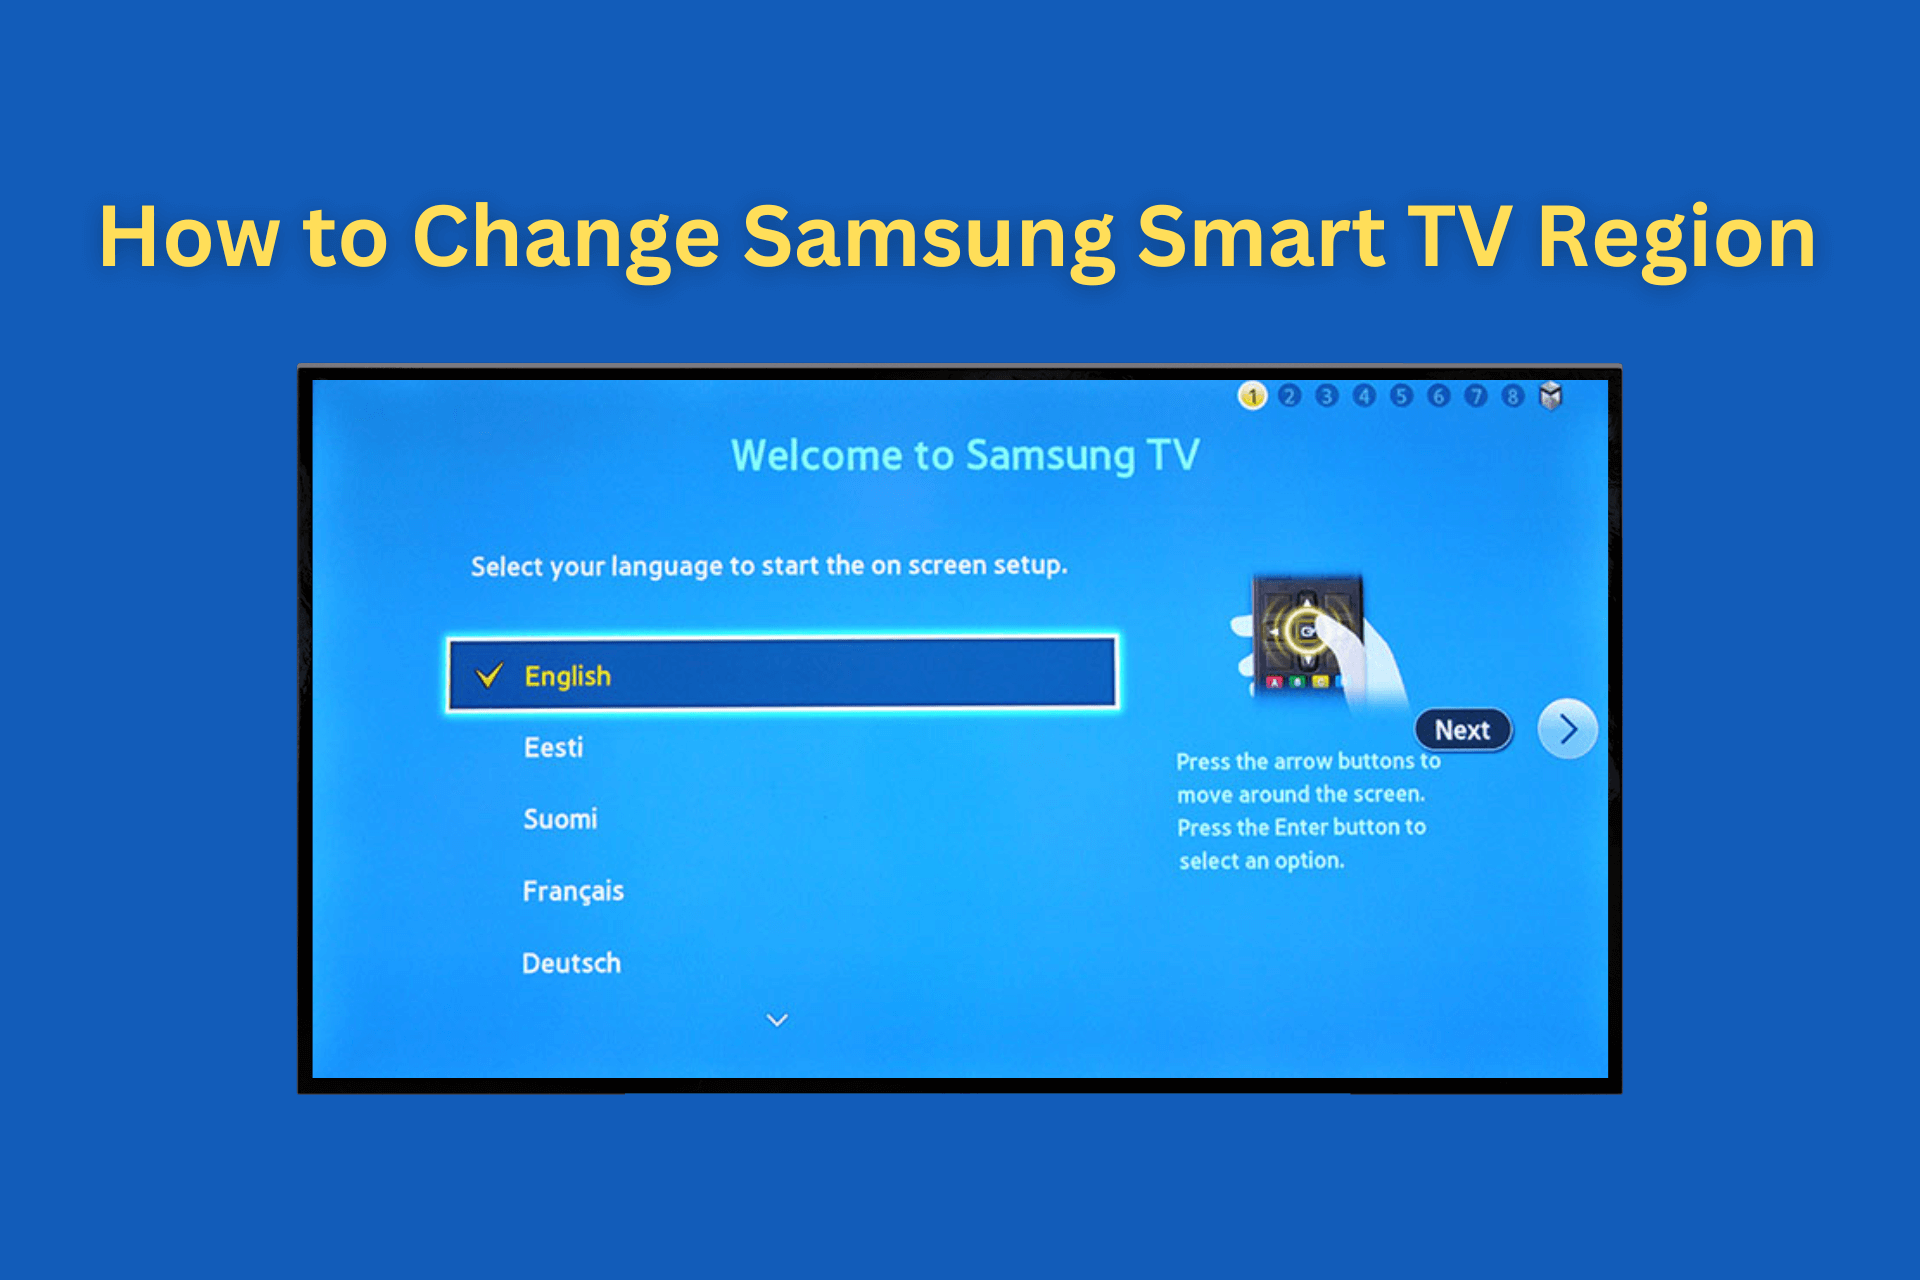
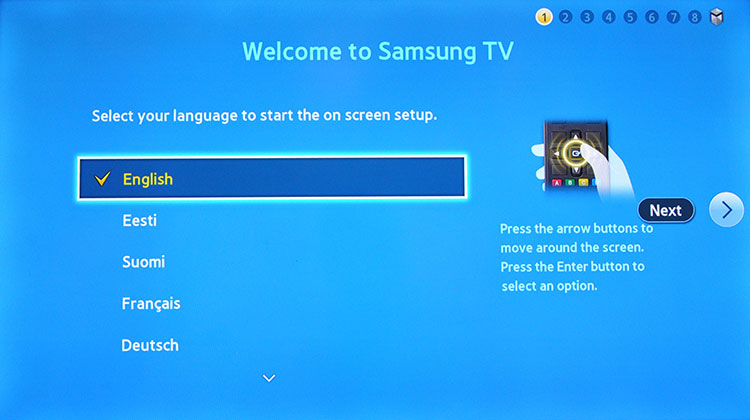
- Select your Language.
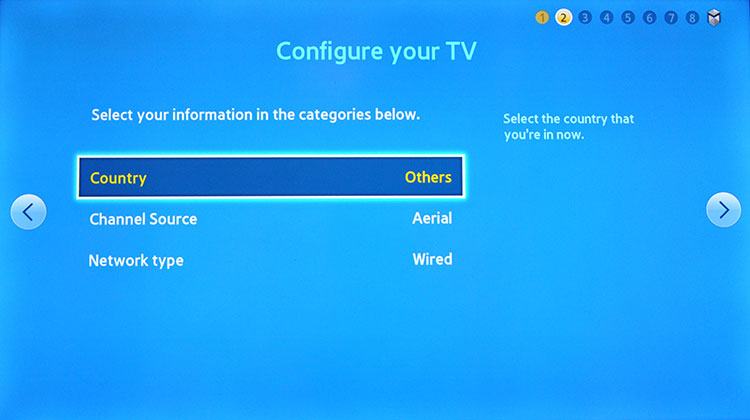
- Set the Country as Others.
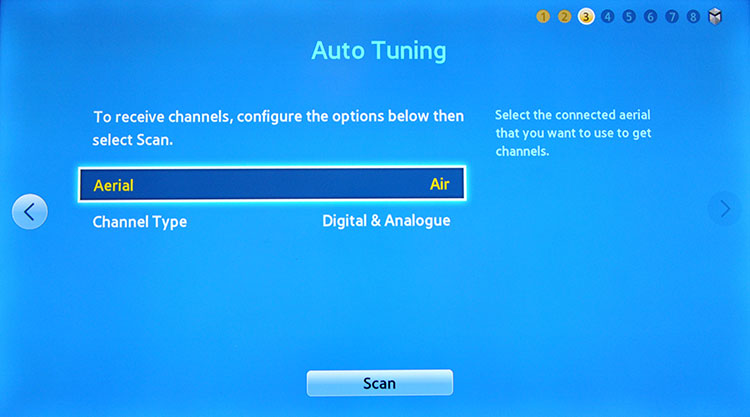
- Select Scan. You’ll be able to stop it later.
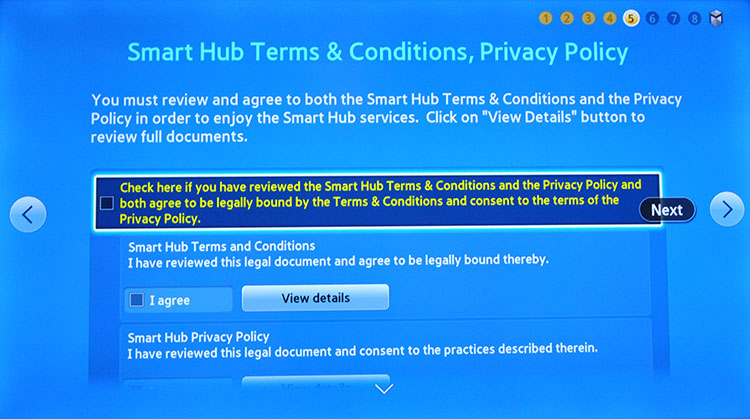
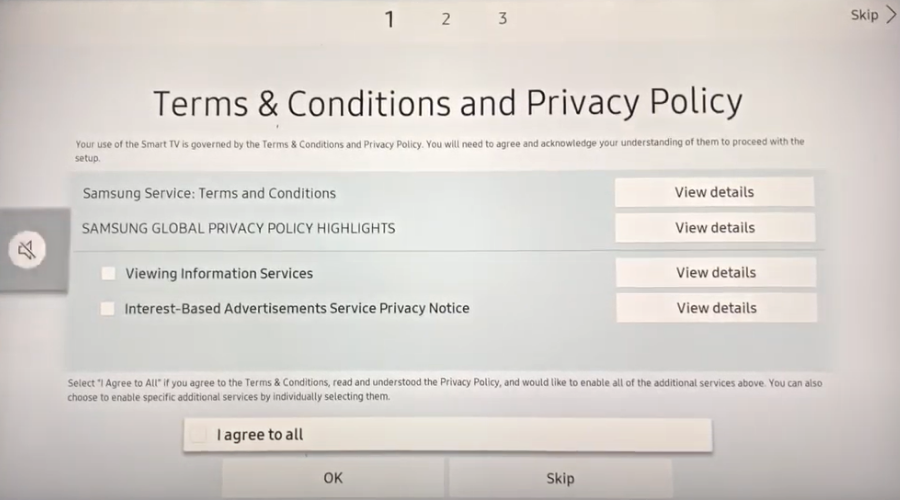
- When you arrive at Smart Hub Terms & Conditions, Privacy Policy, stop the setup.
- Press the following on your remote consecutively: mute, return, volume+, channel up, mute.
- Scroll down the list and select the country (e.g. USA, Canada, Mexico, UK, etc.).
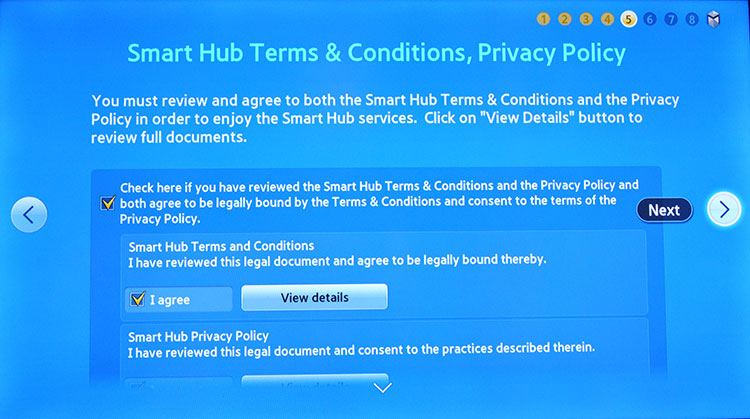
- Agree to the Smart Hub Term & Conditions, Privacy Policy and select Next.
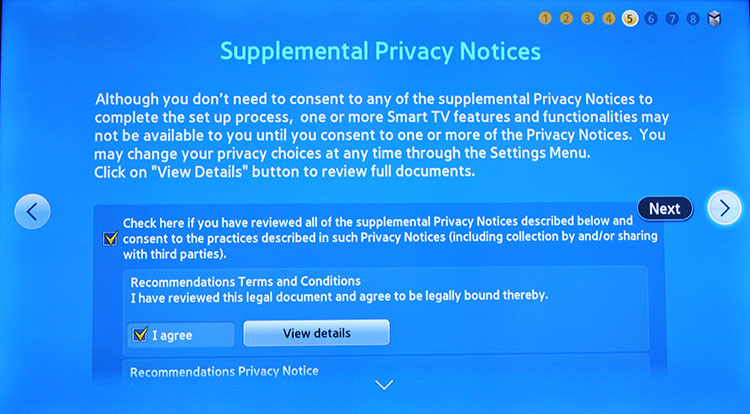
- Agree to the Supplemental Privacy Notices and select Next.
- Select a service provider or Skip it for later.

- Once setup is complete, select OK and restart your Samsung Smart TV.
- Enjoy using your favorite apps and services from the new country.
Samsung H-Series Smart TV
- Access the Service Menu:
- Turn off the TV using the remote.
- Press “Info,” then “Menu,” “Mute,” and finally “Power” to turn the TV back on.
- Change the Region:
- Navigate to “Option > MRT Option.”
- Find “Local Set” and select the desired region.
- Restart and Verify:
- Turn off the TV and turn it back on to apply the new region settings.
- Check for new region-specific apps and services by opening Smart Hub or the apps menu.
Samsung Smart TV K-Series
- Press the Settings button from your remote control.
- Go to Support and select Self Diagnosis.
- Select Reset Smart Hub, which will reset your Smart Hub and Samsung account settings to factory defaults.
- Enter the PIN (0000 unless you changed it) and select OK.
- Wait for the reset to complete. Do not turn off the TV until you get the Reset complete.
- Once the reset is finished, select System from settings, then select Start Setup. Enter the PIN and select OK.
- Select your preferred language.
- Select your Wireless Connection.
- Your Smart TV will check the connection and try to connect to the internet.
- After connecting, you will see the Smart Hub Terms & Conditions, Privacy Policy. Do not accept them yet.
- Press 2, 8, 9 on the traditional remote, not the smart one.
- Choose your country of choice.
- Accept the Smart Hub Terms & Conditions, Privacy Policy and finish the installation.
On Samsung Smart TV 7 Series
- Press the home button from your Samsung Smart TV remote.
- Navigate to Settings.
- Slide down, find Support, and access it.
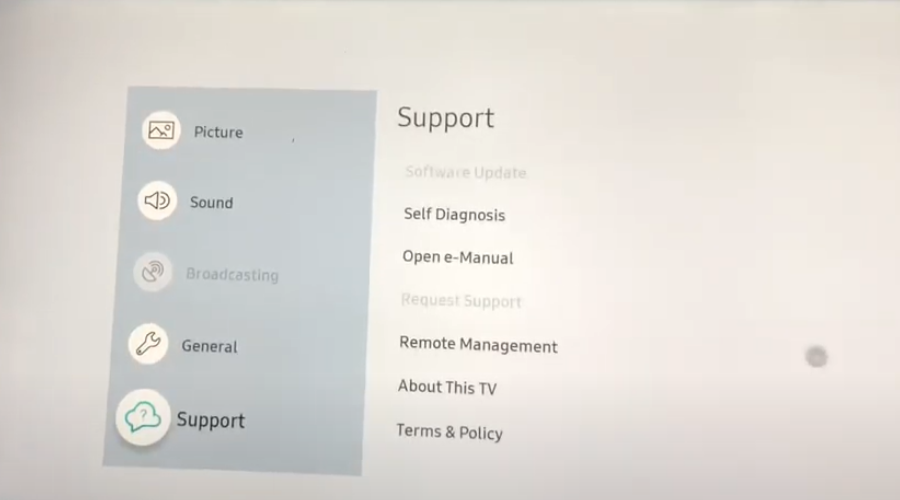
- Go and click Self-Diagnosis.
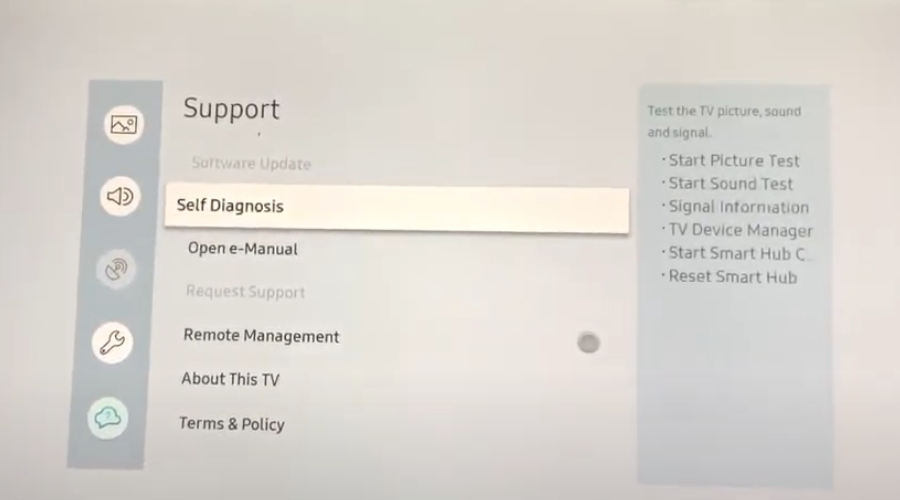
- Go to the Reset Smart Hub.
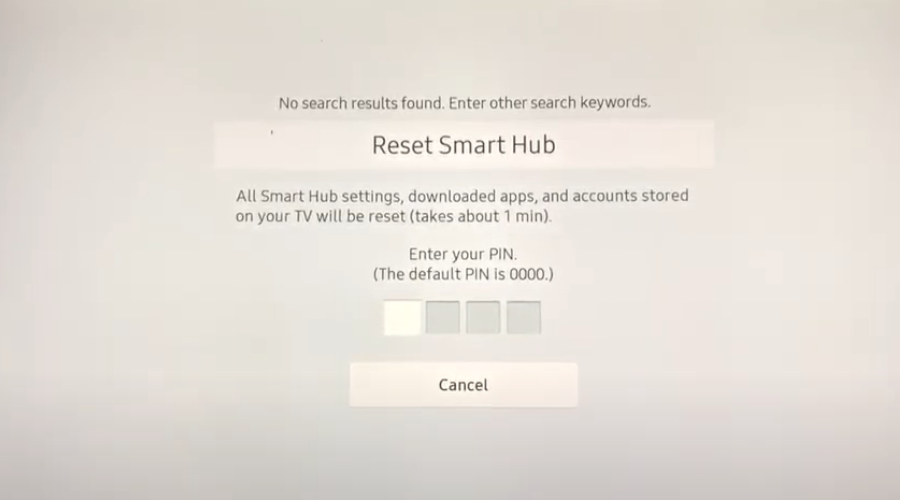
- You will have to enter a four-digit PIN. Normally it’s 0000, but if you have your own, input it.
- After that, go to Setup.
- Terms and conditions and a privacy policy will be displayed and you will have to check what fits for you.
- Press the MUTE button > VOLUME UP > CHANNEL UP > MUTE AGAIN on your remote.
- You will now be required to set up your Internet service location. Then, you have access to a list of countries from where you can choose your preferred country.
- Scroll down until you’ll find your region, select your country location, then click OK.

- Click on Agree to all and press OK.
- Log in again using your Samsung Smart TV login credentials.
Your Samsung Smart TV is now fully configured and ready to be used in the new location.
Now you can change the region on your Samsung Smart TV 7 Series with only a few simple clicks only using a remote. However, if you want to know how to change the region on a Samsung Smart TV 8 Series, the process is the same, albeit the interface may differ.
Samsung Qled
- Go to TV Settings from the Home screen.
- Select General -> Setup or General -> Reset depending on your TV model to restart your Samsung TV.
- Make sure not to use the SmartThings app during the setup process.
- Enter the PIN code. It is usually ‘0000’ unless you’ve manually changed it before.
- Choose your preferred language.
- Set the country to Other.
- Continue the setup as you’d usually do and stop at the Terms and Conditions page.
- On the Terms and Conditions page, follow the path on your remote:
- Traditional Remote: Mute > Volume up > Channel up > Mute
- Samsung One Remote: VOL -> VOL Up -> Channel Up -> VOL
- Choose the UK or US from the list of countries or choose Full Apps to get access to all compatible streaming channels and applications.
How can I access geo-blocked content on my Samsung Smart TV?
Switching your Samsung TV’s region to get new apps won’t let you watch everything. Even with apps, some shows stay blocked. Therefore, you can use a Smart DNS or a VPN service to bypass geo-blocking.
Here’s how:
Smart DNS
- Sign up for a reliable Smart DNS service. We recommend SmartDNS Proxy because it has locations all around the world.
- After logging in, you will see the specific DNS addresses to be used for setup. Pick 2 from the country you want to connect to and note them down or keep the tab open.
- On your Samsung Smart TV, go to Settings, select Network, and choose your network connection (Wi-Fi or Ethernet).
- Choose IP Settings, then DNS Settings, and switch to Manual.
- Enter the primary and secondary DNS addresses provided by SmartDNSProxy and save the settings.
- Access the streaming apps or services, which should now be available based on your new DNS region.

Smart DNS Proxy
Unlock entertainment from all around the world in just a few simple steps with Smart DNS Proxy!VPN
On TVs that support VPN apps
- Sign up for a reliable VPN. For smooth access to content from 100+ countries we recommend ExpressVPN.
- Go to your TV’s Play Store.
- Search for ExpressVPN and install the app.
- Open ExpressVPN, log in, and connect to a server.
- Start streaming content from anywhere you want.
On routers (for TV’s that aren’t compatible with VPN)
- Sign up for ExpressVPN.
- Configure Your Router:
- Check Compatibility: Make sure your router is compatible with ExpressVPN. You can find the list of compatible routers on ExpressVPN’s website.
- Install Firmware (if needed): If your router isn’t natively compatible, you might need to install custom firmware like DD-WRT or Tomato.
- Log into Your Router Admin Panel: Find your router’s IP address (usually on a sticker or in the router manual) and enter it in your browser.
- Install ExpressVPN: Follow the ExpressVPN setup guide for routers to apply the VPN settings.
- Connect to an ExpressVPN Server:
- Open the Router Admin Panel: Access the admin panel again via the IP address.
- Choose a Server: Select a server from the country you wish to connect to, and apply the changes.
- Access Geo-Locked Content:
- Restart the TV: Restart your Samsung Smart TV to refresh the network settings.
- Open Streaming Apps: Open the streaming apps or services on your TV. You should now have access to content based on the VPN server’s location.

ExpressVPN
Access any TV show and movie you want directly on your Smart TV with ExpressVPN!Your TV determines your location based on your IP address or DNS queries. These methods help streaming services and other online platforms determine your geographical location, allowing them to enforce regional restrictions on content access.
That’s why you need to change your IP or DNS queries to access international content.
You may also enjoy reading:
How to Change Region on Samsung TV Plus
Samsung TV Plus provides a wide range of streaming channels, and you may want to change the region to access a different selection of channels and content.
- Update the Samsung Account:
- Access Your Samsung Account:
- Go to the Samsung Account webpage.
- Log in to your account using your credentials.
- Update Profile Information:
- Navigate to your profile settings.
- Change the country or region to reflect your desired location.
- Access Your Samsung Account:
- Change Settings on the Samsung TV Plus App:
- Access the Settings Menu:
- Turn on your Samsung TV and open the Samsung TV Plus app.
- Navigate to “Settings” using your remote.
- Change the Region:
- Find “Country/Region” or “Language and Region” (may vary based on TV model).
- Set the new region matching the location you entered in your Samsung Account.
- Access the Settings Menu:
Wrapping up
In conclusion, expanding your Samsung Smart TV’s app selection is easier than you might think.
By following our step-by-step methods tailored to different TV series, you can unlock a wealth of international content.
Remember, if pesky blocks stand in your way, Smart DNS or VPN services can help you bypass them. Get ready to explore a whole new world of entertainment!
Read our disclosure page to find out how can you help VPNCentral sustain the editorial team Read more

Improve this guide

User forum
11 messages