Surfshark Introduces Dedicated IP
![]() 2 min. read
2 min. read
![]() Updated on
Updated on
Share this article

Improve this guide
Read our disclosure page to find out how can you help VPNCentral sustain the editorial team Read more
Last Wednesday, Surfshark launched a new feature – dedicated IP – for consistent, exclusive IP addresses for customers.
It’s an important addition for accessing private servers and corporate remote access systems more securely.
What does dedicated IP bring?
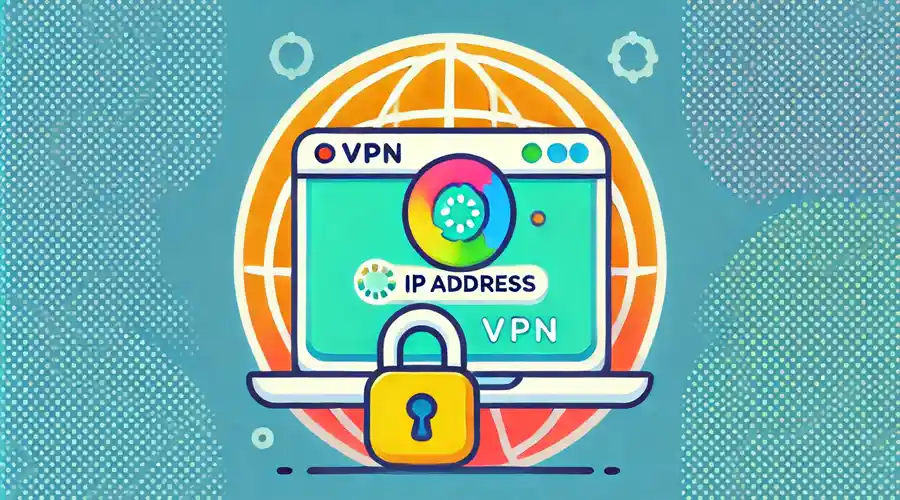
When users connect to a typical VPN server, they get a shared IP address. It changes with each session and all customers receive the same ones.
With the addition of static, dedicated IP, Surfshark provides users with IP addresses that are uniquely theirs. This means they also stay the same with each browsing session.
Surfshak compares it to a reserved parking spot. Instead of worrying about the crowd and someone else taking up your space, you always have where to park.
This new feature solves other problems VPN users are facing on a daily basis. For example, it prevents you from falling into blocklists and limits the number of CAPTCHA requests.
Its dedicated IPs are currently available on:
- Windows
- Mac
- Android
- iOS
The feature is compatible with all protocols the provider offers, including WireGuard.
At the moment, users can opt for dedicated IPs in six locations, with more coming very soon. Currently available are:
- Los Angeles (US)
- New York (US)
- Dallas (US)
- San Jose (US)
- London (UK)
- Amsterdam (Netherlands)
Soon arriving are:
- Hong Kong
- Tokyo (Japan)
- Frankfurt (Germany)
- Milan (Italy)
- Paris (France)
- Johannesburg (South Africa)
- Sydney (Australia)
- Toronto (Canada)
Surfshark currently has a limited number of dedicated IPs per location. This means some of them may not be available for purchase at all times. However, the provider has promised it’ll keep restocking them.
How to use Surfshak’s dedicated IP?
Activating Surfshark’s dedicated IP is easy. Once you log into your account, all you have to do is to go to the Dedicated IP section and click Upgrade.
In the same part of the app, you’ll see your dedicated IP. If it’s not there, you just have to click the Have a token? button and enter the code you received after purchasing the new feature.
Once you do that, you can connect to your unique IP address.
In case you need more instructions on how to use this new functionality, Surfshark offers visual guidance on its website.


User forum
0 messages