How to Configure Split Tunnel for WireGuard in Widows, Android and iOS
Beginner-friendly step-by-step guide

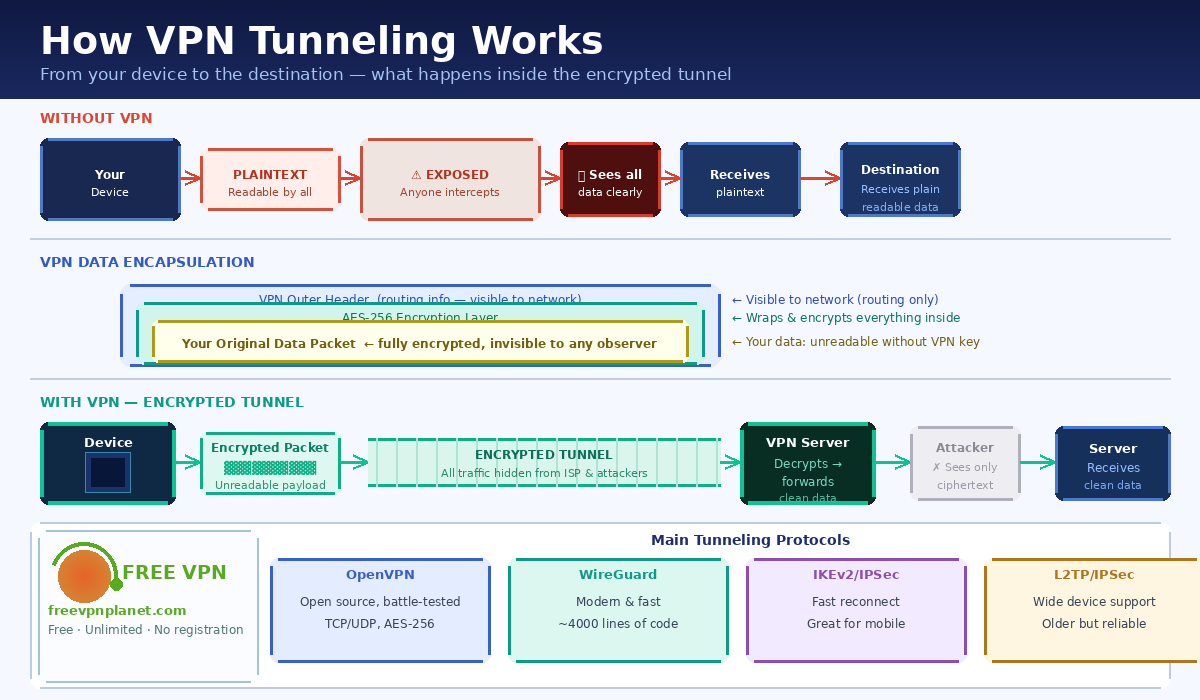
Configuring a WireGuard split tunnel has numerous benefits.
WireGuard is a powerful protocol that obscures your internet traffic. On top of that, it dramatically reduces the often inevitable speed loss when using a VPN.
However, you don’t always need to route your communications through WireGuard. Sometimes it’s more beneficial to connect to the internet like normal.
Below, we’ll lead you through the steps of configuring your own WireGuard split tunnel for Windows, Android, macOS, and iOS.
Ready?
Is it possible to split-tunnel in WireGuard?
Yes, it’s possible to split tunnel in WireGuard. Basically, this feature lets you decide which apps you want to encrypt, and which ones you want to leave out. The best WireGuard VPN services simplify this process.
But if you’re manually configuring it, that takes a bit of technical know-how besides setting up Wireguard. Fortunately, we prepared guides on how to set it up by yourself. If you plan to include or exclude Microsoft 365 apps (Outlook, Teams, OneDrive) in your rules, here’s a quick guide on using a VPN with Office 365, what works smoothly and what to watch out for.
How to set up split tunneling on WireGuard?
Here’s how to configure WireGuard split tunneling on Windows, Android, macOS, and iOS:
Windows
If you’re a PC user, follow these steps:
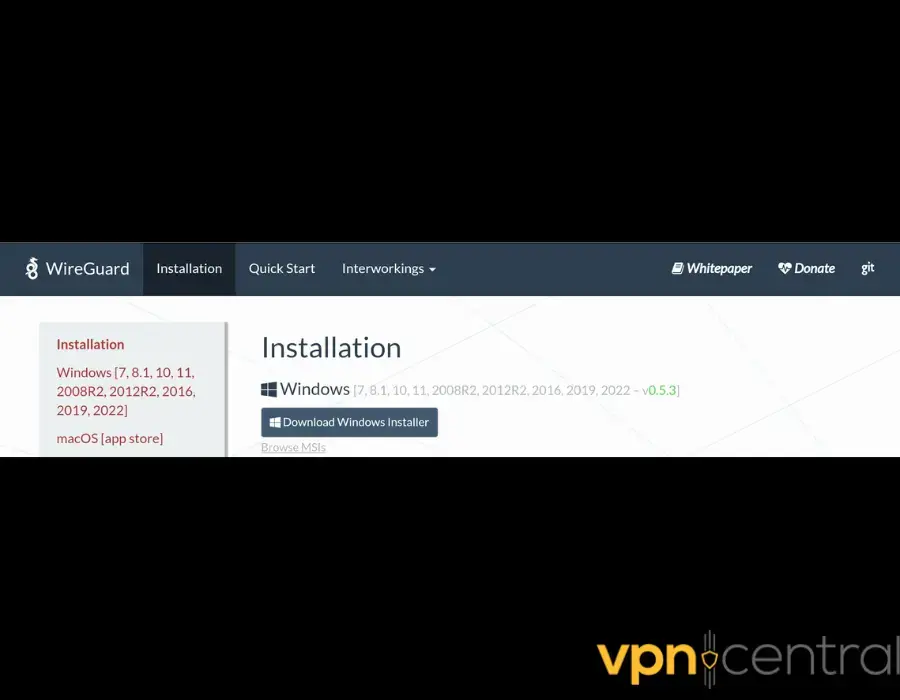
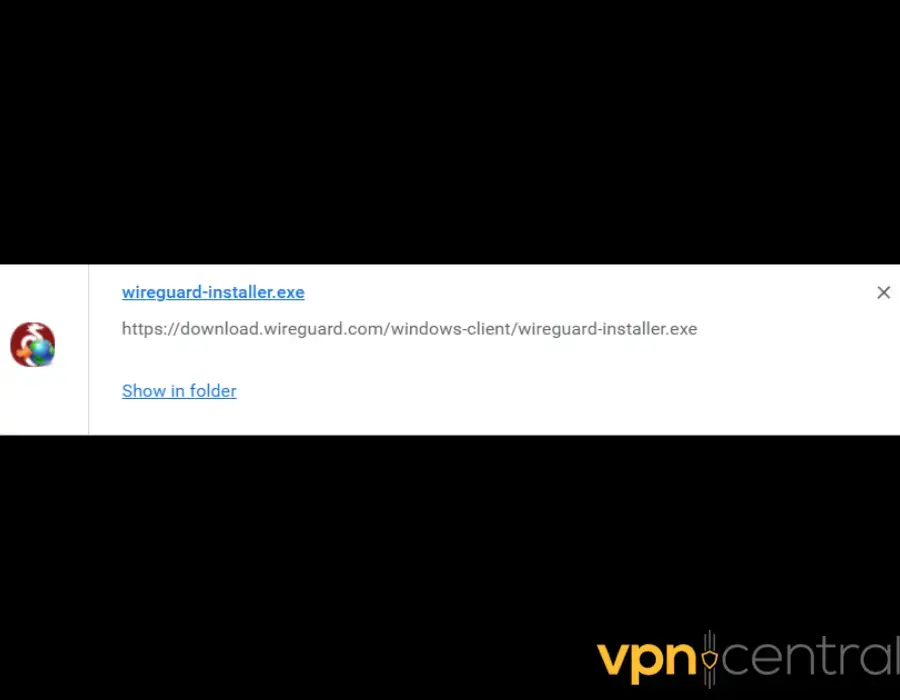
- Download the WireGuard Windows Installer from the official website.
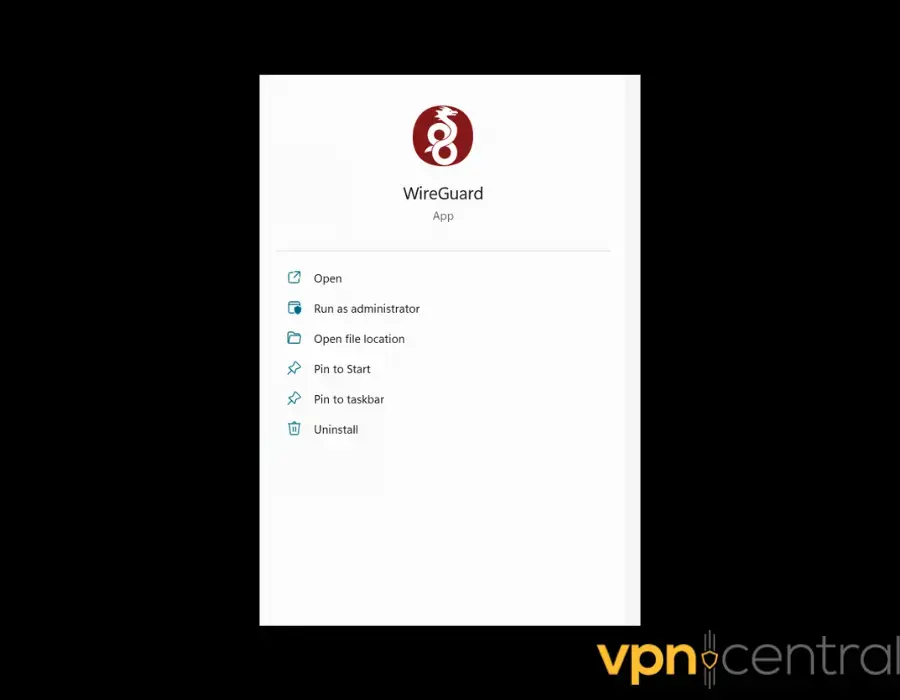
- Run the WireGuard installer.
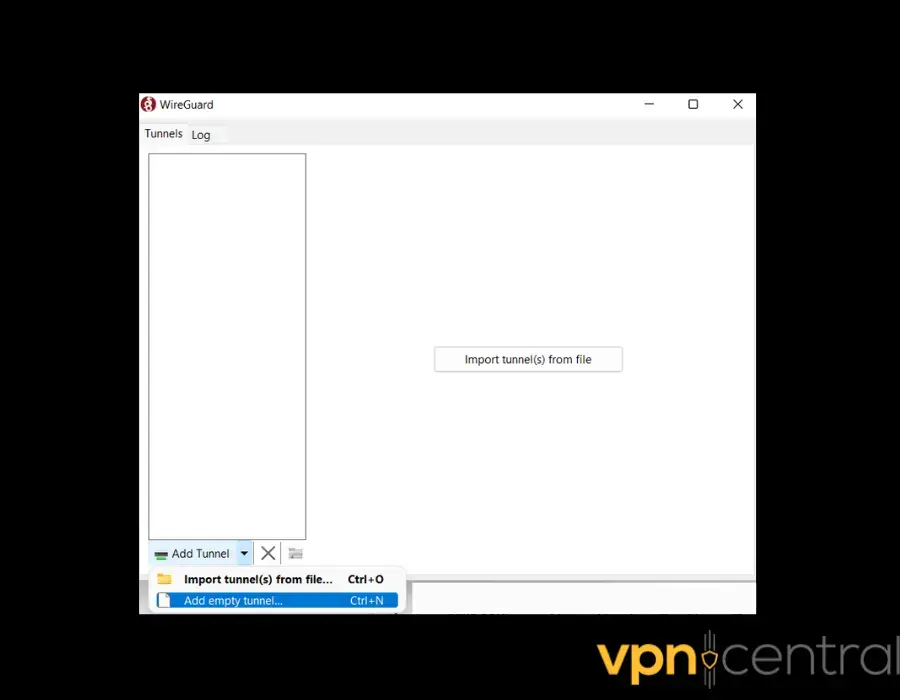
- Open the WireGuard client.
- Go to Add Tunnel > Add empty tunnel to automatically create a public and private key pair.
- Provide a tunnel name.
- Put these lines in the Interface and Peer sections:
[Interface]
PrivateKey =
Address = 194.128.2.2/32
DNS = 192.168.2.1
[Peer]
PublicKey =
AllowedIPs = 0.0.0.0/0
Endpoint = : - Add this line to the Interface section of your WireGuard Windows config to avoid creating a default route automatically:
Table: off - Make sure that the AllowedIPs line in the Peer section says 0.0.0.0/0.
- Open your PC’s registry editor.
- Navigate to HKEY_LOCAL_MACHINE\SOFTWARE\WireGuard.
- Create the WireGuard key when you don’t see it.
- Create a DWORD value named DangerousScriptExecution.
- Set the value of DangerousScriptExecution to 1.
- Add these lines to your config’s Interface section:
PostUp = powershell -command “$wgInterface = Get-NetAdapter -Name %WIREGUARD_TUNNEL_NAME%; route add 0.0.0.0 mask 0.0.0.0 0.0.0.0 IF $wgInterface.ifIndex metric 9999; Set-NetIPInterface -InterfaceIndex $wgInterface.ifIndex -InterfaceMetric 9999;”
PreDown = powershell -command “$wgInterface = Get-NetAdapter -Name %WIREGUARD_TUNNEL_NAME%; route delete 0.0.0.0 mask 0.0.0.0 0.0.0.0 if $wgInterface.ifIndex metric 9999; Set-NetIPInterface -InterfaceIndex $wgInterface.ifIndex -InterfaceMetric 9999;” - Use a proxy client like Proxifier to specify which network applications should use WireGuard.
- Open PowerShell to confirm your routes are working correctly.
- Type this:
netsh interface ip show address - Check if your VPN interface shows the values of Gateway Metric and Interface Metric are both 9999.
Additional notes
Alternatively, you can put x.x.x.x in the DNS field in your tunnel config. Windows uses a complex method to handle DNS requests even when you’re connected to a WireGuard VPN.
To avoid data leaks, you can use a DNS client for Windows like YogaDNS. It can tell apps which DNS servers to use on certain interfaces.
Android
Here’s what you should do on Android:
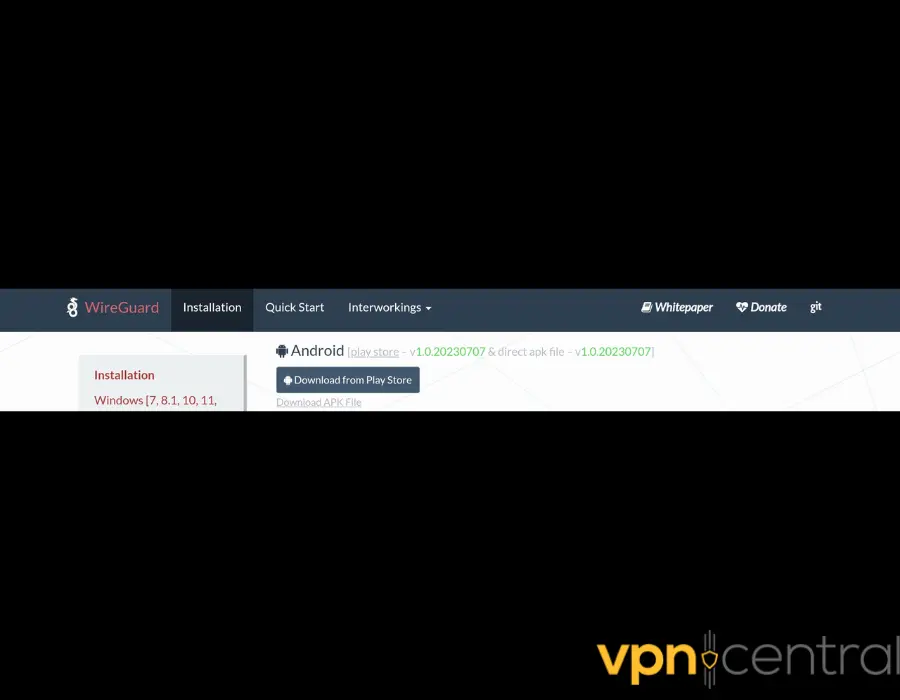
1. Download the native WireGuard app from the official website or Google Play.
2. Finish the installation.
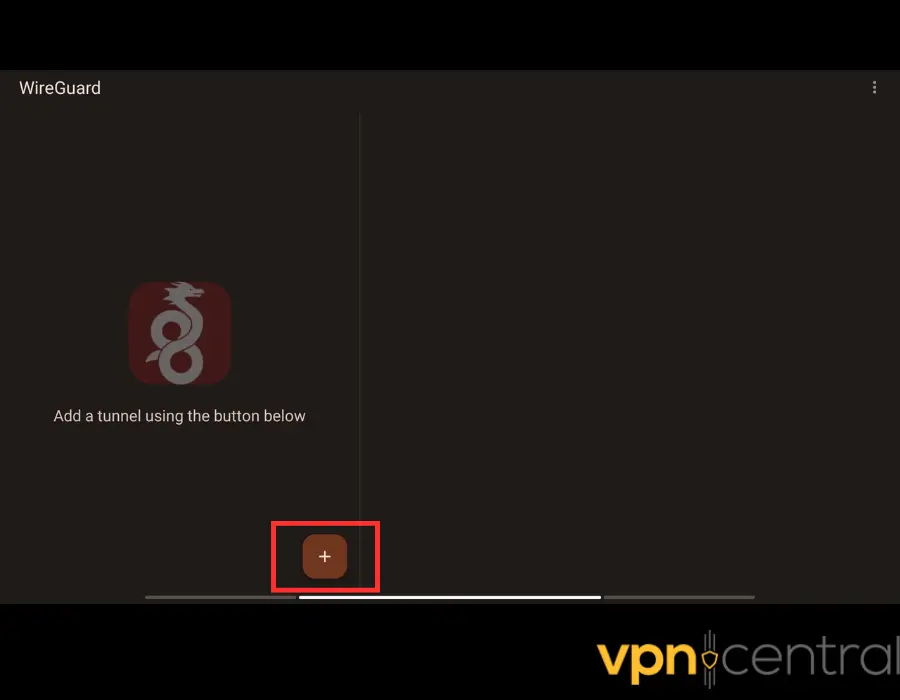
3. Launch the app.
4. Tap the plus icon.
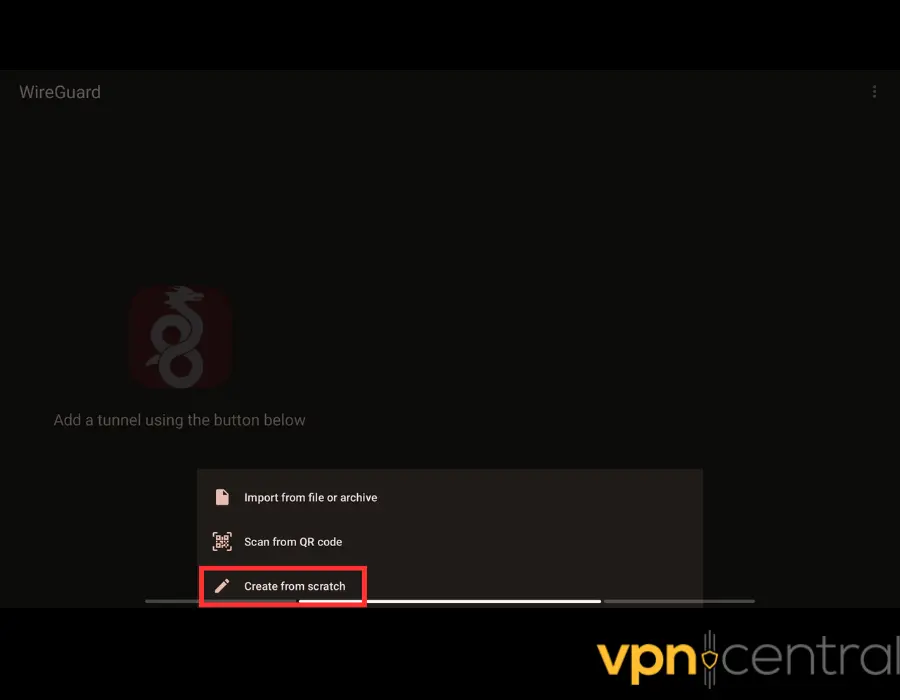
5. Choose Create from scratch.
6. Come up with a tunnel name.
7. Use these Interface and Peer sections:
[Interface]
PrivateKey = <key>
Address = 194.128.2.2/32
[Peer]
PublicKey = <key>
AllowedIPs = 10.0.0.0/8
Endpoint = <public IP>:<port>
8. Make sure to leave the DNS field blank.
There you go!
This config should work like a charm. The “10.0.0.0/8” IP address is just an example. Feel free to use something else if you wish to tunnel a different type of traffic.
macOS
To set up a WireGuard split tunnel on a Mac, do the following:
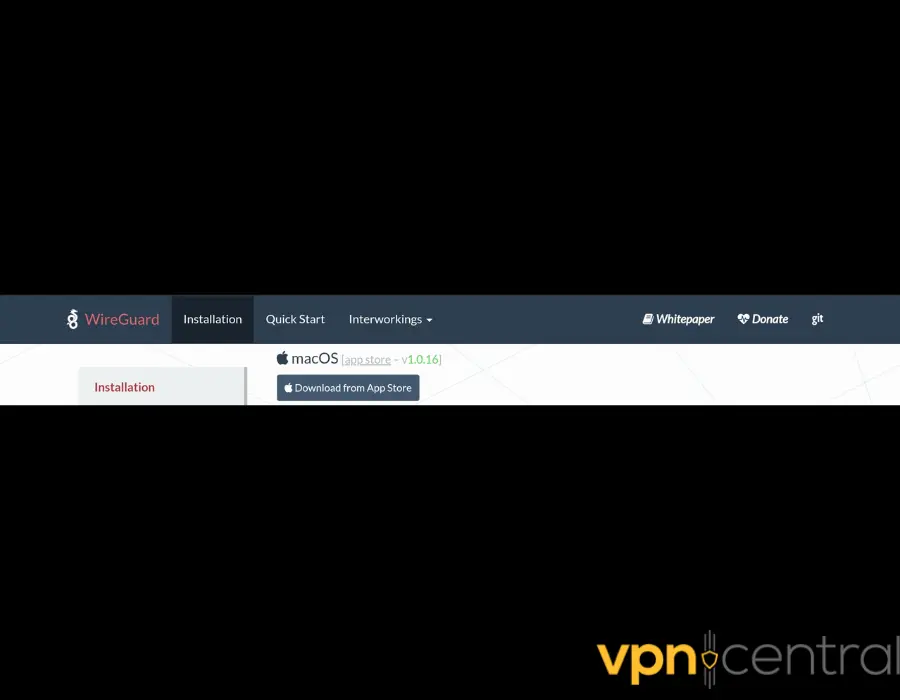
1. Head to WireGuard’s site or the App Store to download the native client for macOS.
2. Install it.
3. Launch the app.
4. Create a tunnel name.
5. Put these lines in the Interface and Peer sections:
[Interface]
PrivateKey = <key>
Address = 194.128.2.2/32
[Peer]
PublicKey = <key>
AllowedIPs = <subnet of your tunnel> <your macOS device’s IP>
Endpoint = <public IP>:<port>
As long as you put in the right information in the AllowedIPs field, this config will work.
iOS
Here’s what you should do for iOS:
1. Get the WireGuard client from the App Store or official site.
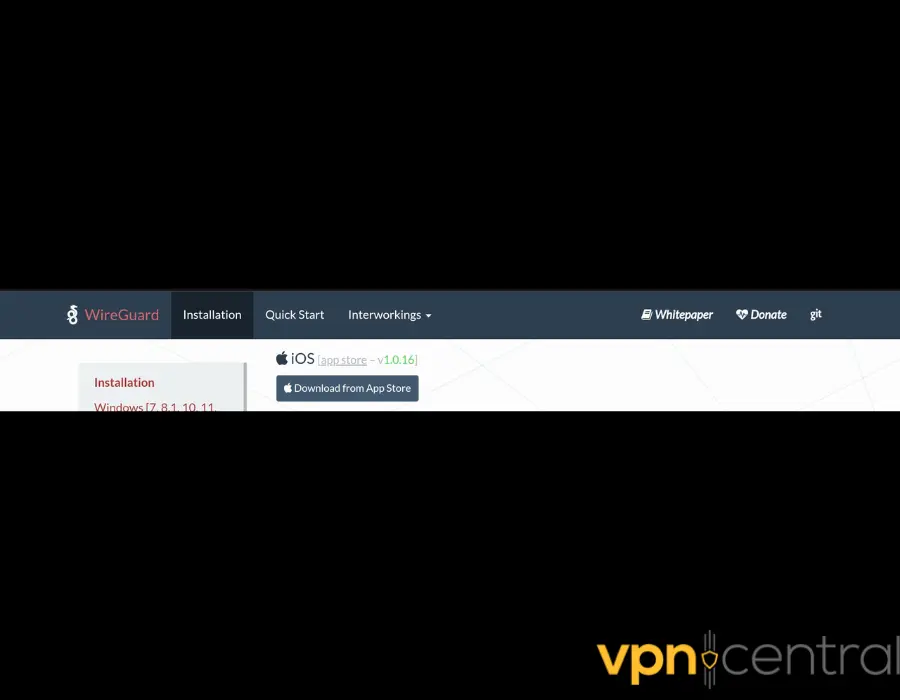
2. Open the app after installation.
3. Think of a tunnel name.
4. Add these lines to the Interface and Peer sections:
[Interface]
PrivateKey = <key>
Address = 194.128.2.2/32
[Peer]
PublicKey = <key>
AllowedIPs = <subnet of your tunnel> <your macOS device’s IP>
Endpoint = <public IP>:<port>
Overall, the iOS config is the same as the macOS one. If you’re a huge fan of Apple products, this should make your life easier.
Related read:
Summary
Manually setting up split tunneling with WireGuard takes effort. Outside of online forums, there aren’t many resources on how to do it.
Luckily, our config guides cover all you need to know. Follow our steps for Windows, Android, macOS, and iOS, and let us know how it turned out!
Read our disclosure page to find out how can you help VPNCentral sustain the editorial team Read more

Improve this guide


User forum
1 messages