How to Configure WireGuard on Windows [Step-by-Step]
Beginner-friendly WireGuard Windows config guide

Is it difficult to create a WireGuard Windows config from scratch? Not really, and I’ll show you why.
Setting up WireGuard on your PC is one of the smartest ways to increase your online anonymity. Best of all, you can increase your cybersecurity without experiencing the kind of speed loss associated with VPN sessions.
Ready? Let’s get into it:
How to configure WireGuard on Windows?
You’ll need three ingredients for a successful WireGuard Windows server config:
- A WireGuard virtual private server (VPS)
- The protocol’s native client
- A PC that runs Windows 7, 8.1, 10, or 11.
Installing WireGuard on a VPS is a topic for an entirely separate guide. So, this tutorial assumes that you’ve already done so.
Here are the simple steps you need to follow:
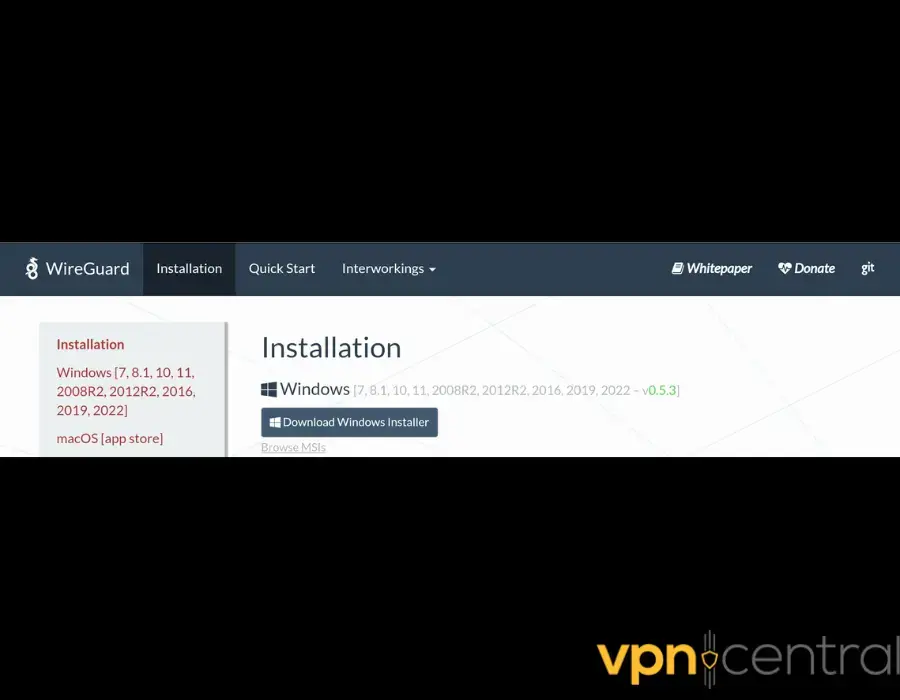
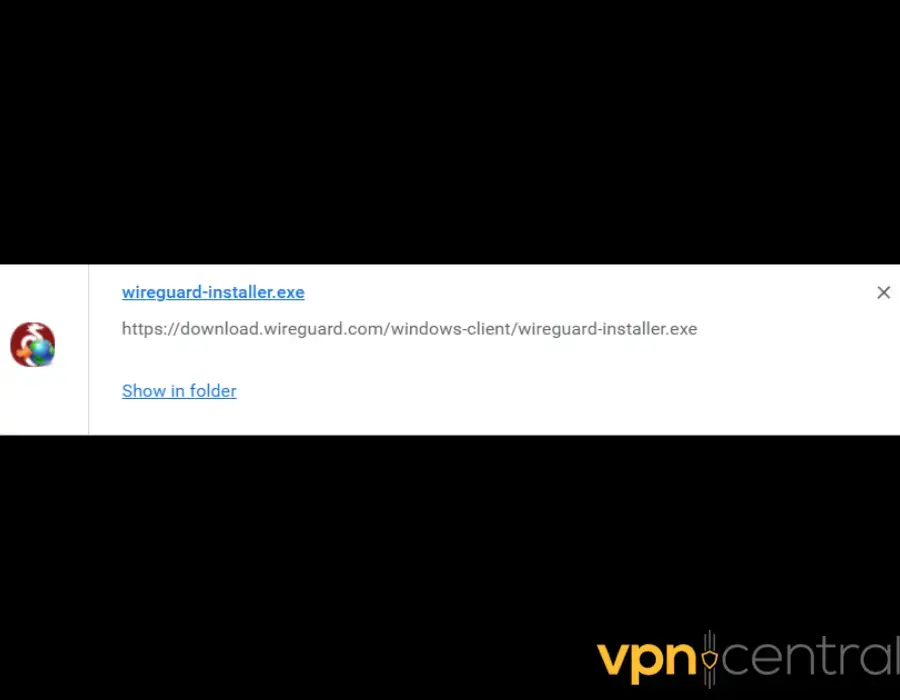
- Download the WireGuard Windows Installer from the official site.
- Run the msi file to install the WireGuard Windows client.
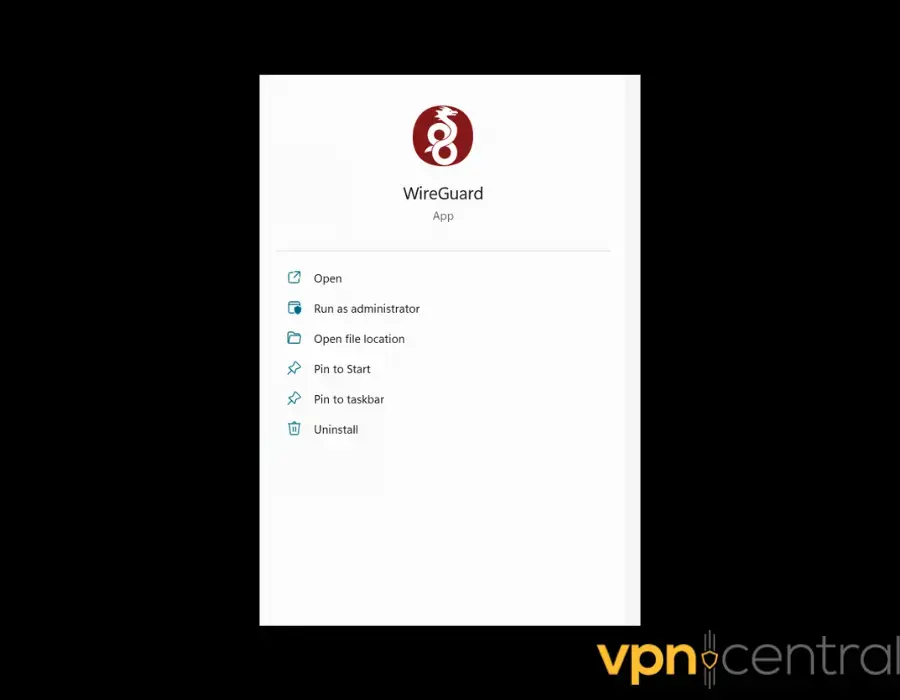
- Open the WireGuard GUI.
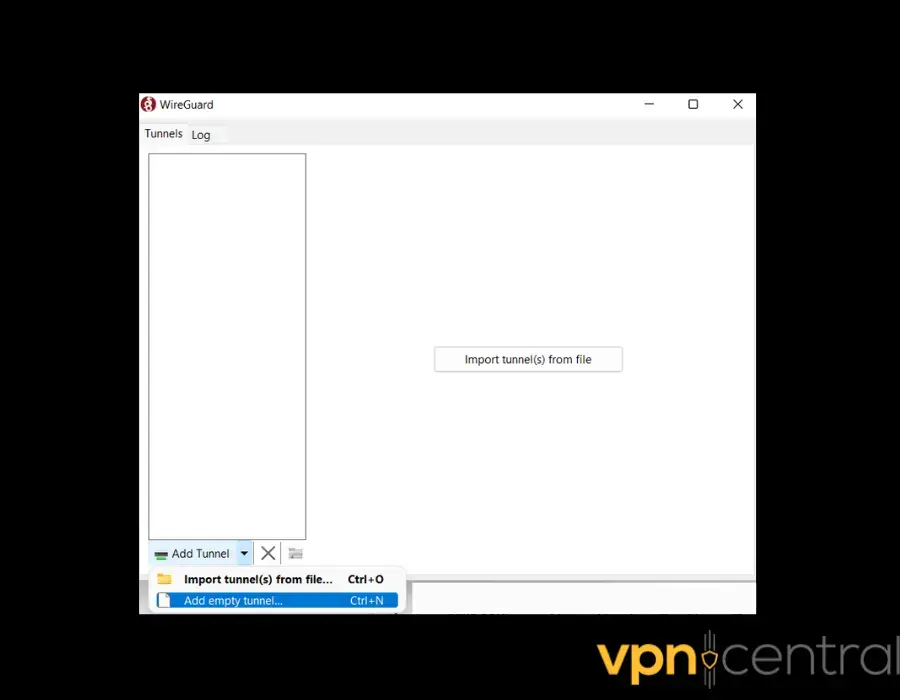
- Click on Add Tunnel u0026gt; Add empty tunnel to generate a pair of public and private keys automatically.
- Name the tunnel.
- Add the following Interface and Peer sections to the configuration. Feel free to change the IP addresses and keys as you see fit.
[Interface]
PrivateKey = 6MfKZxmFlVcmwtTDH0djHSEy672449WZaXjwm/vzW08=
Address = 194.128.2.2/32
DNS = 192.168.2.1
[Peer]
PublicKey = dZek49BWgVCLJRMsG6k6QK5mzHFrfy4uhOLjPyTe5WE=
AllowedIPs = 0.0.0.0/0
Endpoint = 32.185.112.15:12345
For context:
PrivateKey: The Windows client’s private key.
Address: The client’s IP, which must be different from all clients.
DNS: The DNS server’s IP.
PublicKey: The VPS’s public key.
AllowedIPs: The IPs you route over your VPN. The 0.0.0.0/0 address is a catch-all. So, you’ll transmit everything through the VPN.
Endpoint: The server’s external IP. Also, it’s the listening port. So, it should be identical to the server configuration’s ListenPort data. - Insert this Peer section to the WireGuard configuration file:
[Peer]
PublicKey = rbkuZ+3SyPtT/QLZhFhiTo555ekSCJRsHf3jJb5kdkI=
AllowedIPs = 192.168.2.2/32
For context:
PublicKey: The Windows client’s public key.
AllowedIPs: The IPs are permitted to use this tunnel. - Make sure that both configurations reference the right keys and IPs.
- Leave the Block untunneled traffic box checked.
Do this only when you have a single Peer section and use a catch-all configuration to restrict unwanted traffic. - Click on Save.
- Click on Activate to establish your VPN connection.
That’s it!
To verify whether your VPN is leak-proof, go to ipleak.net. If your connection works, it should show your WireGuard server’s IP and not your device’s.
If you want to add more clients to your server, you can follow the same steps. Just make sure that each one uses a unique IP.
Related reads:
- WireGuard No Internet: Common Causes and Quick Fixes
- WireGuard Split Tunnel Config Guide for Windows and More
- Best WireGuard VPNs for Routers
Summary
Setting up WireGuard on your Windows system is more intimidating in your imagination than in practice.
As long as you follow the above steps, the status of your connection should say Active at the end. If it doesn’t, it means your client and server configurations don’t match.
So, you’ll just have to double-check the Log tab and look for errors in your WireGuard Windows config!
Read our disclosure page to find out how can you help VPNCentral sustain the editorial team Read more

Improve this guide


User forum
0 messages