IPVanish Keeps Disconnecting? Here are 6 Working Fixes
Beginner-firendly solutions for top-notch VPN performance

IPVanish is a high-quality service, but if it keeps disconnecting, you’ll need to address the issue ASAP.
So, I’ll show you six fixes that have helped me since I started having this problem.

Access content across the globe at the highest speed rate.
70% of our readers choose Private Internet Access
70% of our readers choose ExpressVPN
Browse the web from multiple devices with industry-standard security protocols.

Faster dedicated servers for specific actions (currently at summer discounts)
Ready? Let’s go!
1. Switch VPN servers
IPVanish has over 2,200 servers. While that’s pretty decent, it’s definitely not a huge number.
So, sometimes, your disconnection issues can be due to a specific server’s instability or overcrowding. To address this, try switching to a different one. One closer to your physical location may provide a more stable connection.
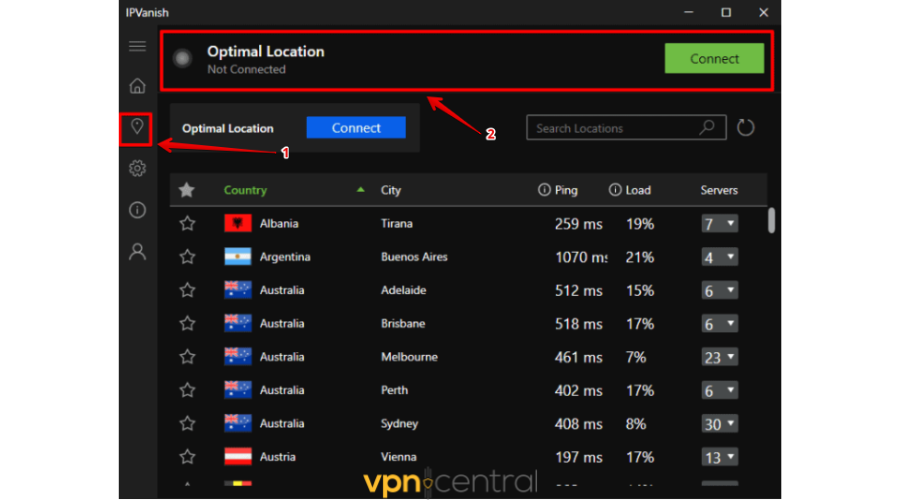
Follow the steps to connect to the closest server;
- Tap on the Pin Icon.
- Click Optimal Location.
2. Switch internet connections
Unstable or slow internet connections can contribute to IPVanish disconnections. If you’re using Wi-Fi, try switching to a wired Ethernet connection to eliminate potential wireless issues.
Additionally, consider connecting to a different Wi-Fi network if available. A more reliable internet connection often resolves problems related to frequent disconnects.
3. Reinstall or update the IPVanish app
Outdated or corrupted applications can lead to connectivity issues.
Ensure you are using the latest version of the IPVanish app by checking for updates in your device’s app store or the official website. If the problem persists, consider uninstalling and reinstalling the app to eliminate any potential software glitches.
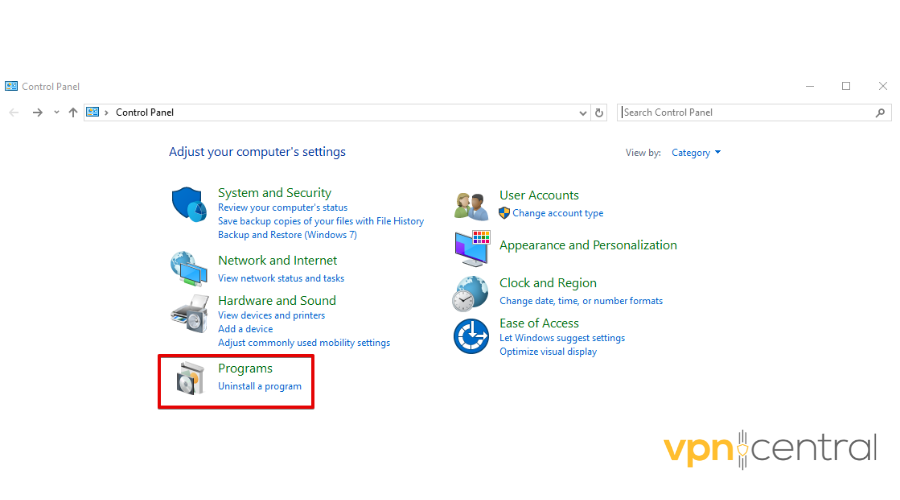
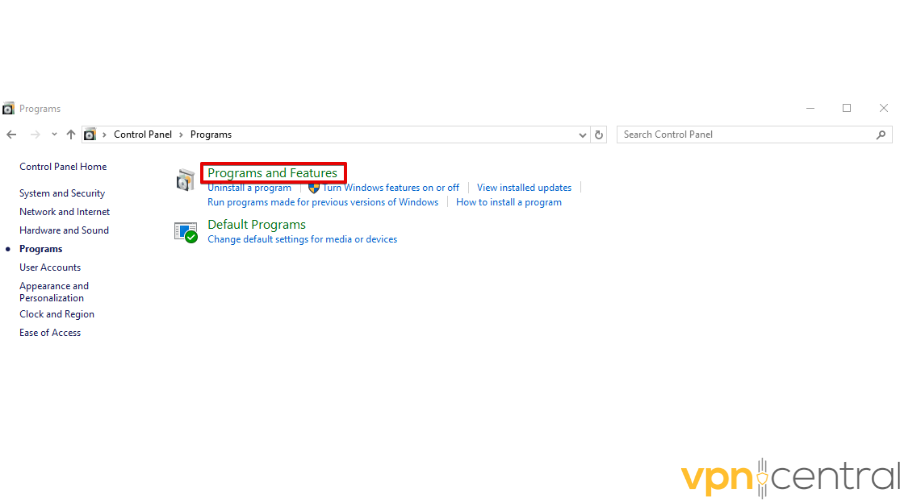
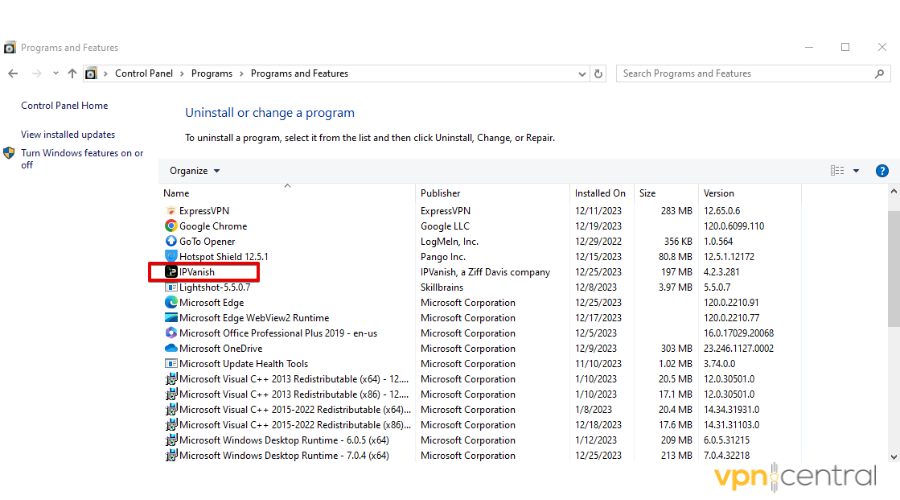
To reinstall the app;
- Click on the Windows icon then select the tap on the Control Panel.
- Select Programs.
- Click the Program and Features button.
- Right-click on the IPVanish app then tap Uninstall.
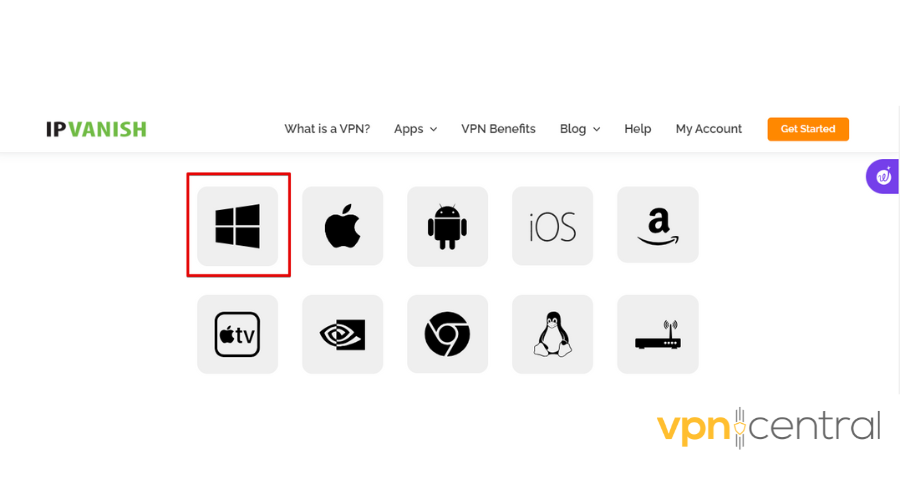
- Go to the IPVanish official website and tap on Apps. Pick an application compatible with your device, download it, and launch it on your device.
Sometimes, when you use an outdated app, IPVanish will notify you to update the app. Simply tap on update, and you’ll get the latest version.
This fix should work. If it doesn’t, I still have more for you.
4. Add an exception for IPVanish to your firewall and antivirus
Firewall and Antivirus might detect IPVanish as a threat leading to disconnection issues. On the other hand, turning them off puts your computer at risk.
What next?
Consider adding your IPVanish to the exception list for your firewall and antivirus.
I’ll start with steps to add an exception to your antivirus:
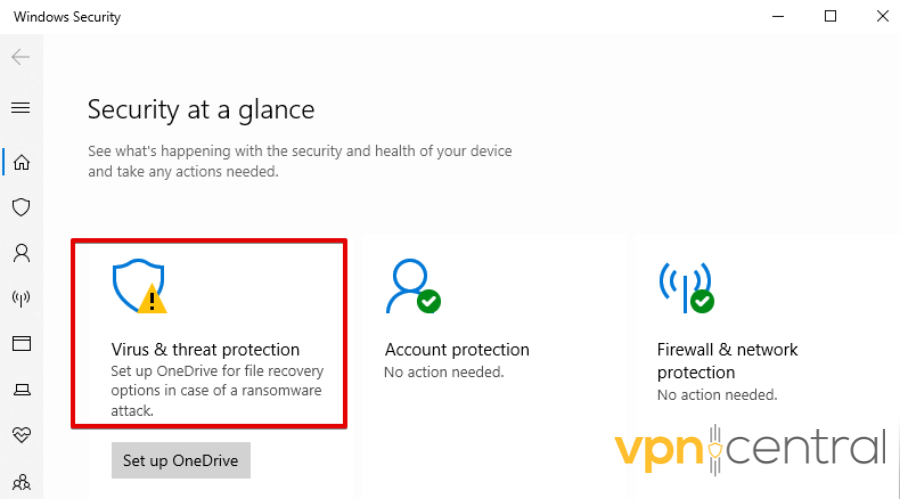
- Press the Windows button, type “Window Security,” and hit enter.
- Select Virus & threat protection.
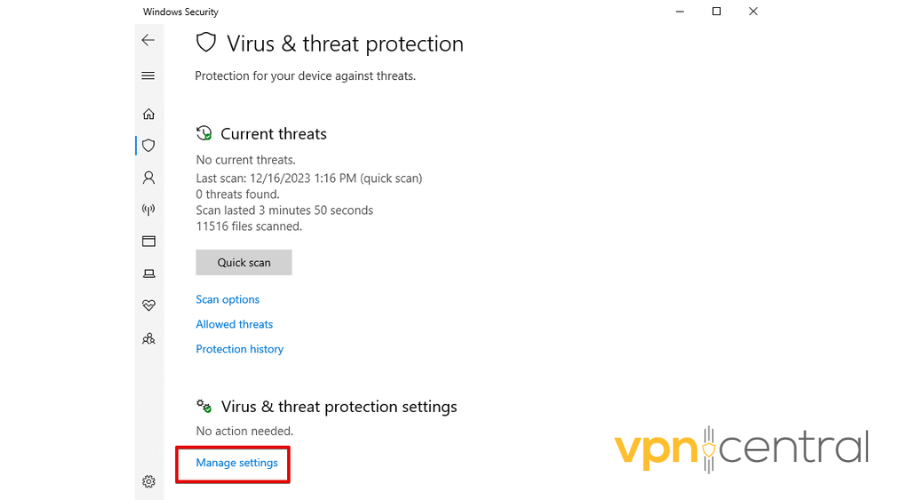
- Click Manage settings.
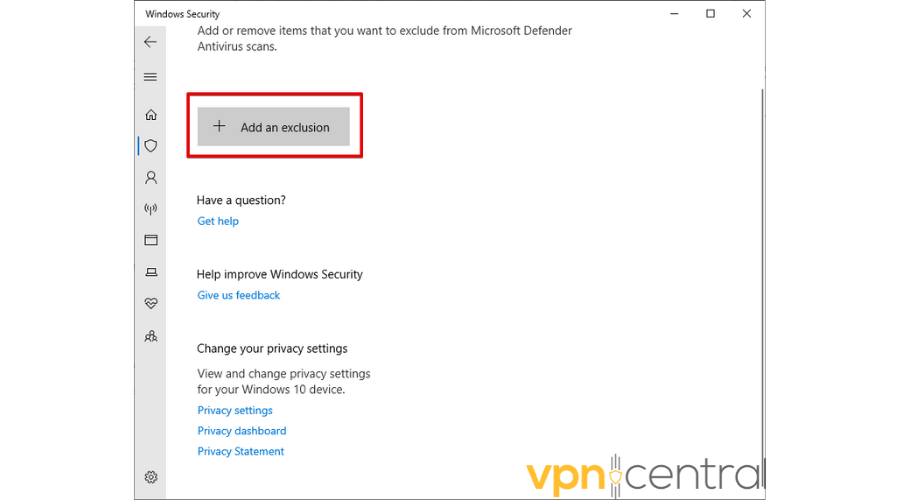
- Under Exclusions, tap Add or remove exclusions.
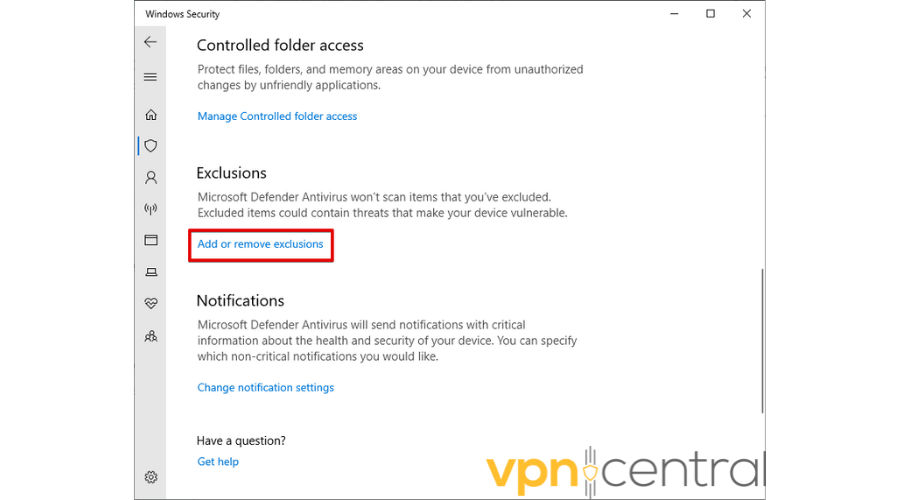
- Select Add an exclusion and select IPvanish.
To add your IPVanish to the exception list for your firewall, follow these steps:
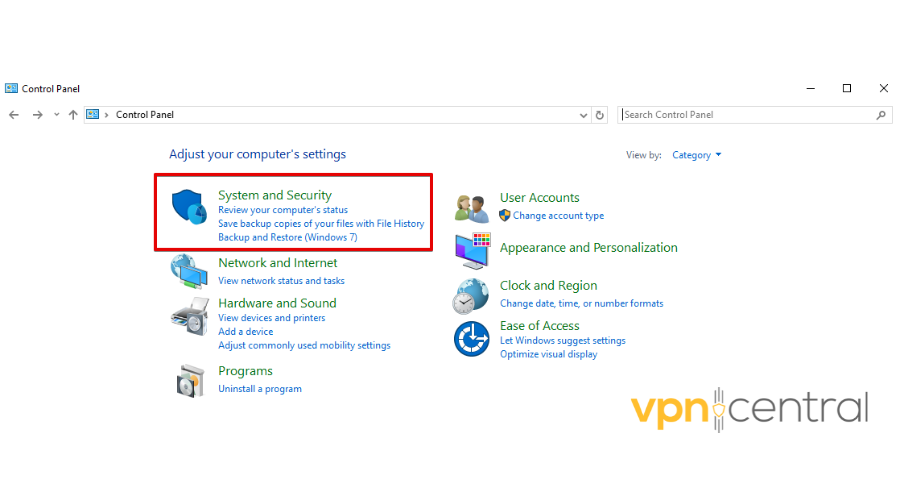
- Press the Windows key on your keyboard then type “Control Panel” and hit Enter.
- Click System and Security.
- Click on Windows Defender Firewall.
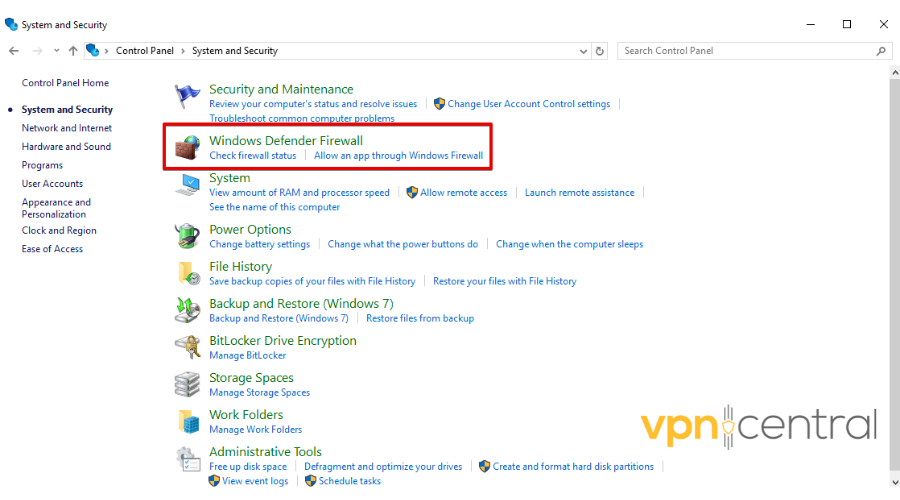
- Click Advanced Settings.

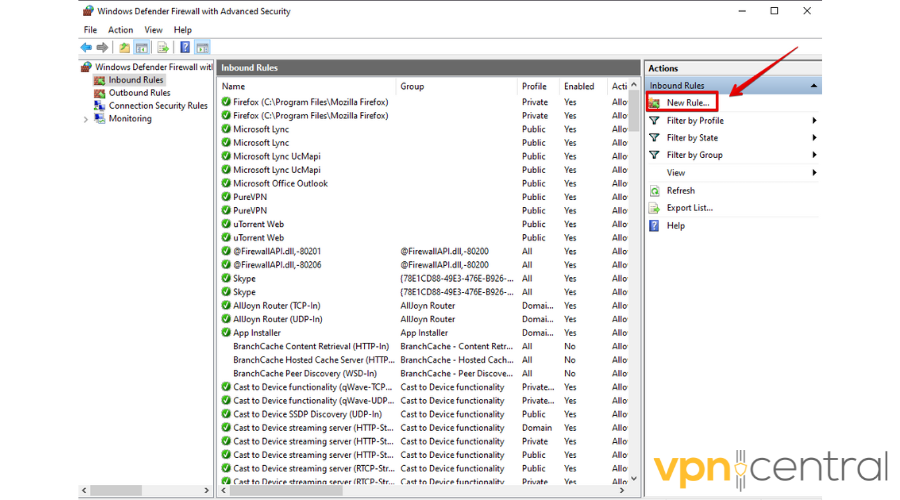
- Click Inbound Rules.
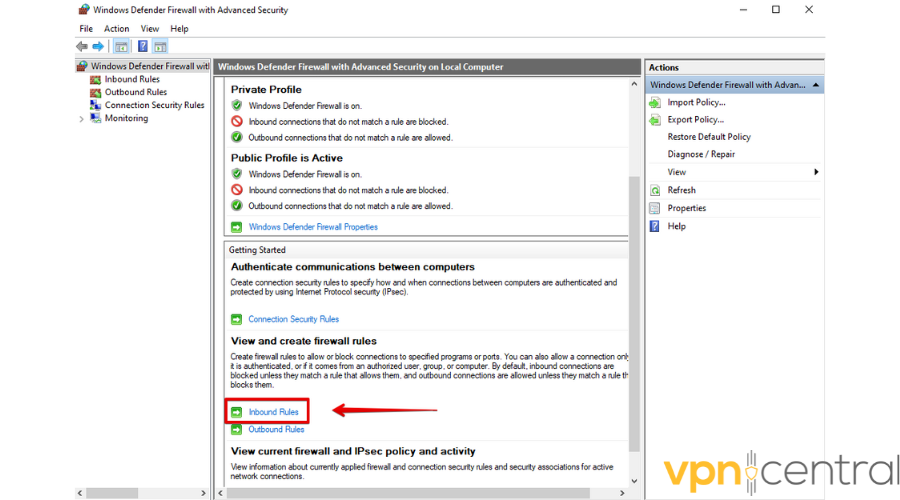
- Click New Rule.
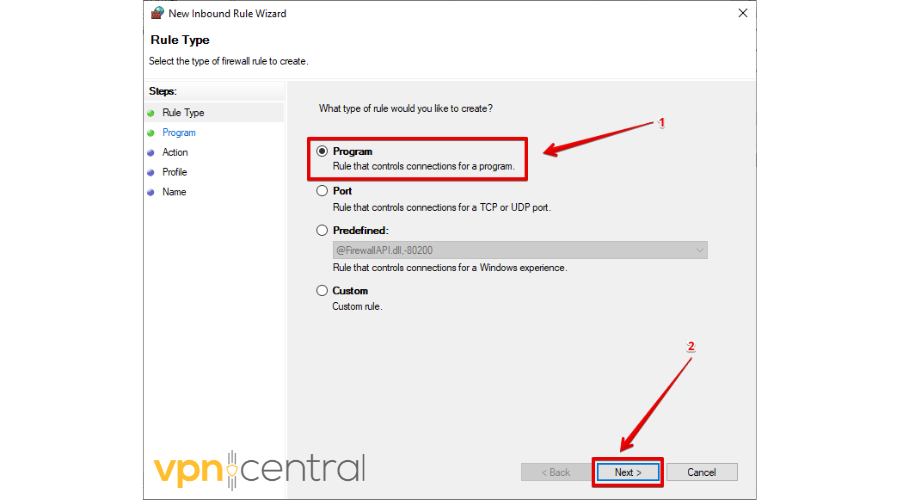
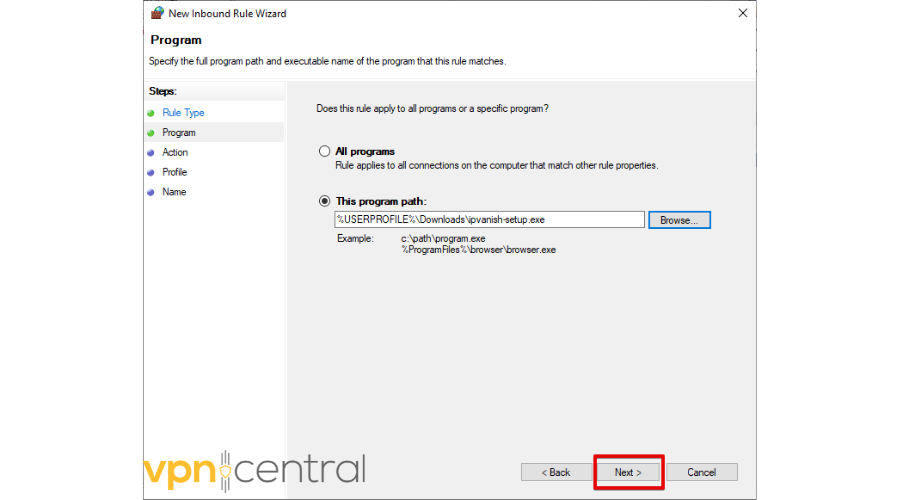
- Select Program, then click Next.
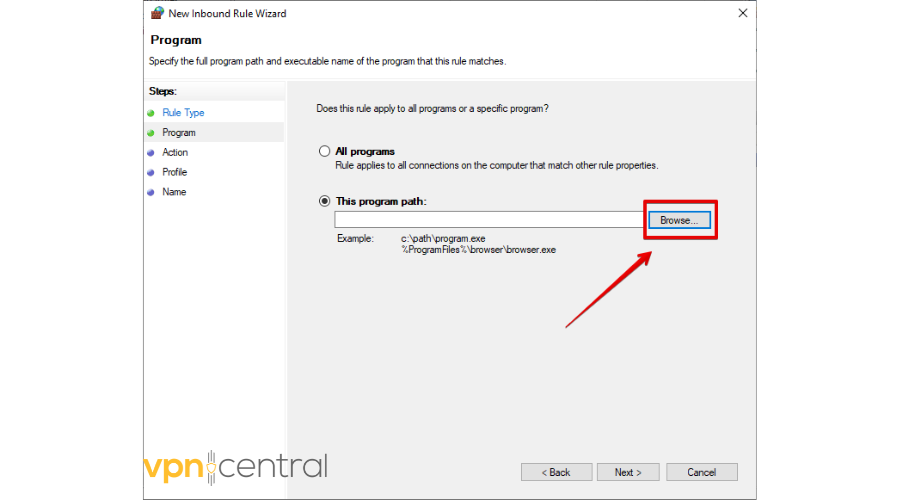
- Tap Browse.
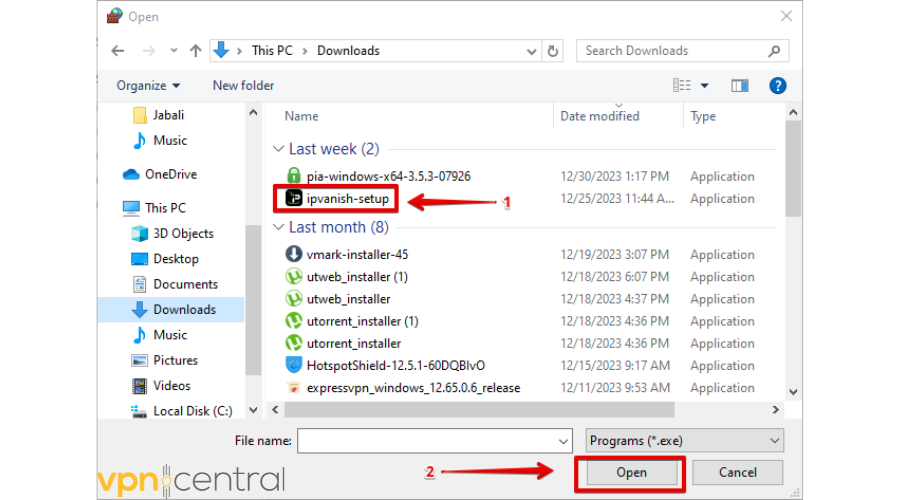
- Select IPVanish and click Open.
- Click Next.
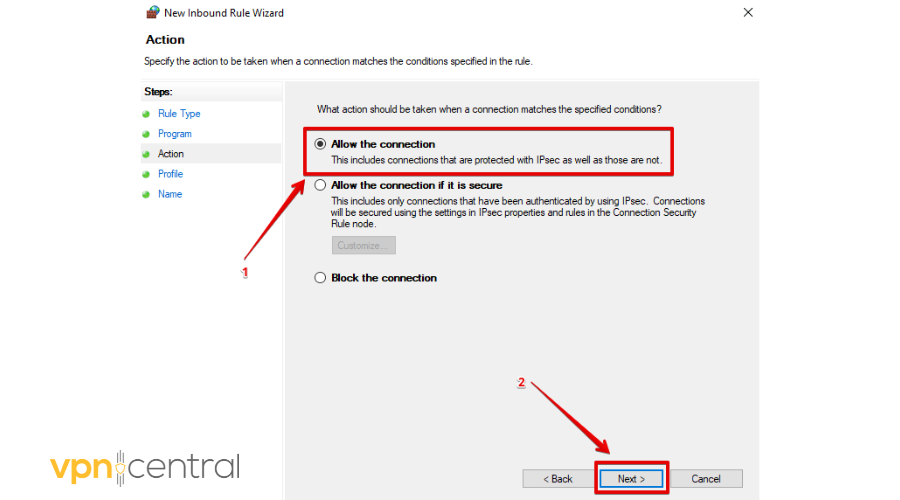
- Select Allow the connection then tap Next.
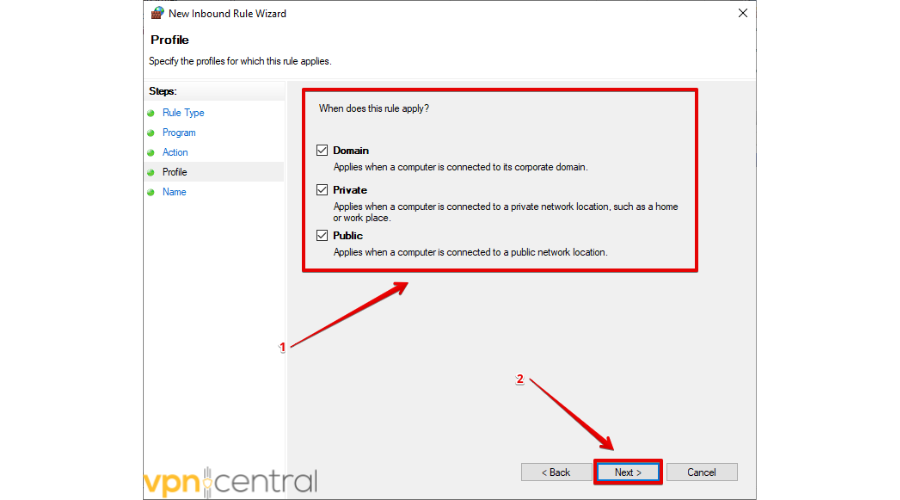
- Choose when to apply the rule. You can tick either Domain, Private, or Public, or tick them all. Click Next.
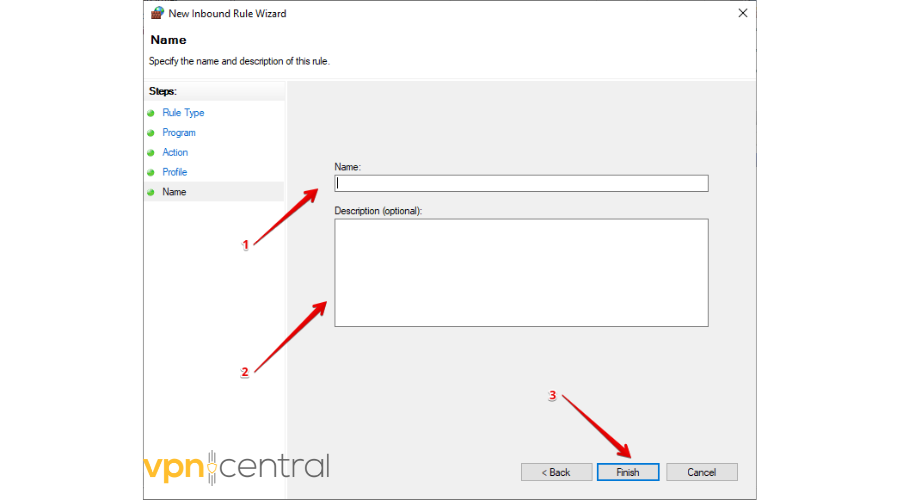
- Add a name and description (optional), then click Finish.
If IPVanish has stopped disconnecting, congratulations, but if not, try the next fix.
5. Contact IPVanish support
Sometimes, the issue might not actually be on your end, so contacting customer support is a good move.
Give detailed information about your disconnection issue, including any error messages and the steps you’ve taken to troubleshoot.
The support team can offer personalized assistance and guide you through additional troubleshooting steps to resolve the disconnection problem.
6. Use another VPN
If none of the fixes above work, then it may be time to move on to another service.
There are several good alternatives, but ExpressVPN takes the first spot. It has a proprietary Lightway Protocol that’s optimized for both security and performance. Additionally, the VPN consistently ranks at the top when it comes to connection speed and stability.
Setting it up is also pretty easy:
- Visit ExpressVPN’s website.
- Choose a subscription plan.

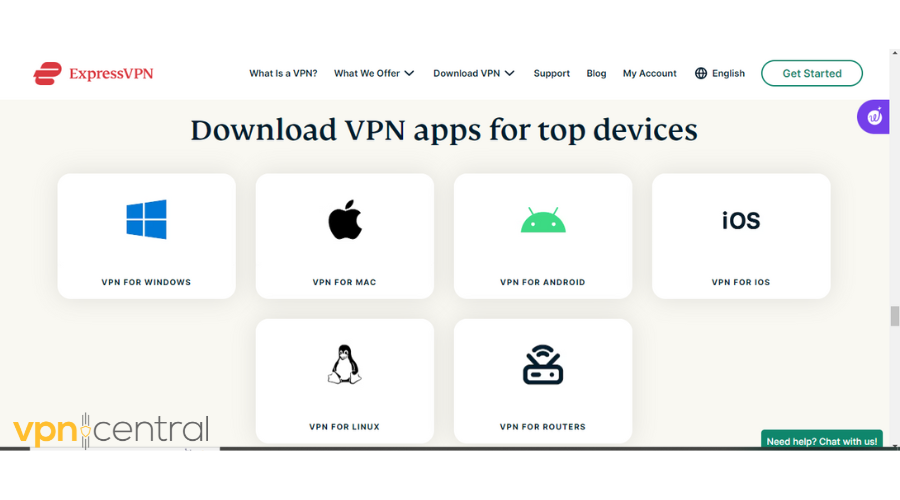
- Download an app that is compatible with your device.
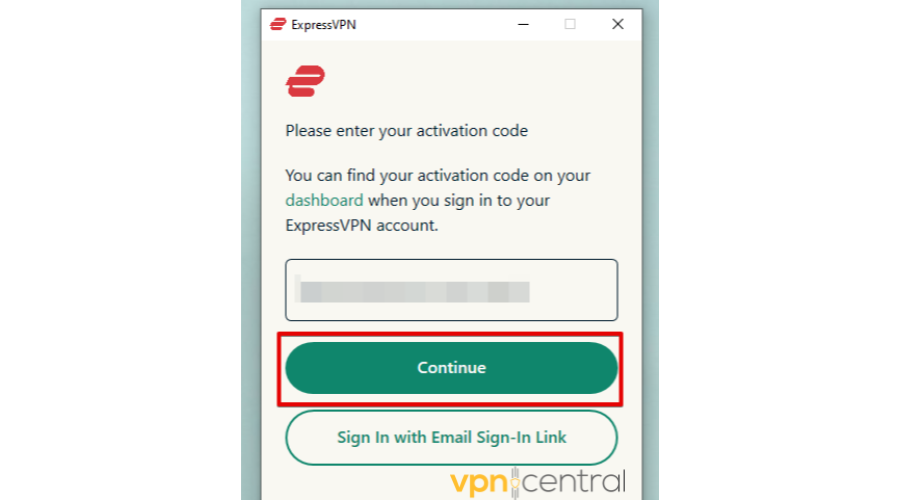
- Launch the app and log in with your credentials.
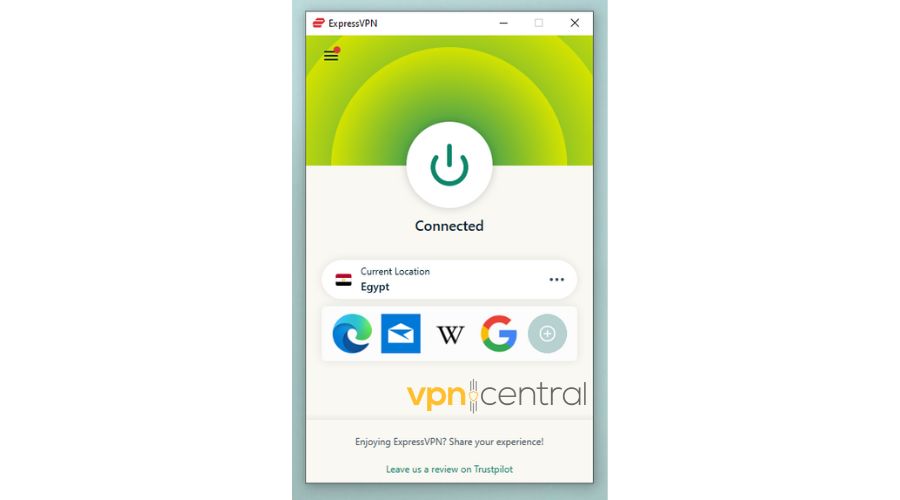
- Pick a server and connect.

ExpressVPN
Enjoy a fast and stable connection with this high-performing VPN.Wrapping up
Maintaining a stable VPN connection is crucial for online privacy and security. If you find that IPVanish keeps disconnecting, don’t panic.
The six possible fixes I’ve outlined can help you troubleshoot and resolve the issue, ensuring a seamless and secure VPN experience.
Read our disclosure page to find out how can you help VPNCentral sustain the editorial team Read more

Improve this guide


User forum
0 messages