Fix: Cicso AnyConnect VPN Failed Due to Unsuccessful Domain Name Resolution
Fix the error with expert-tested workarounds ?
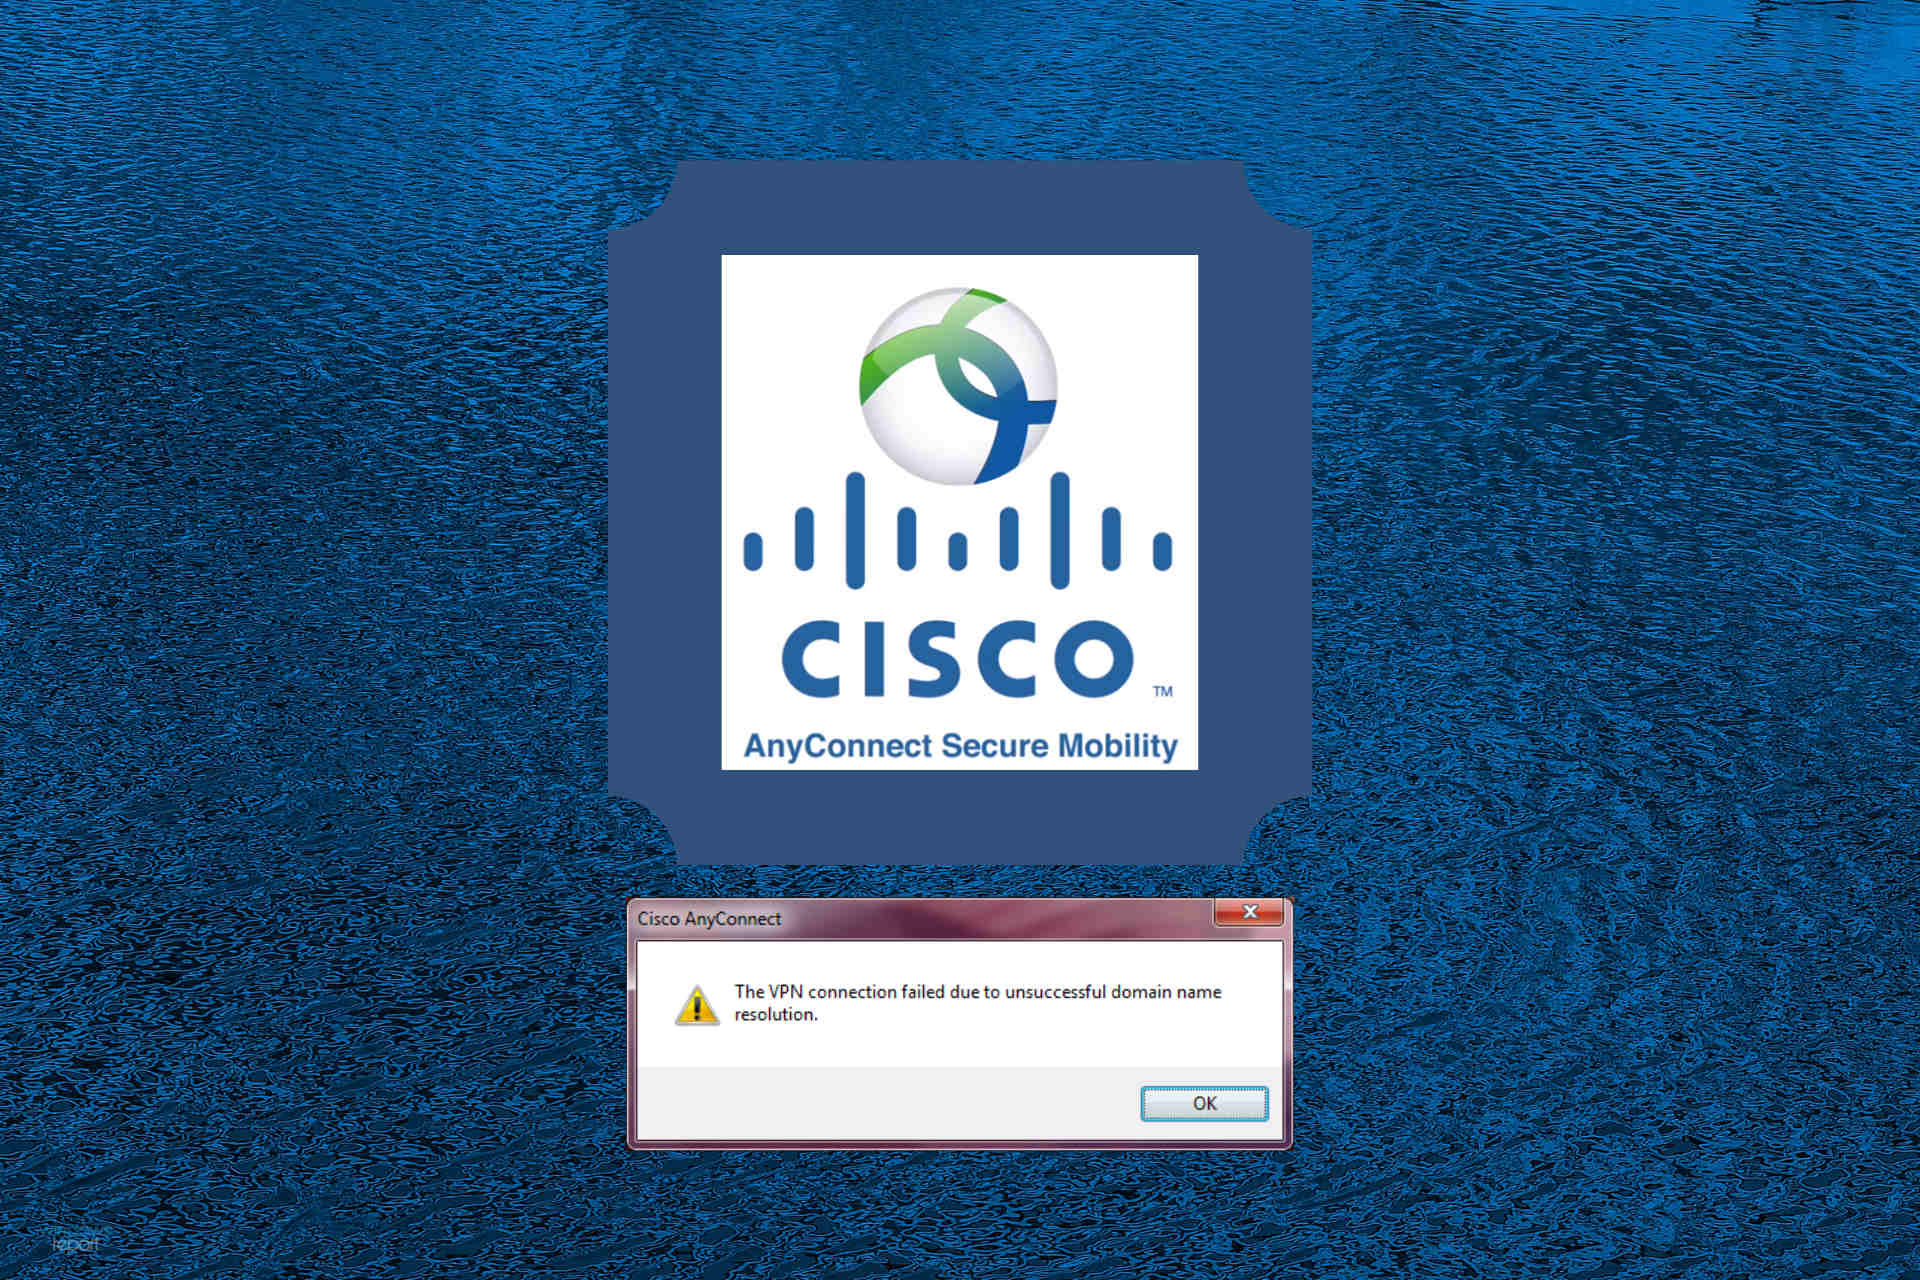
Today, we’ll show you how to fix The VPN connection failed due to unsuccessful domain name resolution in Cisco AnyConnect.

It’s often caused by faulty DNS settings, internet problems, outdated VPN software, or OS errors. Fixing it is critical for secure access, business productivity, and preventing data exposure.

Access content across the globe at the highest speed rate.
70% of our readers choose Private Internet Access
70% of our readers choose ExpressVPN
Browse the web from multiple devices with industry-standard security protocols.

Faster dedicated servers for specific actions (currently at summer discounts)
So, let’s get started.
How can I fix the VPN connection failed due to DNS error?
Here’s a quick video overview of the solutions. You can find more in-depth information in this article.
1. Change your DNS settings
Time needed: 2 minutes
If you want to get rid of this Cisco VPN connection error and repair any DNS malfunctions, the logical solution is to change your settings as exemplified below.
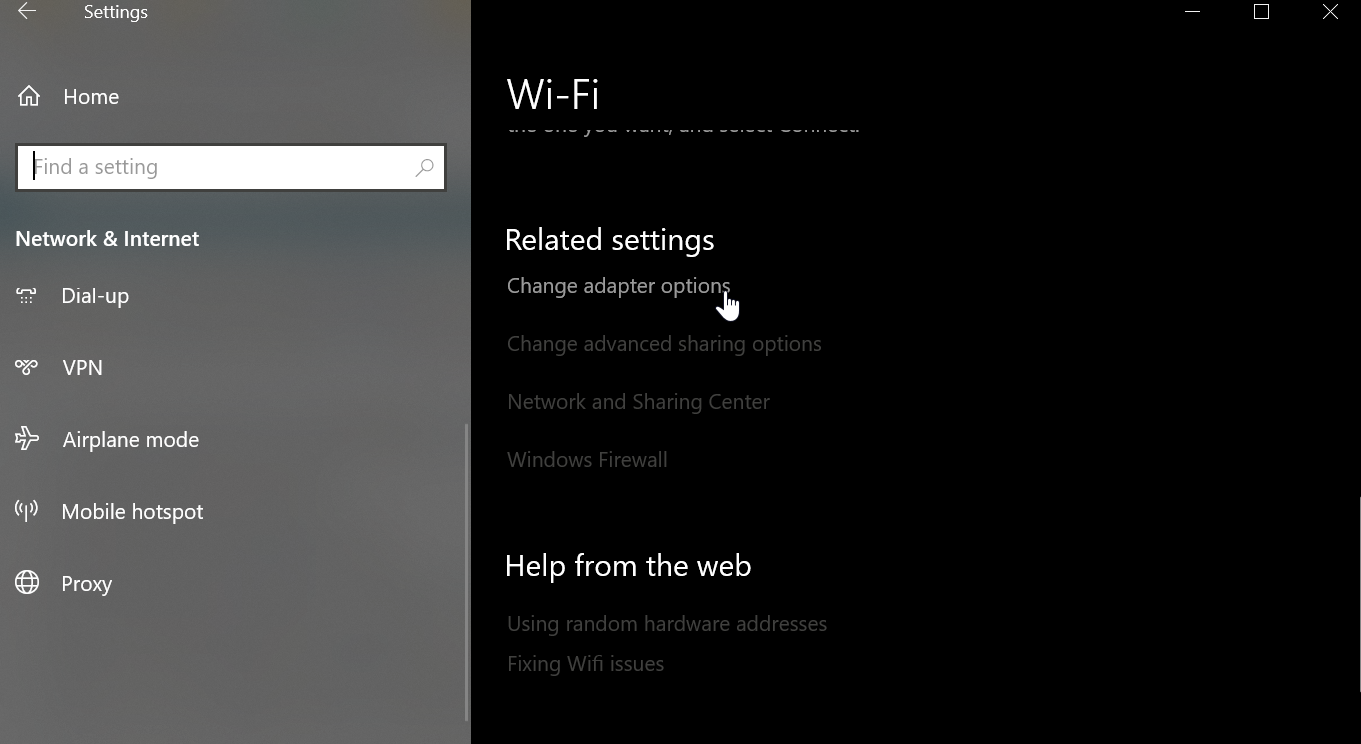
- On Windows 10, right-click the Start button.
- Go to Network Connections > Change adapter options.
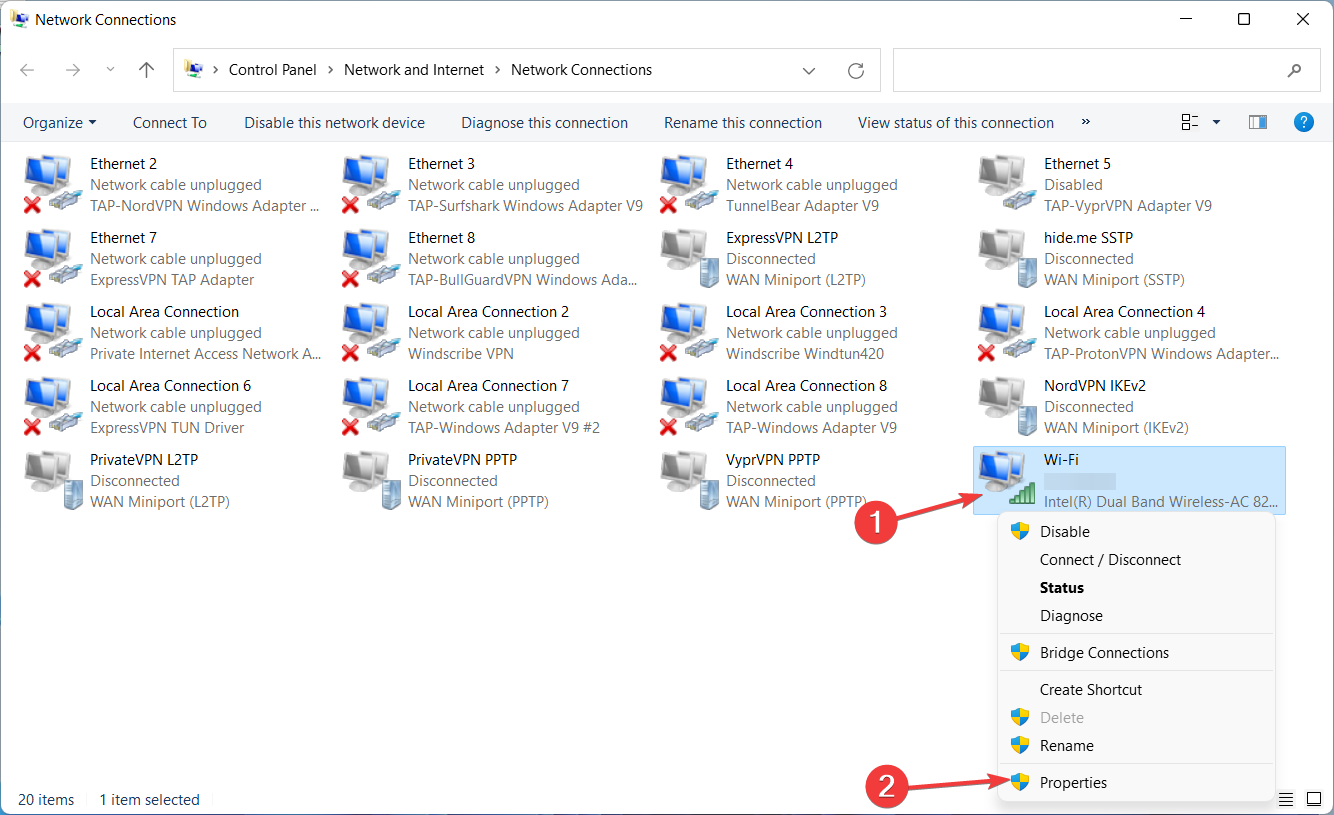
- Right-click your network adapter and select Properties.
- Double-click Internet Protocol Version 4 (TCP/IPv4).
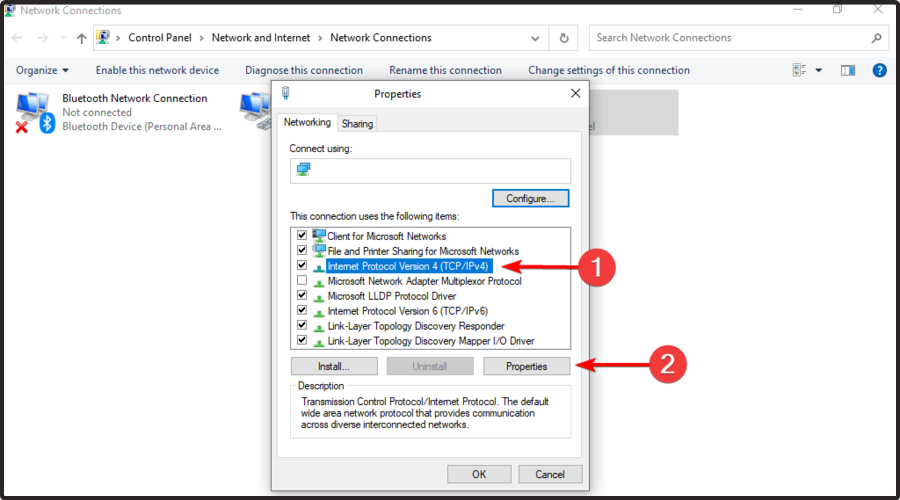
- Select Obtain DNS server address automatically and Click OK.

The DNS error might occur when using custom DNS settings, such as Google Public DNS, OpenDNS, or Cloudflare. In certain cases, static DNS servers are not compatible with VPN clients like Cisco VPN.
However, you can easily fix this issue by resetting your computer’s DNS settings to default, which means using the DNS servers provided by your ISP. If the problem persists, you should contact your ISP.
But if your ISP’s DNS servers are slow by default and that’s actually the reason why you used custom DNS in the first place, then you should try using other static DNS servers.
2. Try another VPN service
If you often face DNS issues, try switching to a reliable VPN like Private Internet Access (PIA).
It offers strong DNS security, custom DNS setup, and over 35,000 global servers for fast, private connections.
PIA is open source, supports port forwarding, and helps fix domain name resolution errors.

Private Internet Access
Get access to secure VPN and DNS servers for a private and error-free experience.3. Repair the anyconnect.xml file

In some cases, AnyConnect’s XML profiles become corrupt, which causes the error. But you should be able to fix this problem by reinstalling AnyConnect.
You can also try connecting to another region, specifying an alternative VPN gateway, or checking the DNS name and port address in the XML file to see if it’s correct.
4. Reinstall your operating system

If you can’t fix the error using the solutions above, back up all your important data and applications in order to reinstall Windows 10.
This way, all system settings will be restored to default. Alternatively, you can use the Refresh Tool for a clean install.
Conclusion
The solutions we provided above should be enough to fix the VPN failed due to unsuccessful domain name resolution error with Cisco AnyConnect on your Windows PC.
Also, we have a guide explaining how to fix remote access issues on Cisco that you might want to check out.
If you’re still relying on the legacy client, it’s time to explore safer, modern options. Our guide to the best Cisco VPN Client alternatives for Windows 10 covers tools that offer better compatibility and updated encryption standards.
It’s also worth noting that hackers are increasingly targeting Cisco VPNs, and even Cisco has issued warnings about brute-force attacks. These trends underscore the need to act before vulnerabilities become entry points.
Despite these challenges, Cisco still holds a significant market share across enterprise environments. But for individual users and small teams, switching to a more secure VPN could be a smarter move in 2025.
However, if these errors are recurring, you should consider dropping Cisco VPN and replacing it with other corporate VPN solutions.
Read our disclosure page to find out how can you help VPNCentral sustain the editorial team Read more

Improve this guide


User forum
1 messages