Fix: VPN Not Working On Kindle Fire [Fast and Easy]
With a VPN, Kindle Fire users can escape regional blocks. That gives them access to restricted apps, streaming content, games, and more.
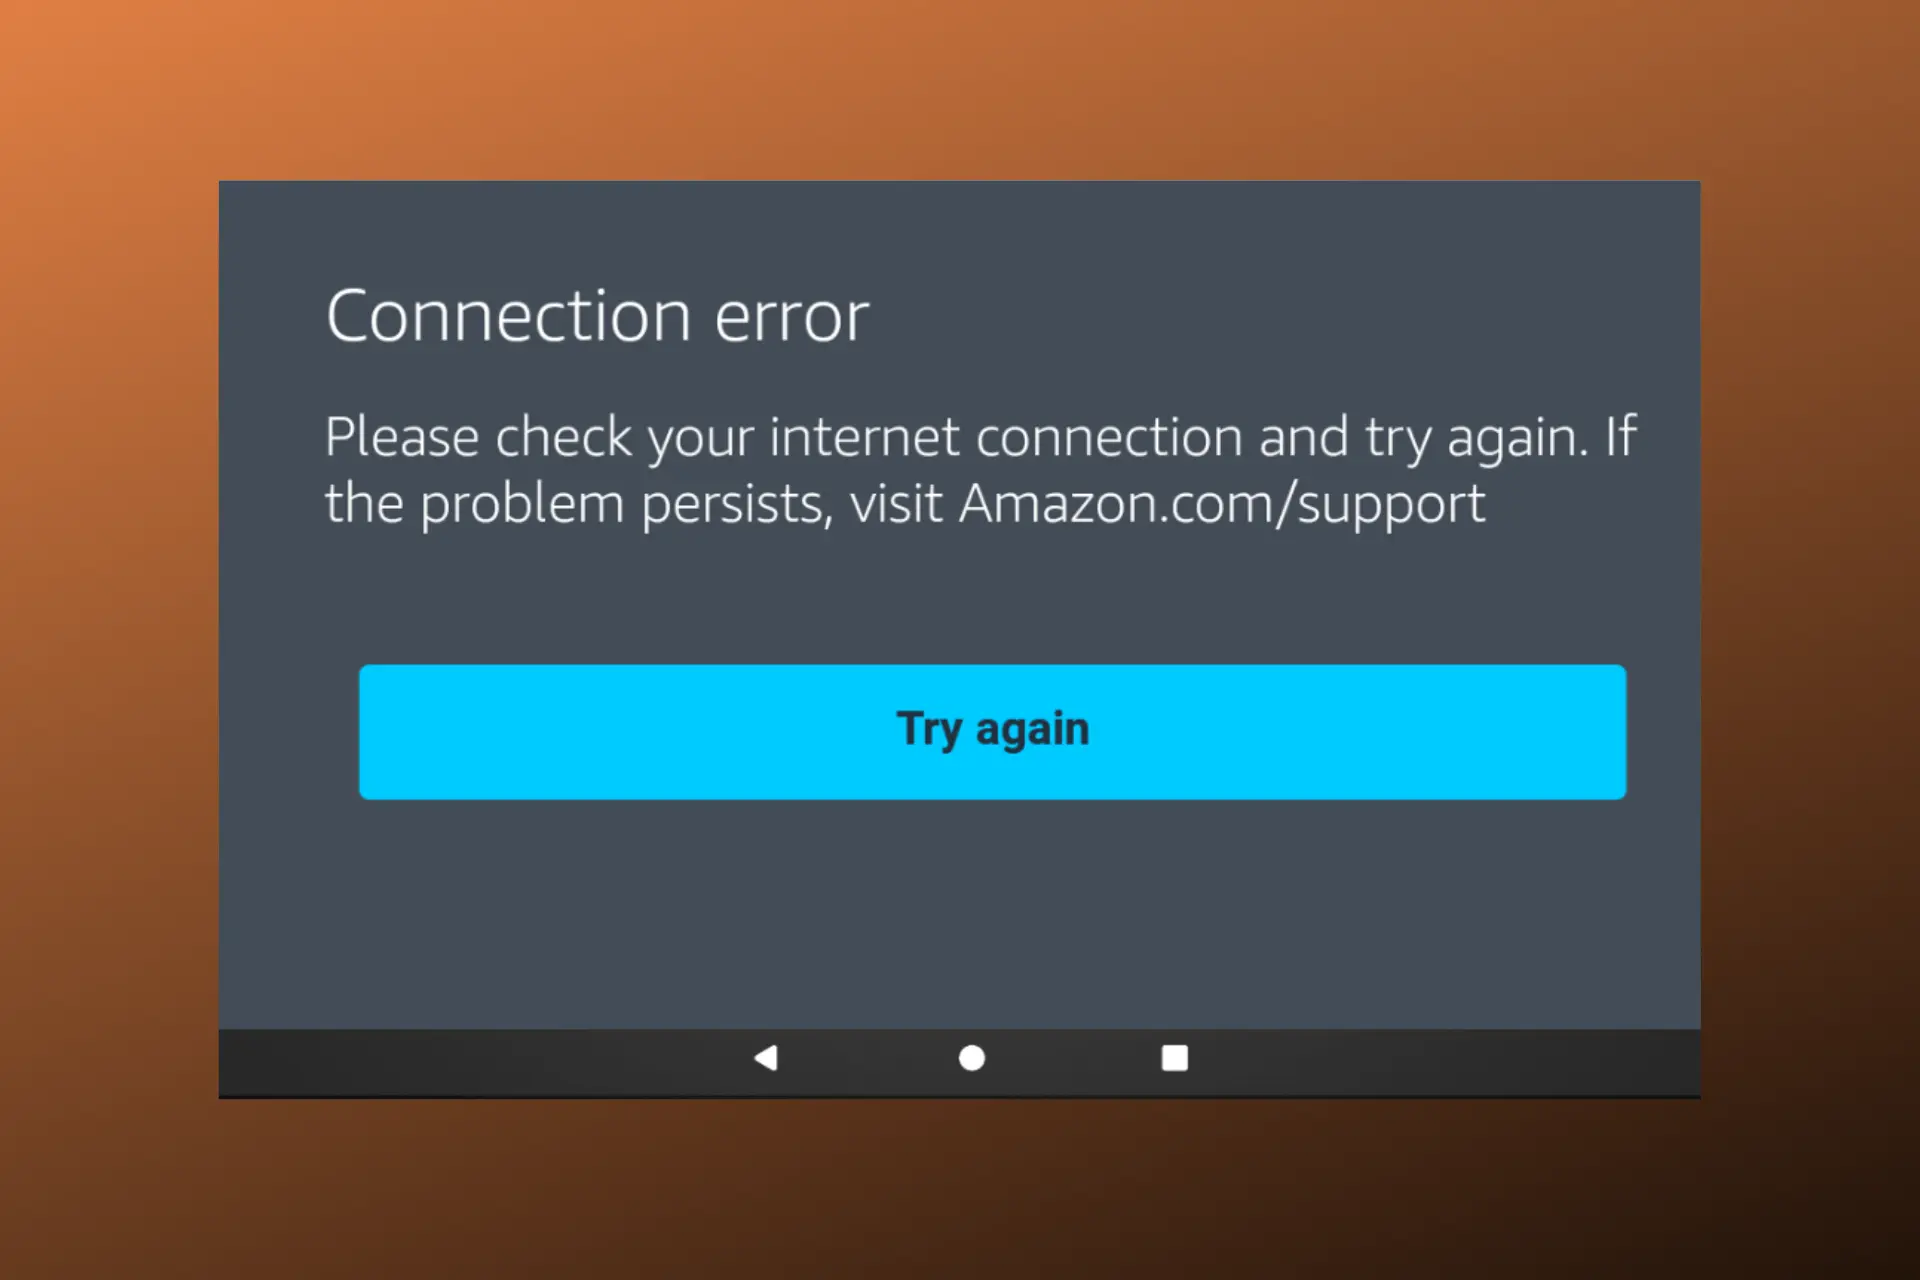
However, there are several instances where people complain that their VPN is not working on the Kindle Fire tablet. It won’t connect or the IP/location won’t actually change.

Access content across the globe at the highest speed rate.
70% of our readers choose Private Internet Access
70% of our readers choose ExpressVPN
Browse the web from multiple devices with industry-standard security protocols.

Faster dedicated servers for specific actions (currently at summer discounts)
We’ll discuss below why this happens and what to do about it.
Why is your VPN not working on Kindle Fire?
Kindle Fire is widely available around the world, but many of its apps and content are highly restricted if you decide to use it outside the United States. The VPN is a quick fix for all that.
When your VPN is not working on your Kindle Fire, you may have some of the following issues:
- Poor internet connection
- Outdated or corrupt VPN software
- Interfering cookies
- Using a poor VPN provider
This kind of issue seems to be peculiar to Amazon gadgets as many people also complain about Ring devices not working with VPN.
Now, let’s talk about the solution to these problems.
How to fix it?
In order to fix the error and have a seamless VPN connection on your Kindle Fire device, make sure you try out the following simple tricks:
- Check your internet connection – A quick network speed test can tell you if you have a working internet connection as well as how strong it is.
- Reboot your device – Restart your Kindle Fire to refresh the memory and give it a fresh start. This can fix the issue in a lot of cases.
- Restart your WiFi router – This helps to refresh and reset your network connection.
If none of the above suggestions worked, then it’s time to move on to more advanced methods:
1. Clear the VPN app cache
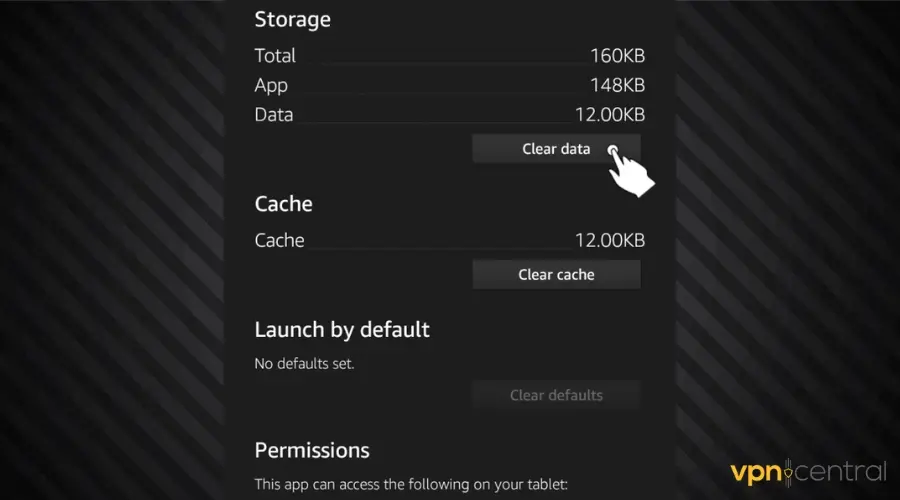
Clearing the app’s cache helps to refresh the app and free up memory, thereby boosting its performance. Doing this can fix the issue of the VPN not working on Kindle Fire.
Here’s how to clear your VPN app cache on your Kindle Fire:
- Go to Settings on your device.
- Click on Apps & Notifications.
- Choose the Manage All Applications option and select your VPN app from the list.
- Click on Storage > Clear Storage > Clear Cache.
❕ If your VPN is not working with a particular app, you can also clear that app’s cache. Sometimes, apps such as Amazon Prime may not work with your VPN because they store conflicting information.
Clearing data will remove all previous data and allow them to register your VPN location.
2. Reinstall the VPN
Your VPN may not work on Kindle because the app is corrupt. A simple reinstall should fix it:
→ Uninstall the VPN app on Kindle Fire
- Simply press and hold the VPN app icon on your home screen.
- Click Uninstall from the pop-up menu.
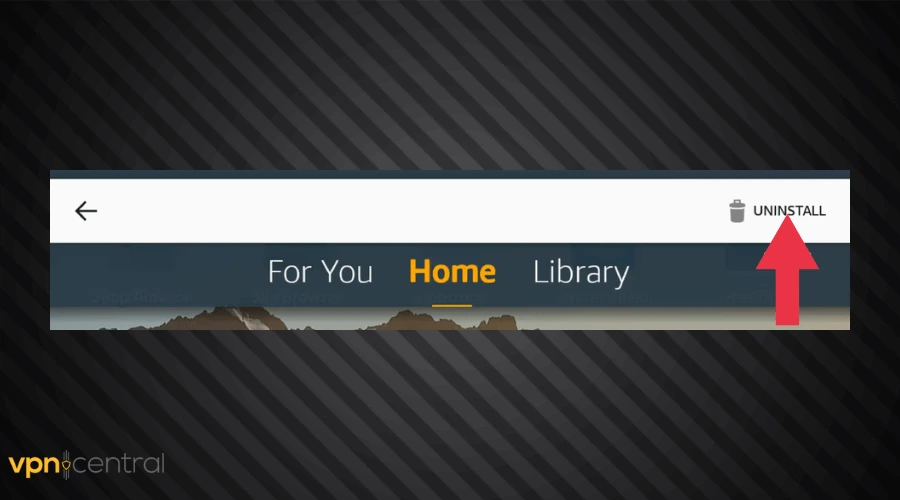
- Click OK to uninstall.

Now, you’ll have to reinstall the application on your device.
Not all VPN apps are available on Amazon Appstore. Therefore, if the one you uninstalled is unavailable, you may need to sideload the app by downloading its .apk file yourself.
We’ll show you both ways:
→ Install the VPN app from the Amazon Appstore
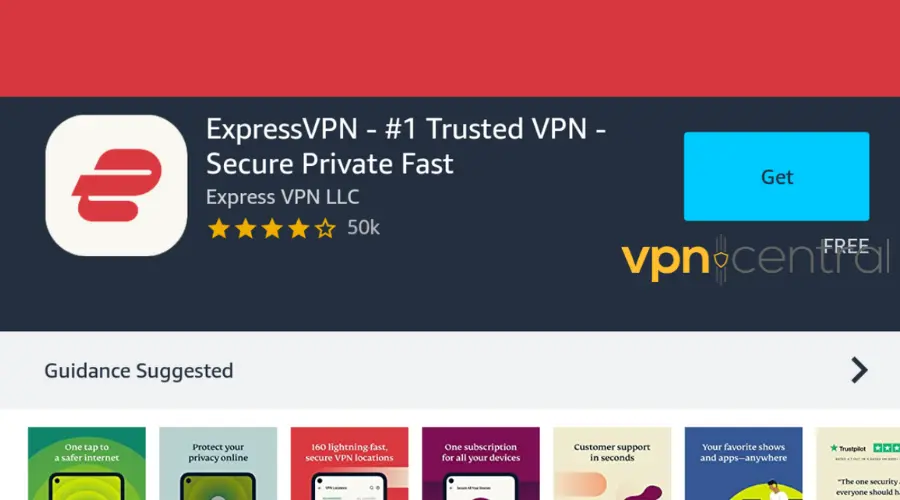
- Go to the Amazon Appstore.

- Type the name of your VPN provider in the search bar. We searched for ExpressVPN. The app is compatible with a lot of Amazon devices and it’s listed for download in the Kindle Amazon Appstore.
- Tap on the result and select Get app.
- Wait for the process to complete and connect to the VPN.
→ Install the VPN .apk file on Kindle Fire
As mentioned, some VPNs won’t show up in the Amazon Appstore results, as shown below.
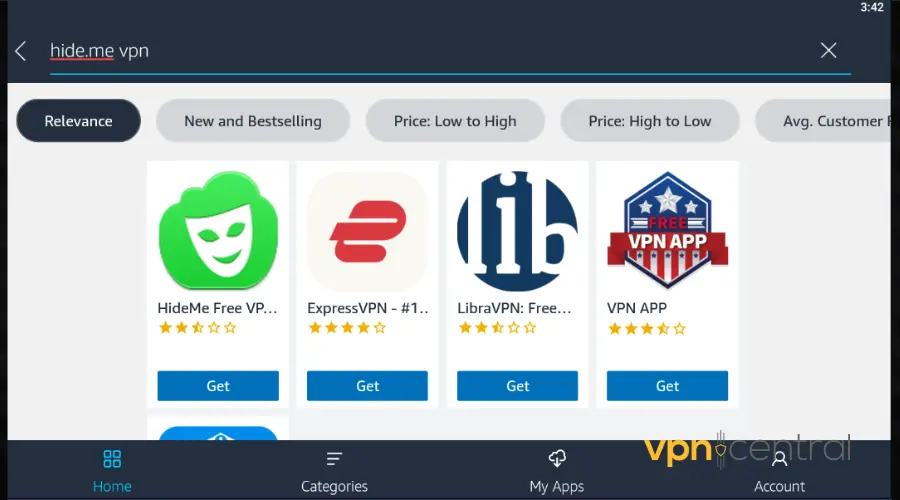
However, those apps can run on your Kindle Fire, as long as they have an Android .apk, and most VPNs do.
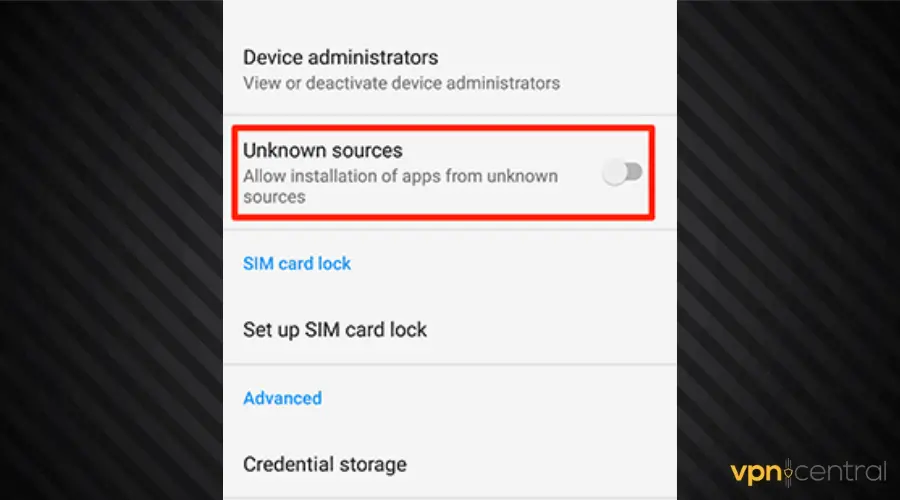
Here’s how to install the VPN .apk file:
- On your Kindle Fire, go to Settings> Security. Toggle the button to enable installing apps from unknown sources.
- Visit your VPN provider’s website and download the .apk file for the app.
- Locate the downloaded file and install it. Now it should work and connect without any issues.
3. Change your VPN provider
If you’re using a low-quality VPN with limited servers in just a few locations, it can lead to errors or it can simply just not work on your Kindle Fire.
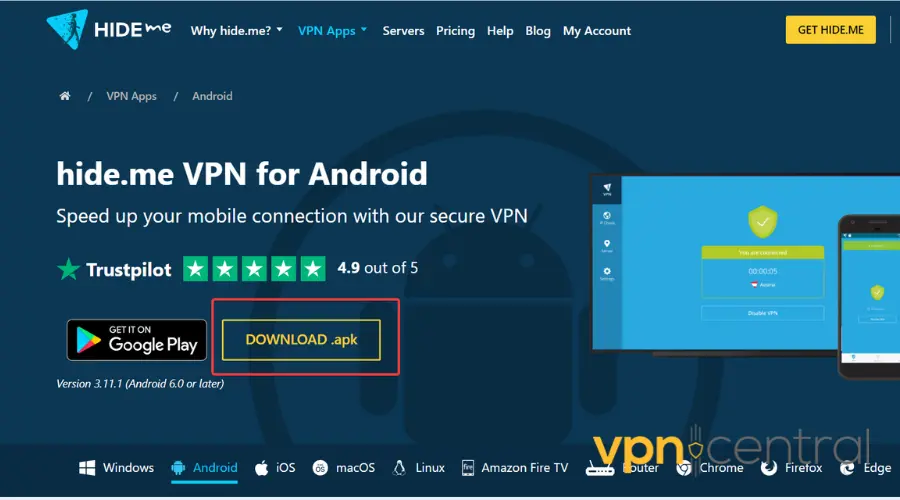
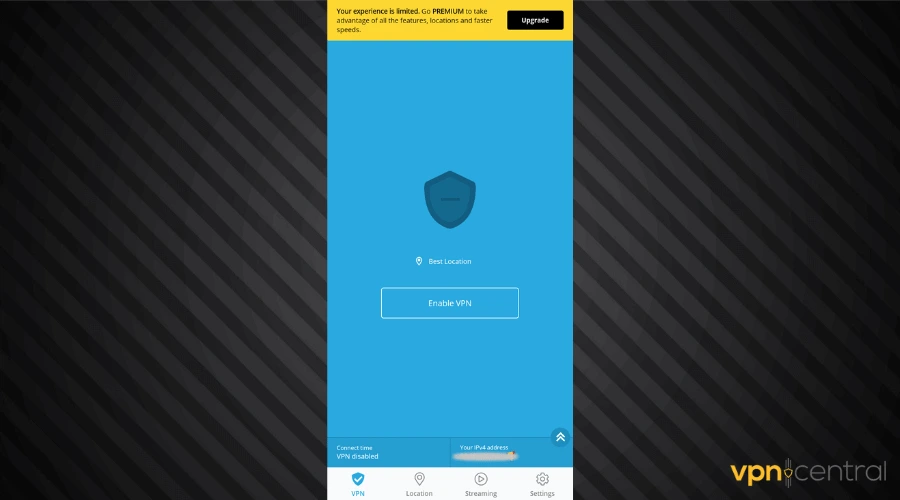
An affordable and lightweight option that works great on Kindle Fire is hide.me. Here’s how to installl it:
- Visit hide.me’s official website to sign up.
- Download the .apk file and install it.

- Open the app once it’s installed and connect to a server.
Hide.me has been providing digital privacy and security for a decade and its suite of features makes it a worthy VPN for Kindle Fire.
With a wide network of 2100+ servers in 47 countries, the service gives users access to thousands of IP addresses.
Moreover, the VPN’s free plan allows connection to servers in 8 top countries, including the US, Canada, the UK, France, and Spain.
When you connect to these servers on your Kindle Fire, you can stream content that is not available in your country or download blocked apps.
In short, you’ll enjoy unrestricted access and private browsing on the Kindle Fire tablet.

hide.me
Boost your privacy and lift up online restrictions by adding hide.me to your Kindle Fire!Conclusion
Whether you are traveling abroad or gifting a Kindle Fire to a loved one outside the US, you will find it difficult to access some content without a VPN.
Simply follow the steps above to solve all errors causing the VPN not to work on your Kindle Fire and make the most out of your tablet.
Read our disclosure page to find out how can you help VPNCentral sustain the editorial team Read more

Improve this guide


User forum
0 messages