Rust Can't Connect to Server: Multiplayer Issues Made Simple!
Break free from errors with tested fixes explained step-by-step!

Rust can’t connect to server? You’re not alone. Many gamers get errors like Connection attempt failed or the game is stuck on connecting.
Don’t worry though. I found all the reasons why this might happen and how to fix it. Keep reading if you’re ready to get back to hitch-free multiplayer gameplay.

Access content across the globe at the highest speed rate.
70% of our readers choose Private Internet Access
70% of our readers choose ExpressVPN
Browse the web from multiple devices with industry-standard security protocols.

Faster dedicated servers for specific actions (currently at summer discounts)
Why Can’t I Connect To Rust Servers?
Most commonly, Rust can’t connect to a server because of network issues. Other factors such as internal errors, incorrect port-forwarding, configuration problems, system requirement issues, corrupted game files, blocked ports, and proxy connection problems can also contribute to this problem.
These underlying causes will lead to problems such as:
- Rust connection attempt failed
- Rust can’t join server
- Rust stuck on negotiating connection
- A network connection has prevented you from joining Rust
- Reconnect error no address
This error seems to appear regardless of platform. Rust players report having the can’t connect to Rust server issue on Xbox as well. Similarly, people can’t connect to the Rust server on PS4 and PC.
If you or your friends can’t connect to the Rust server, there are some specific methods to follow. Keep reading to learn how to apply them. I laid it all down in easy-to-follow steps.
What can I do if I can’t connect to a Rust server?
1. Verify System Requirements
1.1 Check General System Information
- Press Win + I on the keyboard to open Settings.
- Click on System.
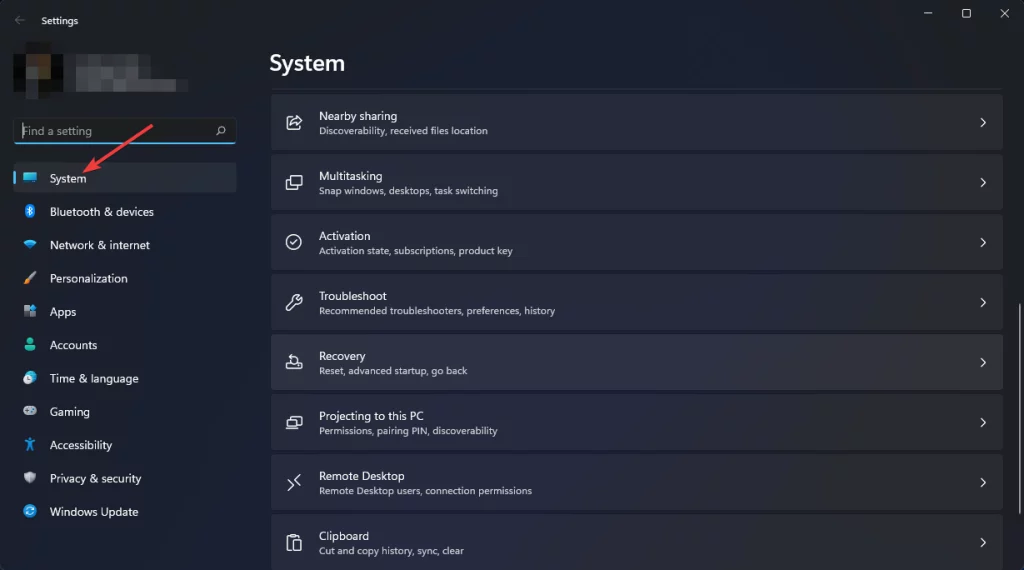
- Scroll down and then click on About.
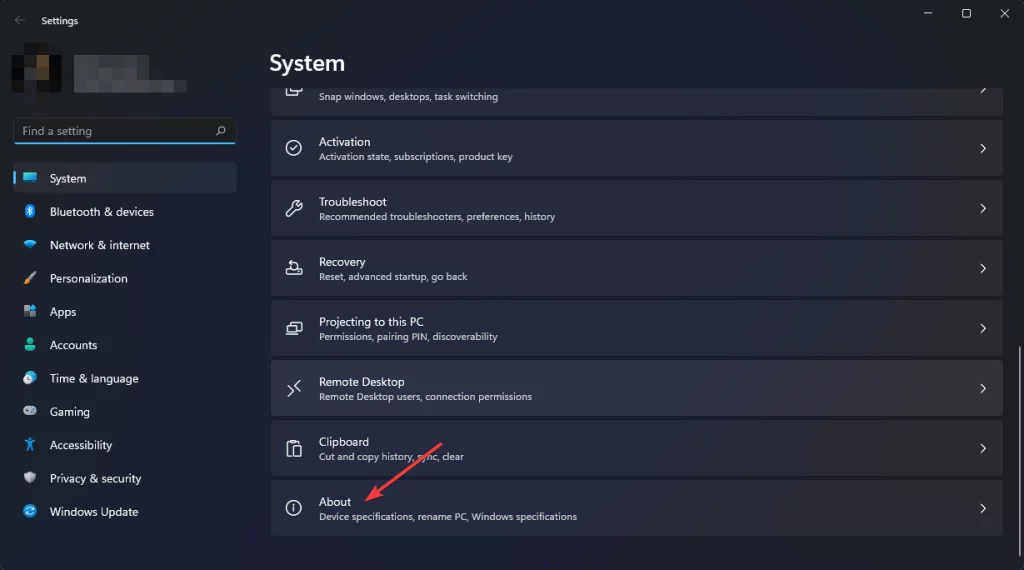
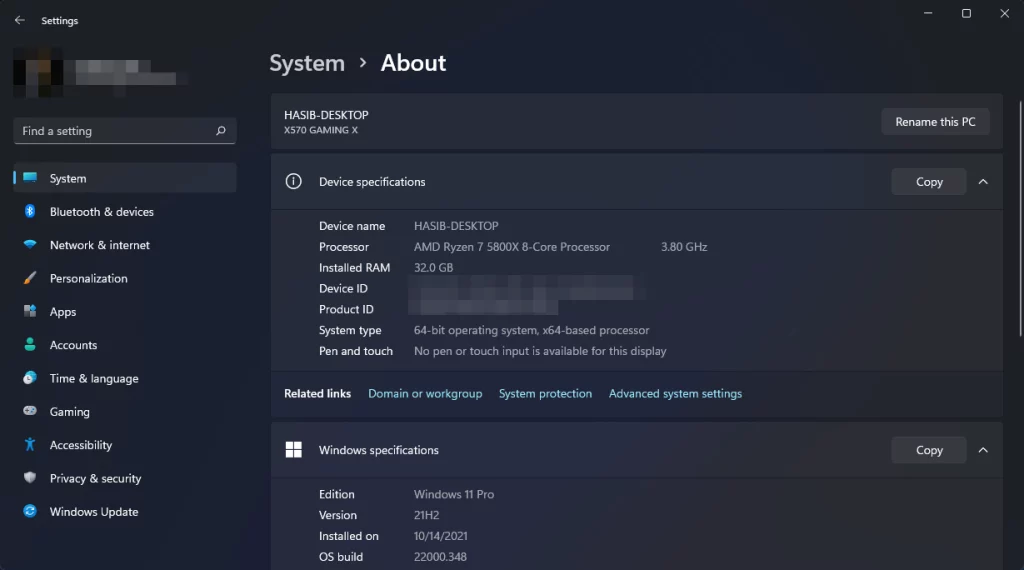
- Now, Look at your processor and RAM details.
1.2 Check GPU information
- Open Windows Settings like before and go to System.
- Now, Click on Display.
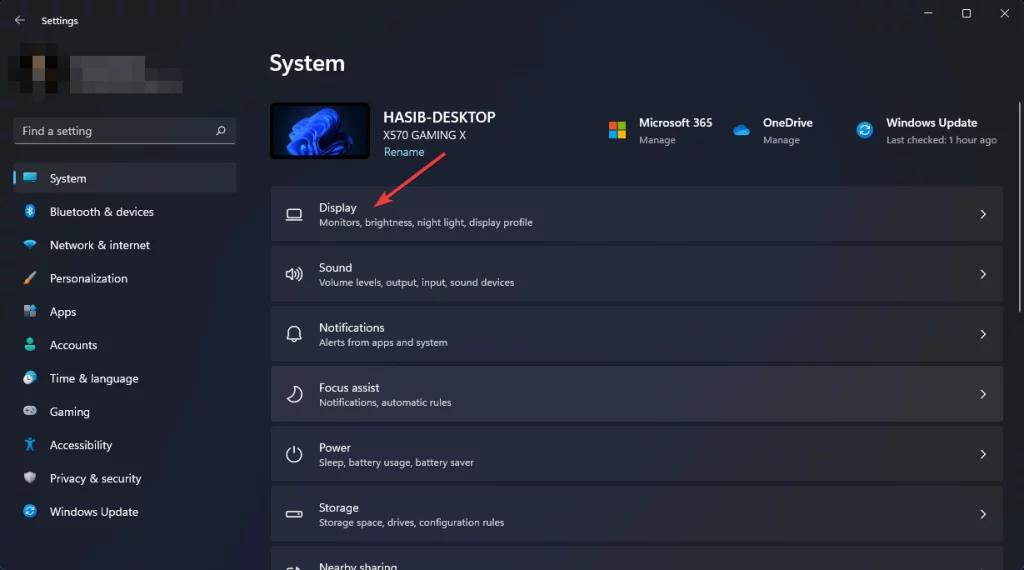
- Go to Advanced Display Settings.

- Next, click on Display adapter properties.
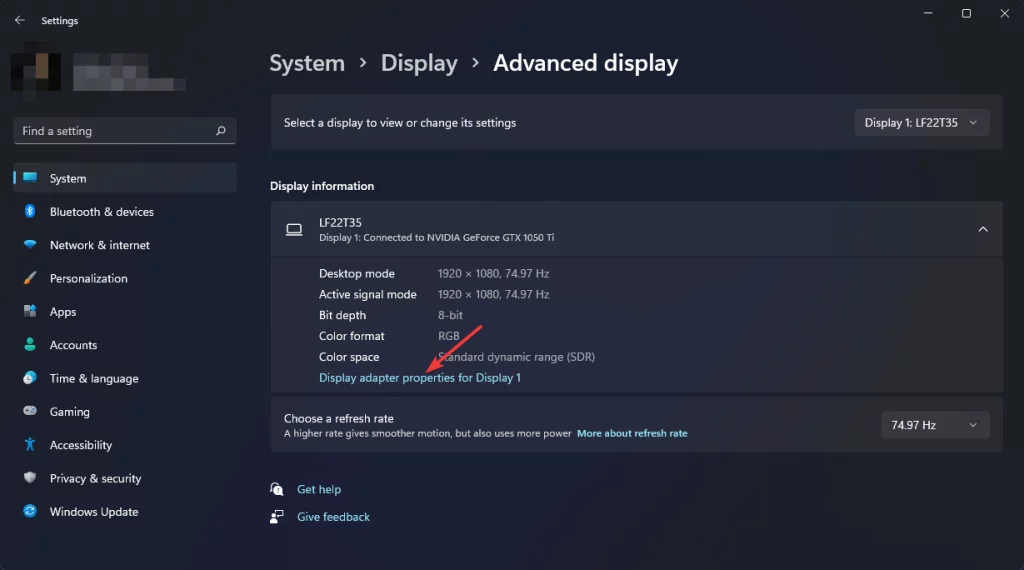
- Now, Look at your graphics card details.
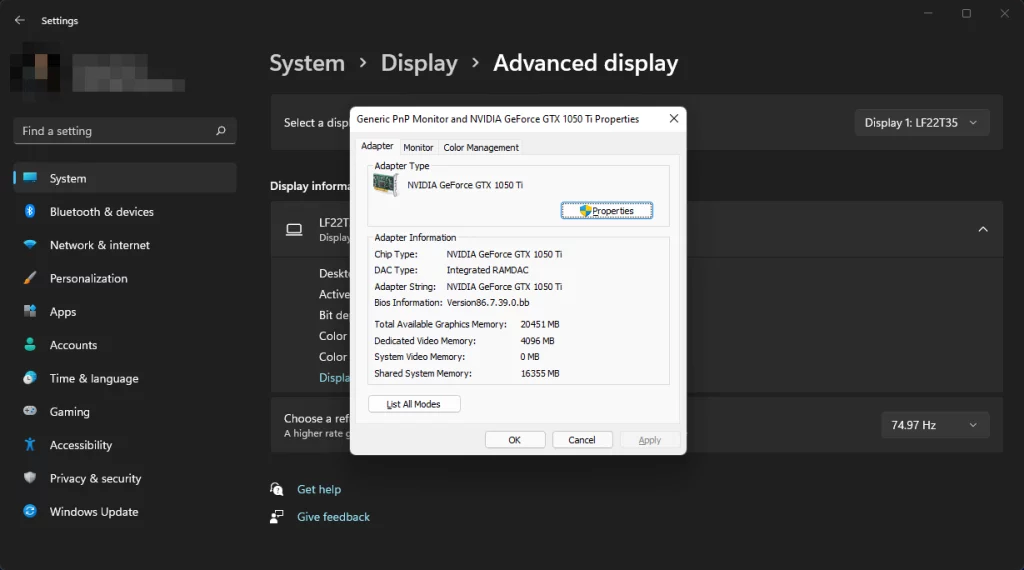
After checking your system specs, compare them with the system requirements of Rust. If your PC doesn’t meet the minimum system requirements, you should upgrade the specs.
In general, the PC that doesn’t meet the requirements is more likely to have Rust server connectivity problems frequently.
2. Use a gaming VPN
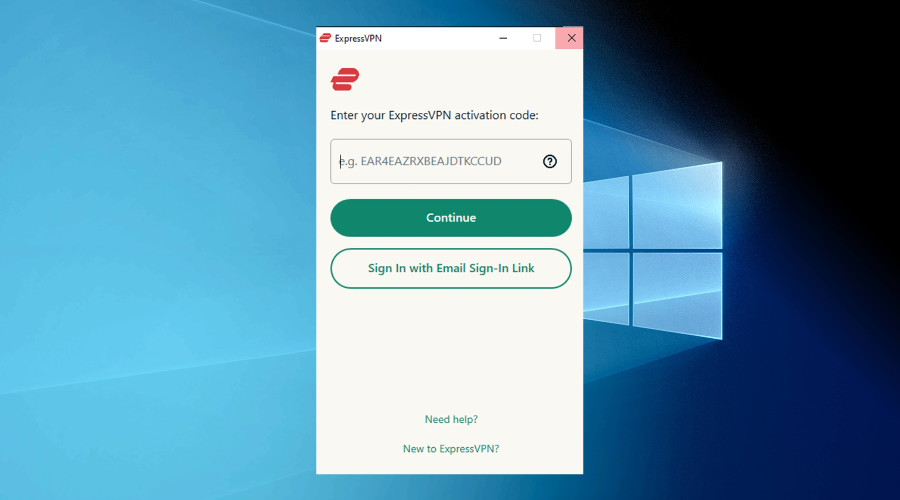
We suggest ExpressVPN for this. It is one of the best VPNs for Windows as well as for gaming.
- Get an ExpressVPN subscription plan.
- Download the app and connect with your credentials.
- Click on the power button to connect to VPN.
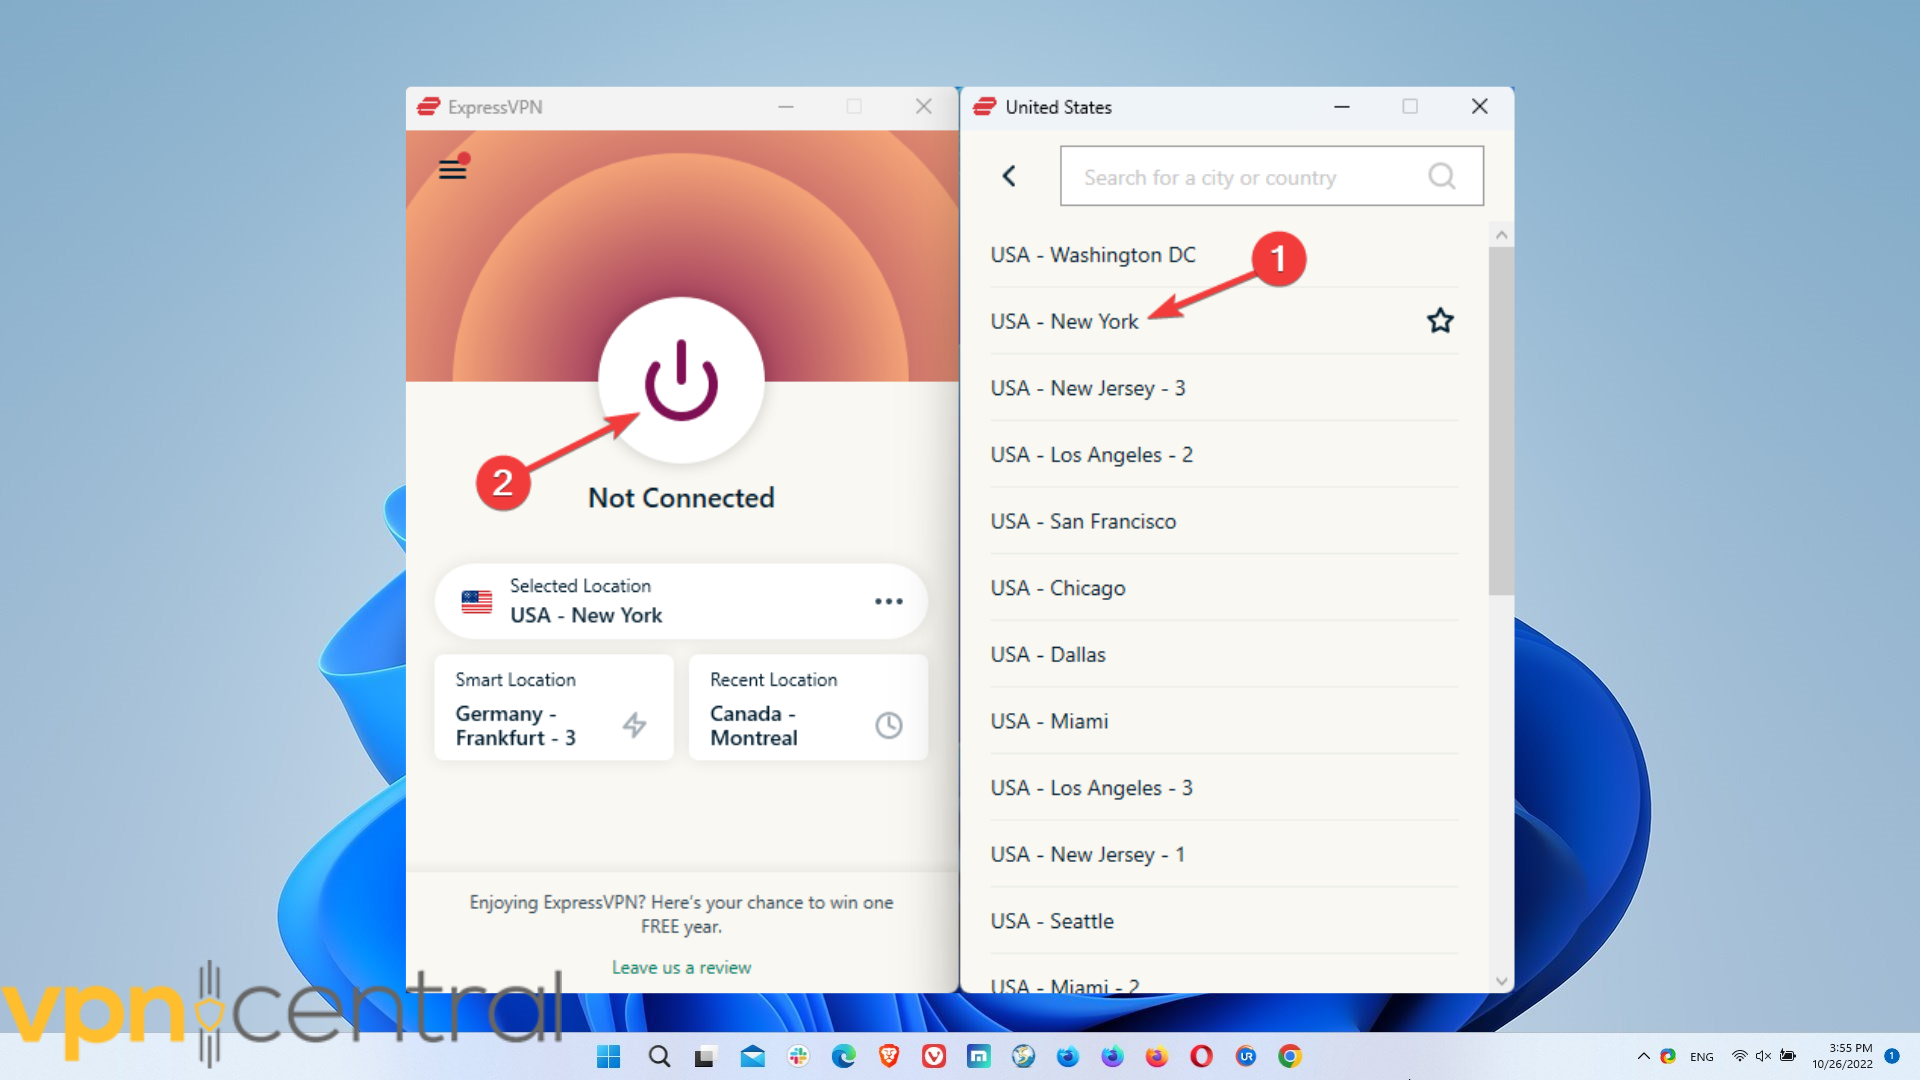
- Launch Rust and enjoy uninterrupted gaming.
Suppose the root of the problem is your ISP’s routing. In that case, you will always encounter problems while joining the remote Rust server.
For this using an alternative connection may help. But, that is not a very practical way. So, VPN is the best solution.
Any VPN connection with a port-forwarding feature can help to avoid the can’t connect to Rust server problem.
ExpressVPN
Use ExpressVPN to fix connectivity issues in Rust and protect your data online.3. Re-Install Rust AntiCheat
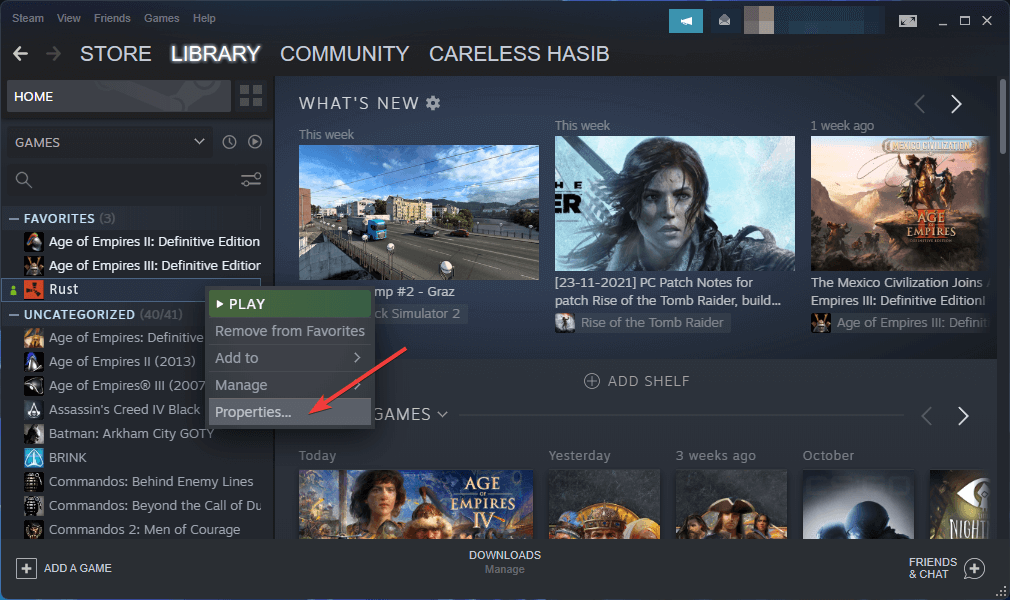
- Open Steam.
- Right-click on Rust.
- Go to Properties.
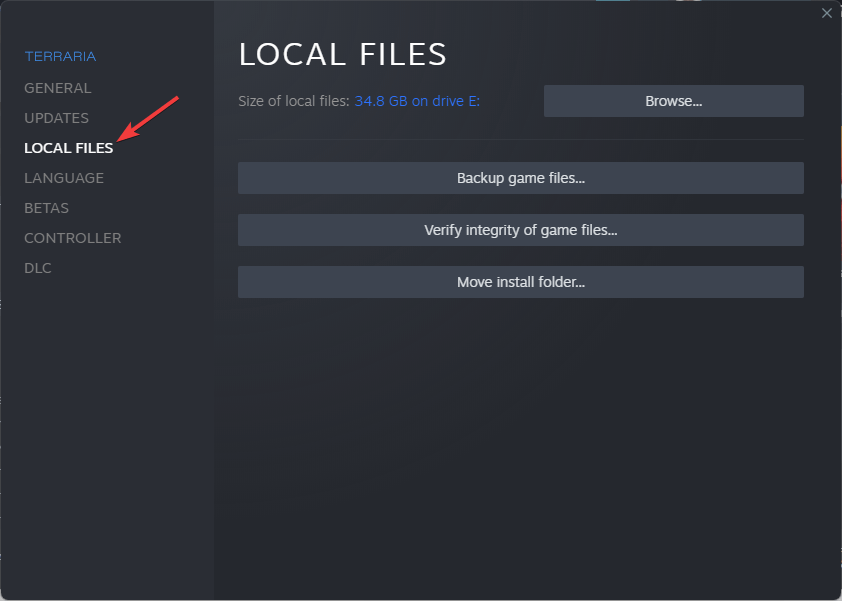
- Go to Local Files.
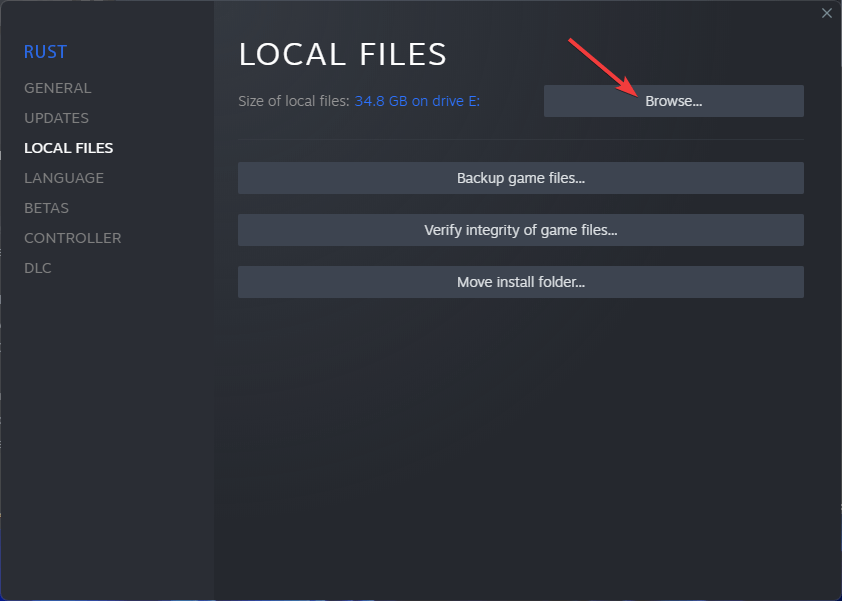
- Click on Browse.
- Go to the EasyAntiCheat folder.
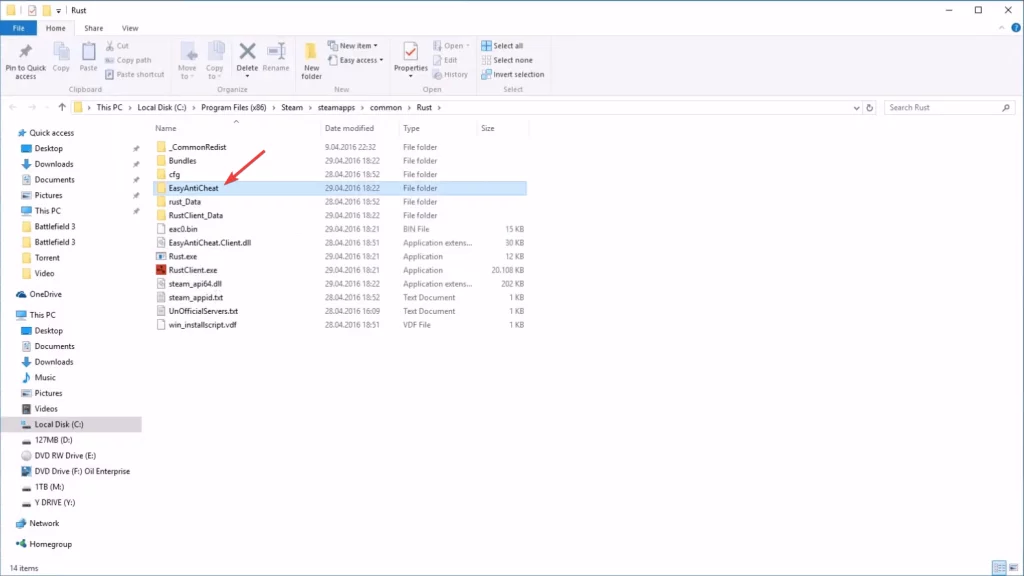
- Right-click on EasyAntiCheat_Setup.exe and choose Run as administrator.
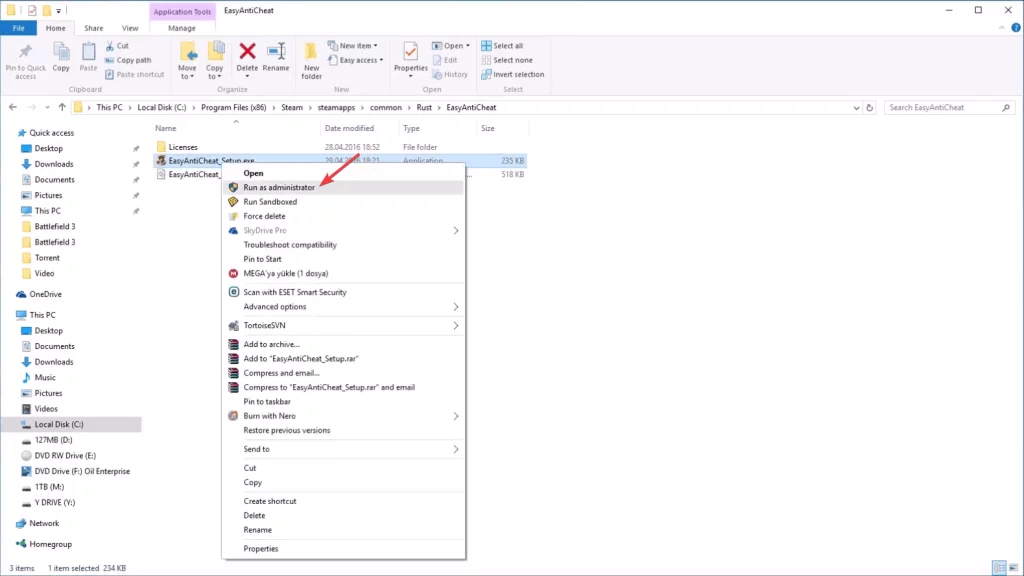
- Select Uninstall and select Rust on the Game selected dropdown box.

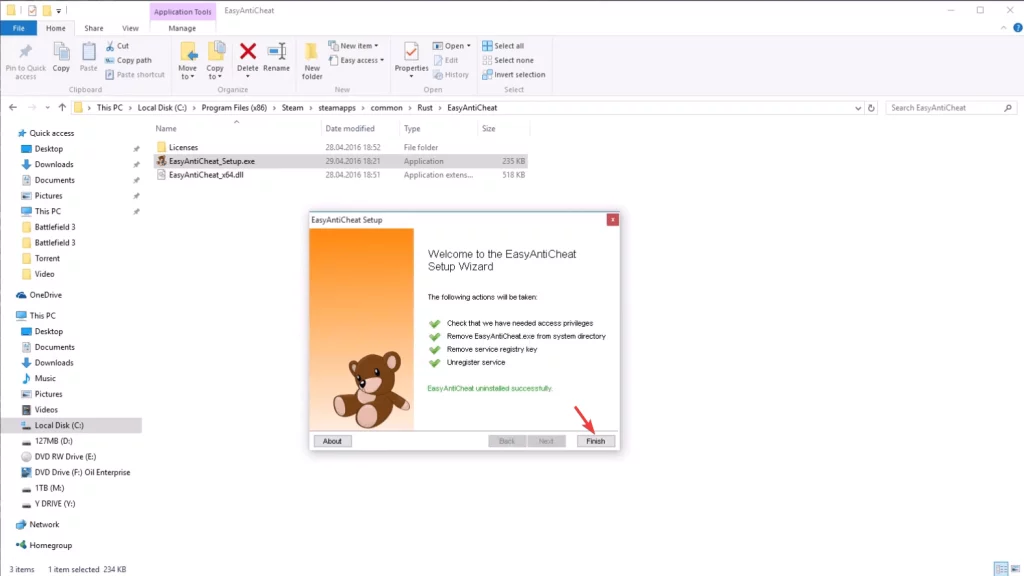
- Click on Next and uninstall it.

- Then, Click on Finish.
3.1 Install AntiCheat Again
- Again right-click on EasyAntiCheat_Setup.exe and choose run as administrator.
- Select Install and then, select Rust on the Game selected dropdown.
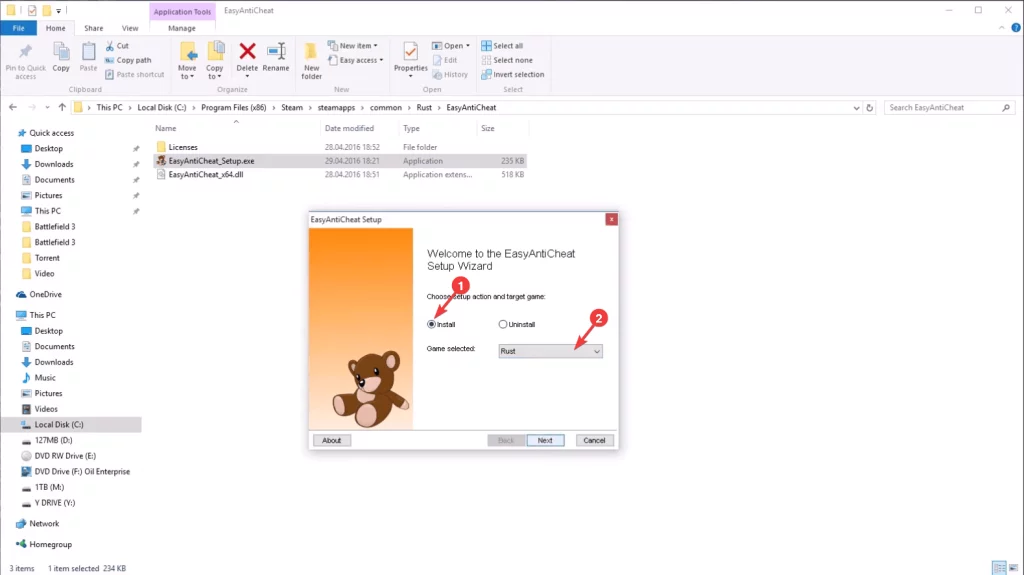
- Click on Next and install the AntiCheat.
- At last, Click on Finish.
After completing these steps, try to join a Rust server. If the issue was from the AntiCheat itself, doing the above things should fix can’t connect to the Rust server problem.
4. Verify the integrity of game files
- Open Steam.
- Right-click on Rust and go to its properties.
- Now, Click on Local Files.
- Then, Click on Verify integrity of game files.
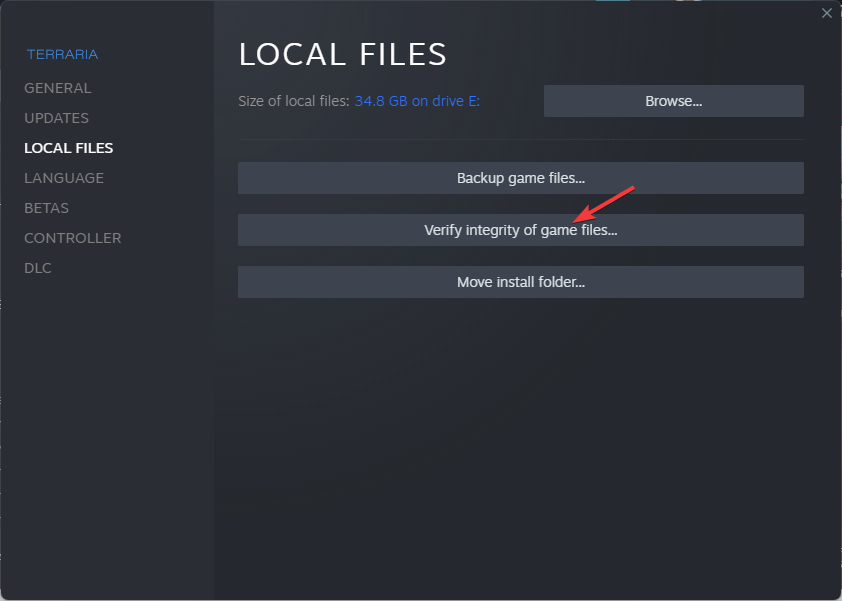
It will check if the game files have any problems. Also, Steam will repair them if possible. After that, the server connectivity problem no longer appear.
5. Allow through the Firewall
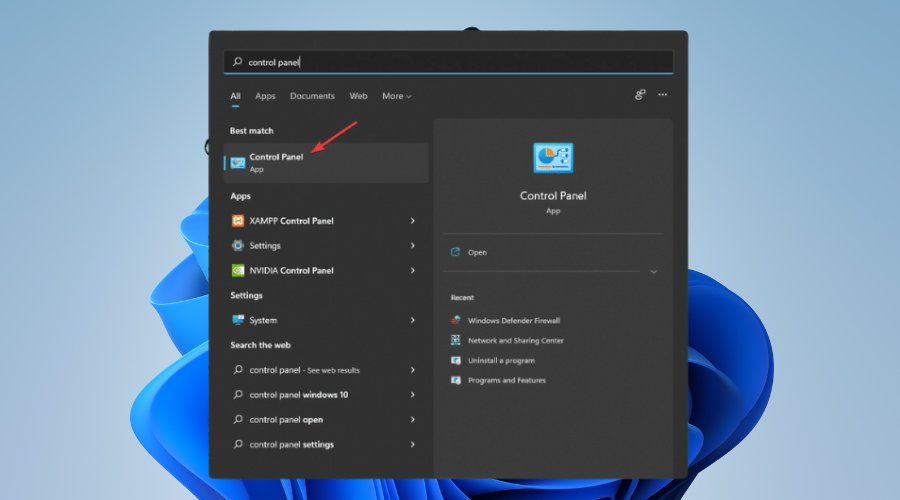
- Open Start Menu.
- Type Control Panel and hit enter.
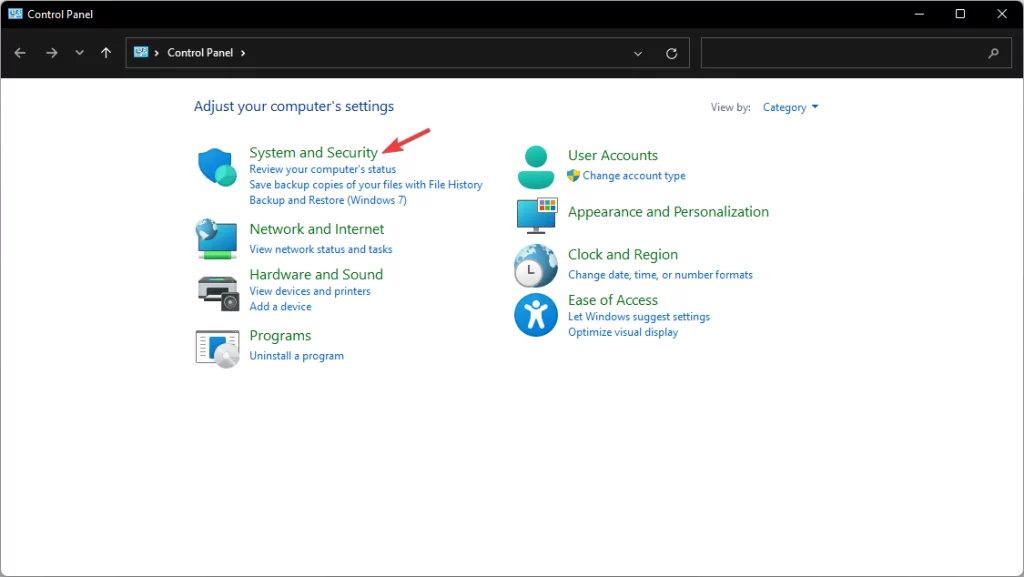
- Go to System & Security.
- Then, Go to Windows Defender Firewall.
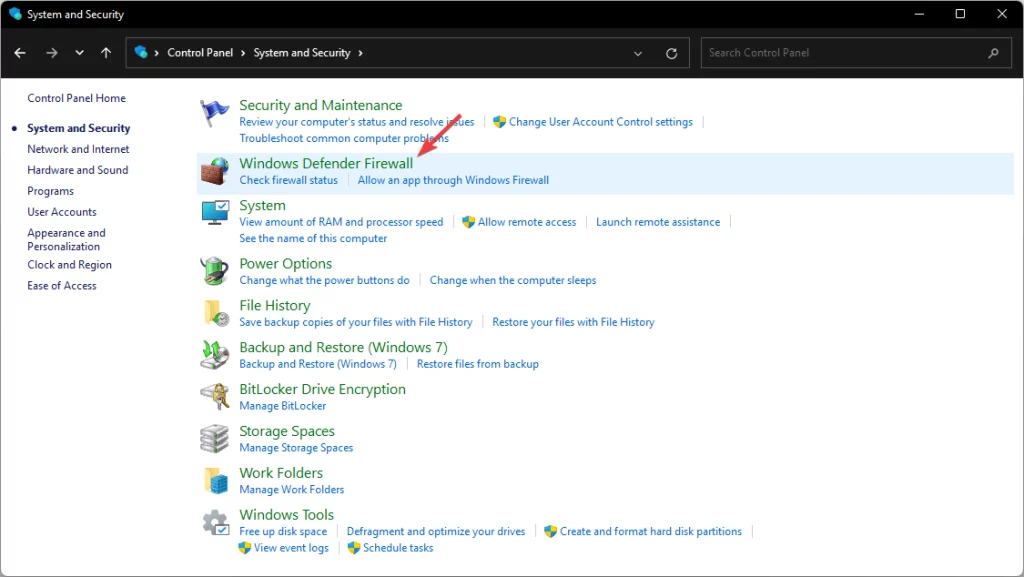
- Click on Allow an app or feature through Windows Defender Firewall.
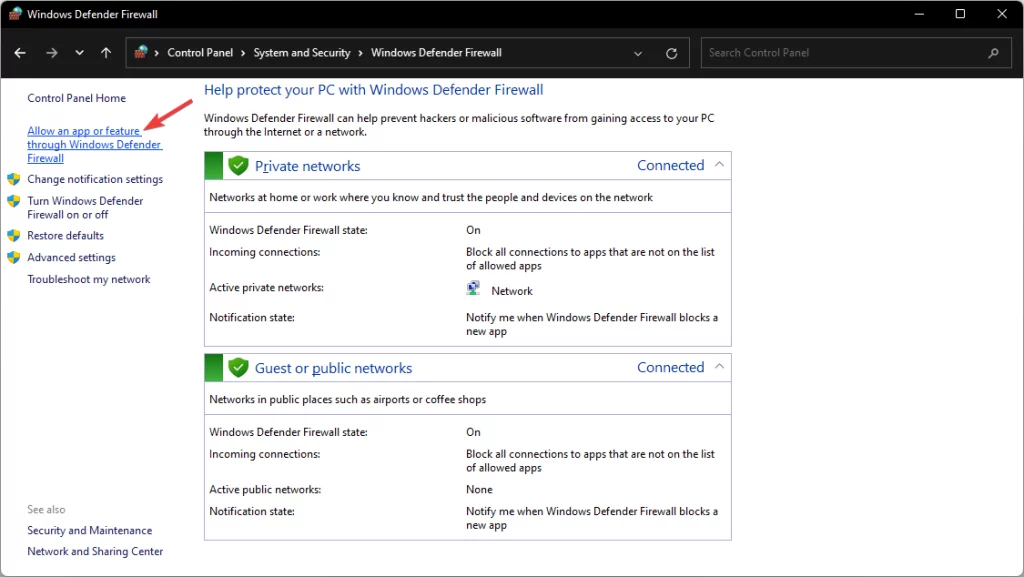
- Next, click on Change Settings.
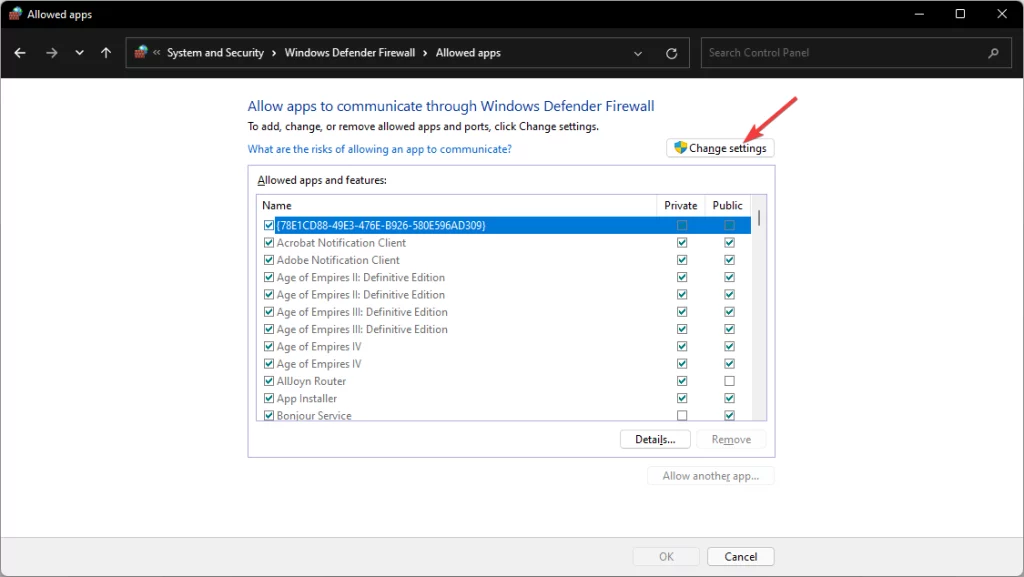
- Now, Find Steam and Rust.
- Check them for both Private & Public.
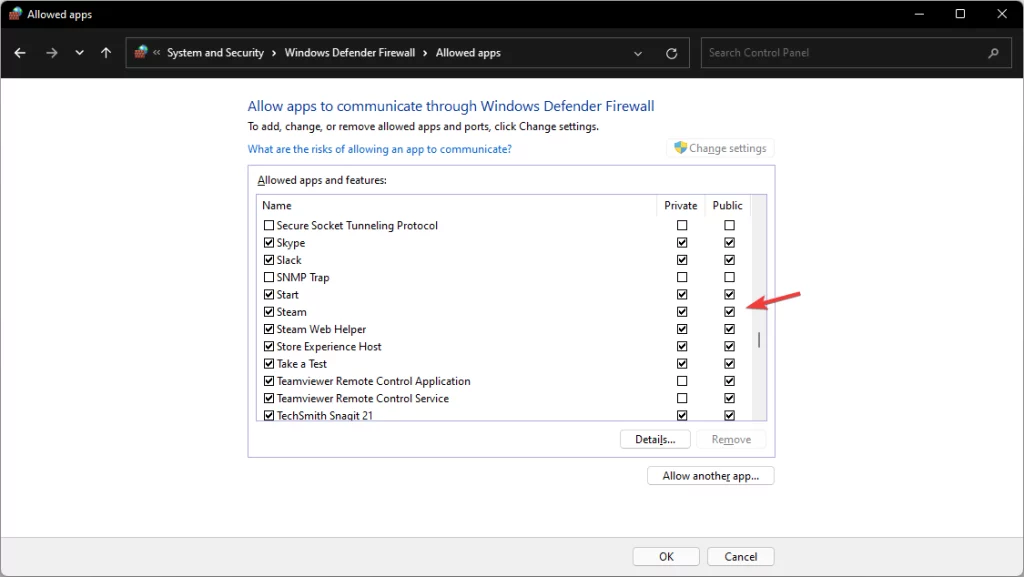
- Then, Click on OK and Restart Windows.
You may be using ESET Internet Security or any other antivirus program. In that case, You will have to allow Steam and Rust on their built-in Firewall.
6. Configure Port-forwarding
6.1 Find router login address
- Open the Start Menu.
- Type cmd and press enter to open the command prompt.

- Now, type the following command and press enter to run it.
ipconfig
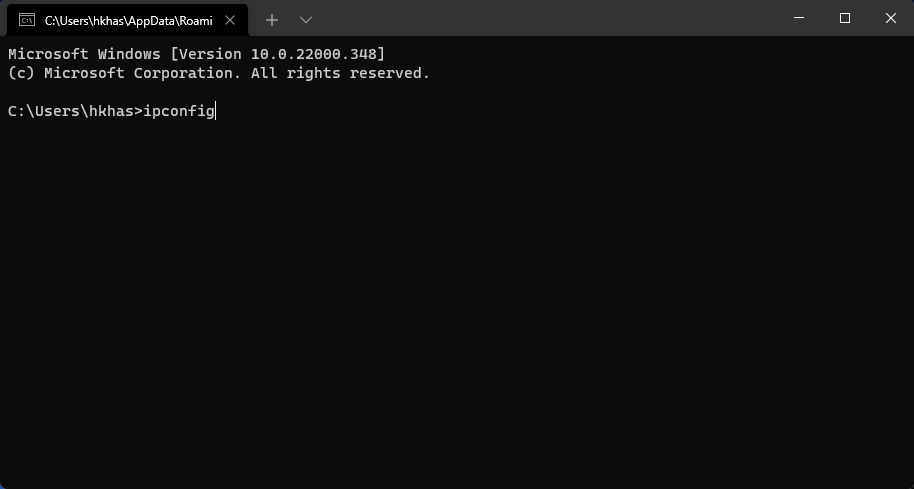
- The gateway IP address is your router’s login address. Copy it.

6.2 Configure router for port-forwarding
- Open a browser.
- Visit your router’s login page. Typically https://192.168.01 if the gateway address is 192.168.01.
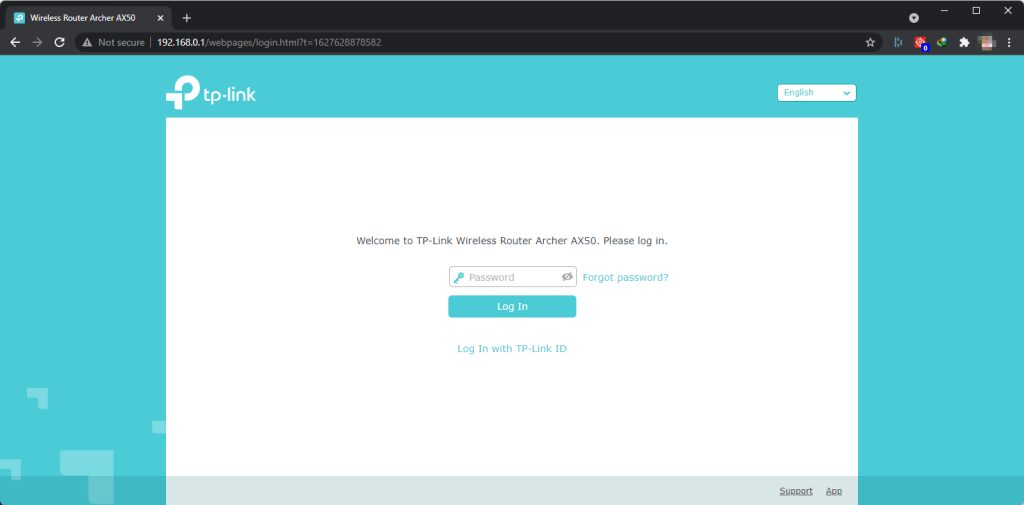
- Click on Advanced.
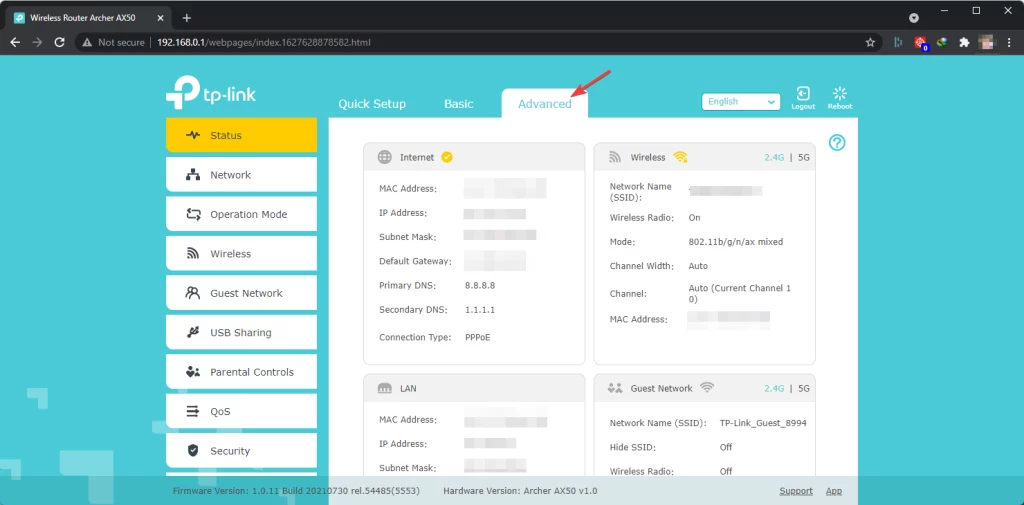
- Next, click on NAT Forwarding.
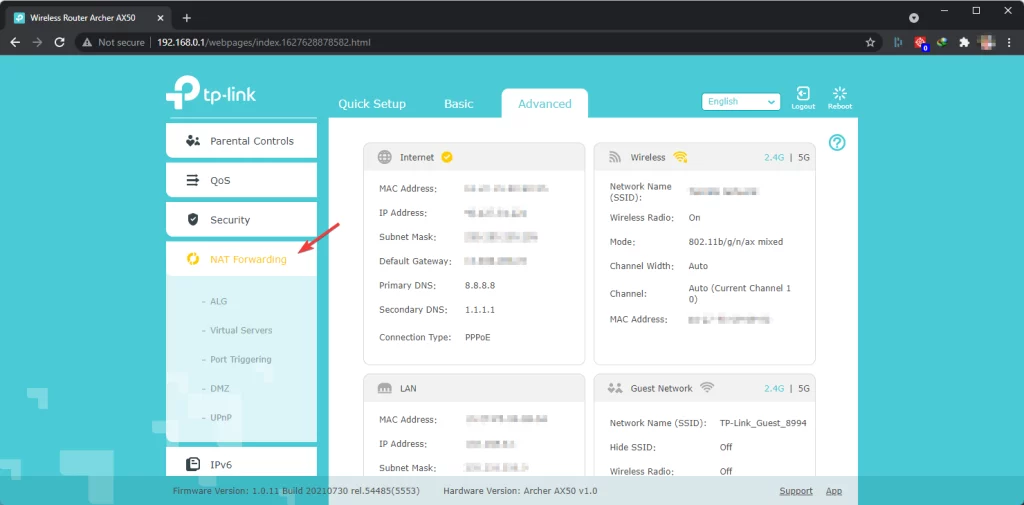
- Then, click on Virtual Servers.
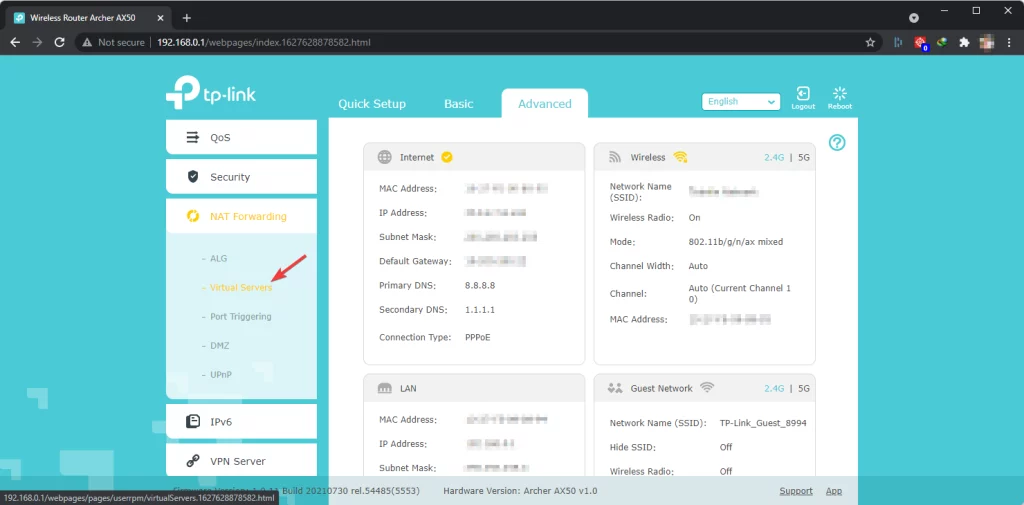
- Click on Add.
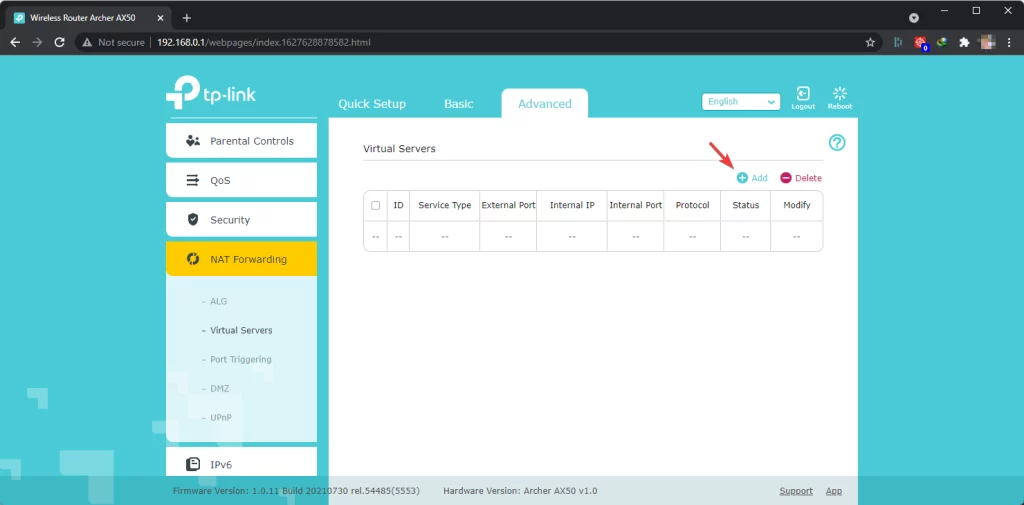
- Fill the form with your device’s LAN IP, Port, etc. For Rust, Port is 28015 by default. It may vary.
- Check Enable this entry.
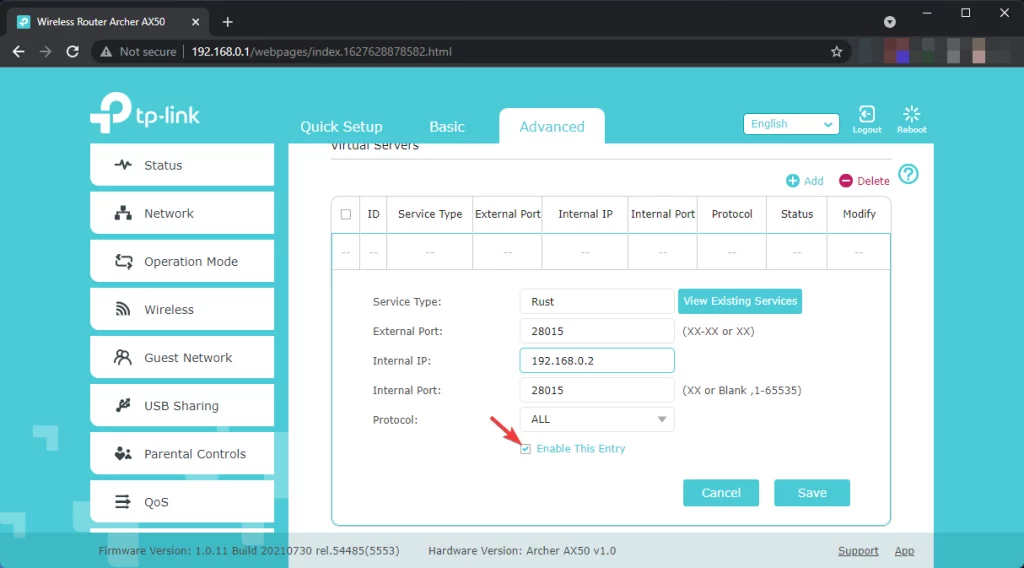
- Then, Click on Save.

- Restart the Router.
Your router may have slightly different options. The above steps are applicable if you have a modern TP-Link router. For other routers, you will have to figure it out by yourself.
Alternatively, you can visit your router’s manufacturer’s website for proper documentation.
If your friends can’t join the Rust server (hosted by you), enabling port-forwarding may fix it.
7. Disable the Firewall
- Open Control Panel as shown in method 4.
- Go to System & Security and then Windows Defender Firewall.
- Click on Windows Defender Firewall on or off.
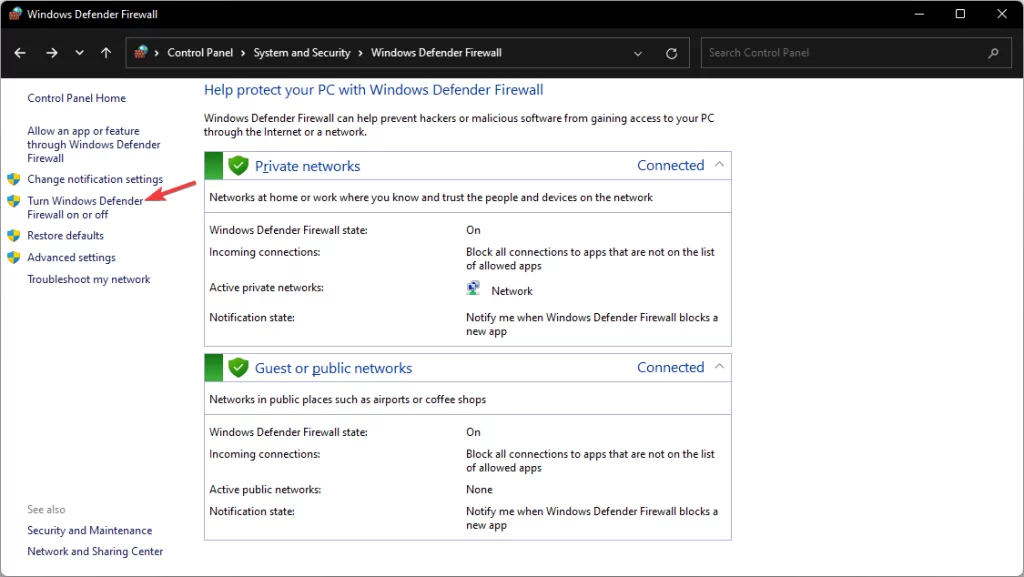
- Now, Check and Turn off Windows Defender Firewall for both public and private network.
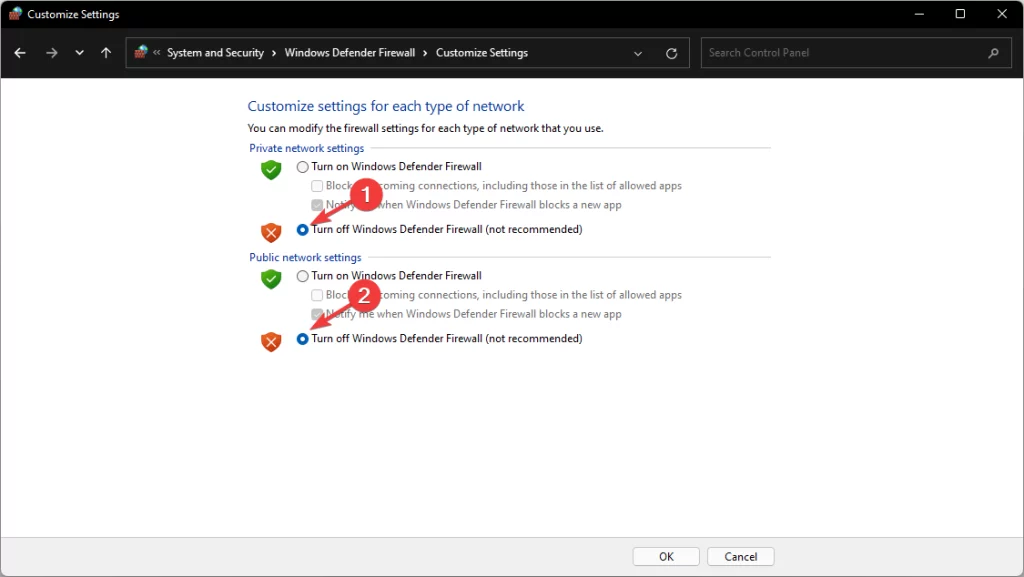
- Click on OK to save.
If you have any third-party security programs or Firewall, disable them too. Then, try to join the Rust server. It may solve your problem.
8. Change DNS
8.1 Change DNS for Ethernet
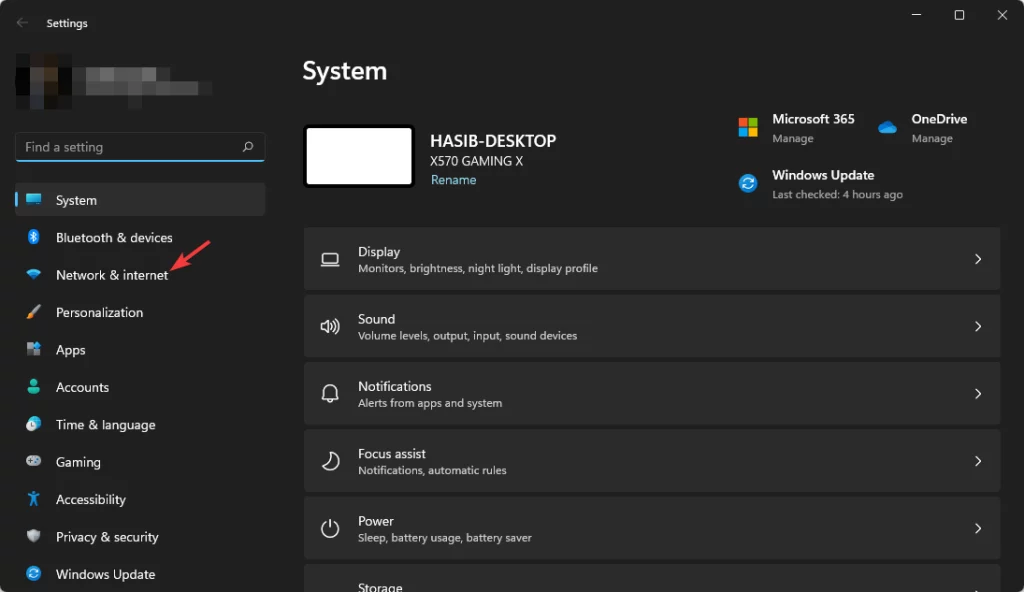
- Press Win + I to open Windows 11 or 10 settings.
- Click on Network & Internet.
- Next, click on Ethernet.
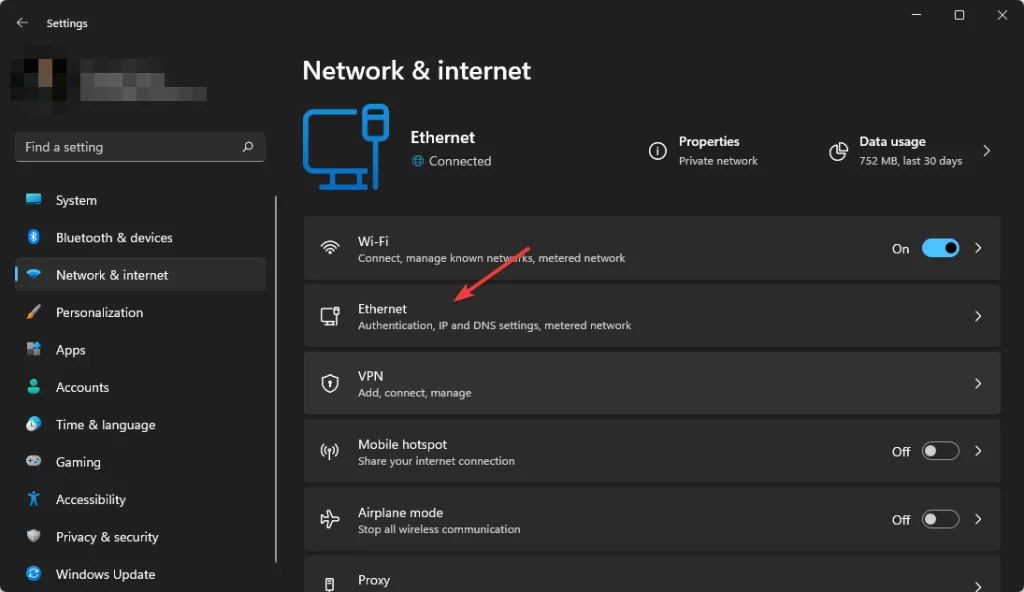
- Click on Edit next to the DNS server assignment.
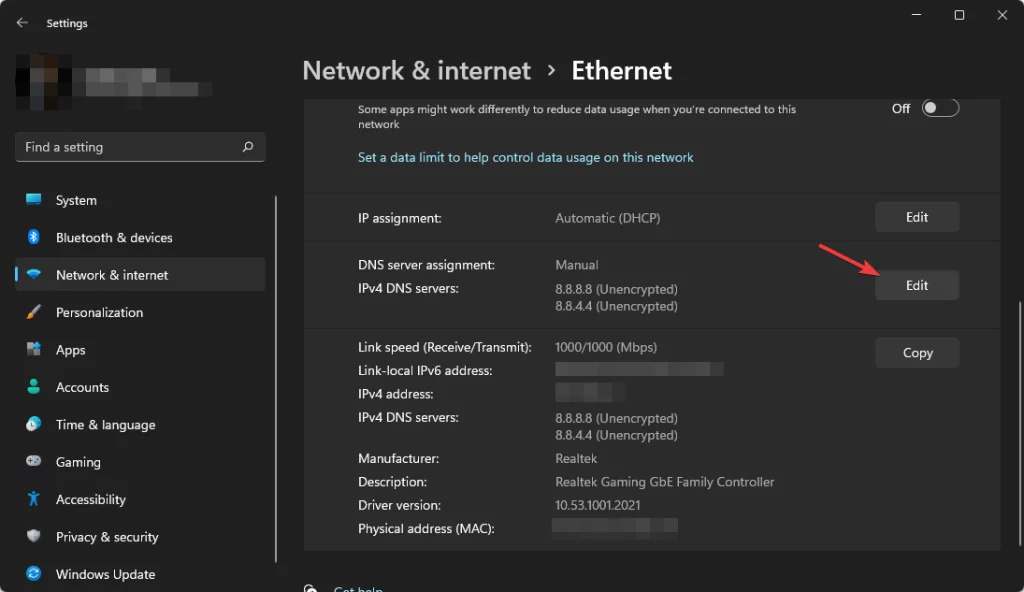
- Now, Type your preferred DNS server addresses. For example, 8.8.8.8 and 8.8.4.4.
- Click on Save.
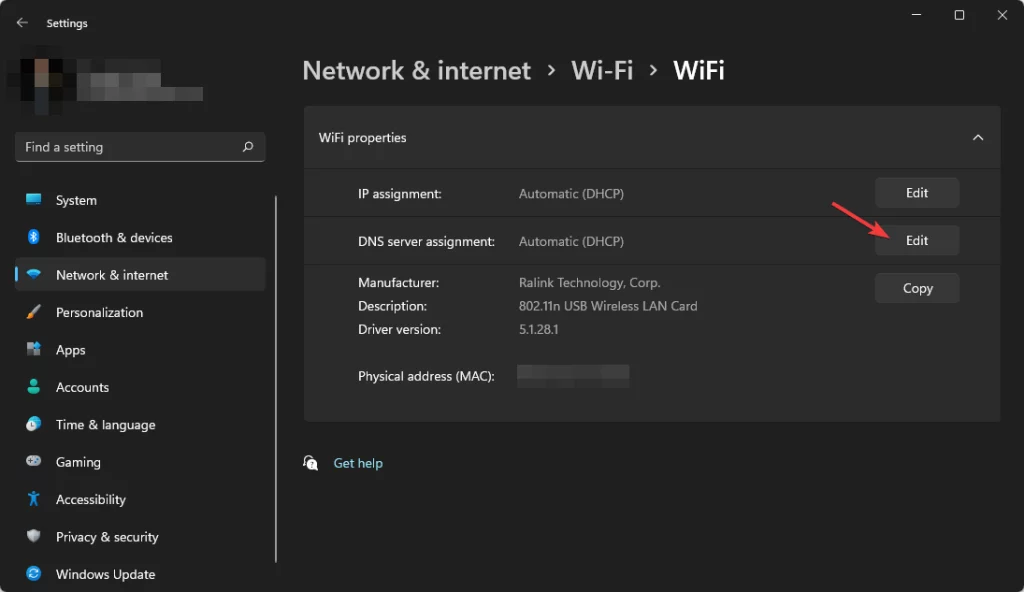
8.2 Change DNS for Wi-Fi
- Go to Network & Internet like before.
- Click on Wi-Fi.

- Go to Hardware Properties.
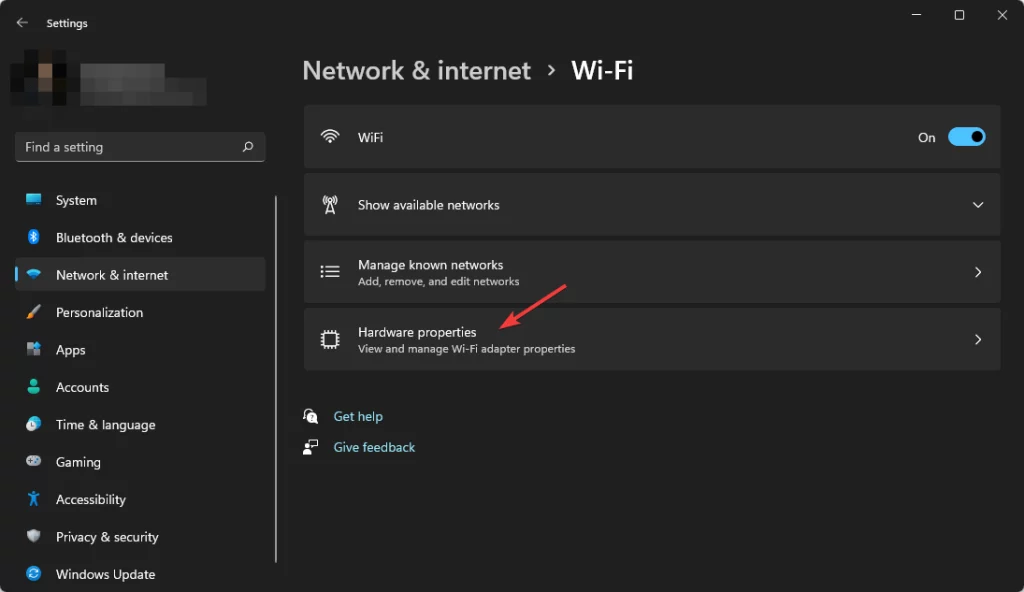
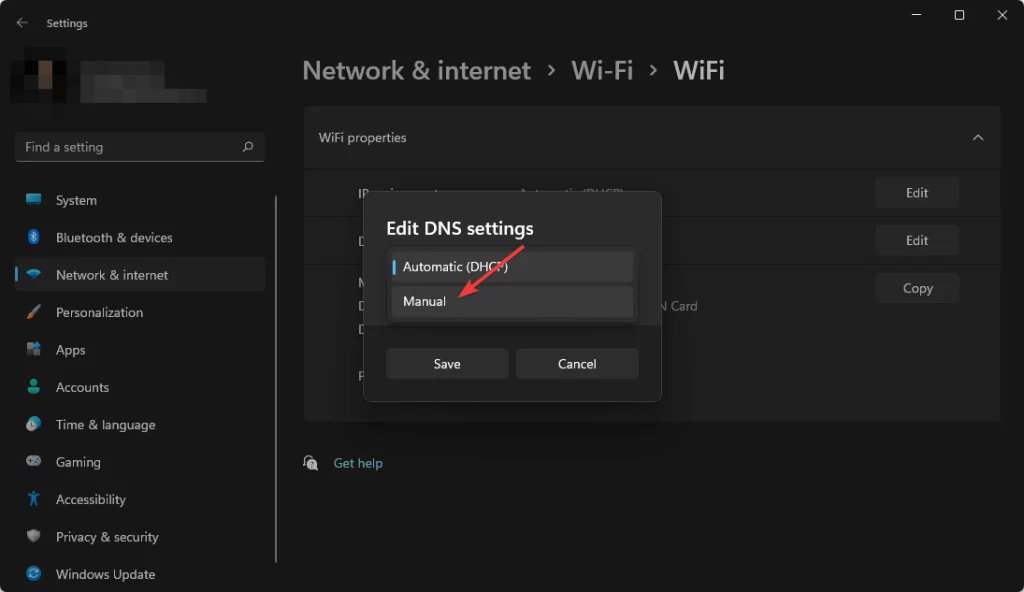
- Now, click on the Edit button next to the DNS server assignment.
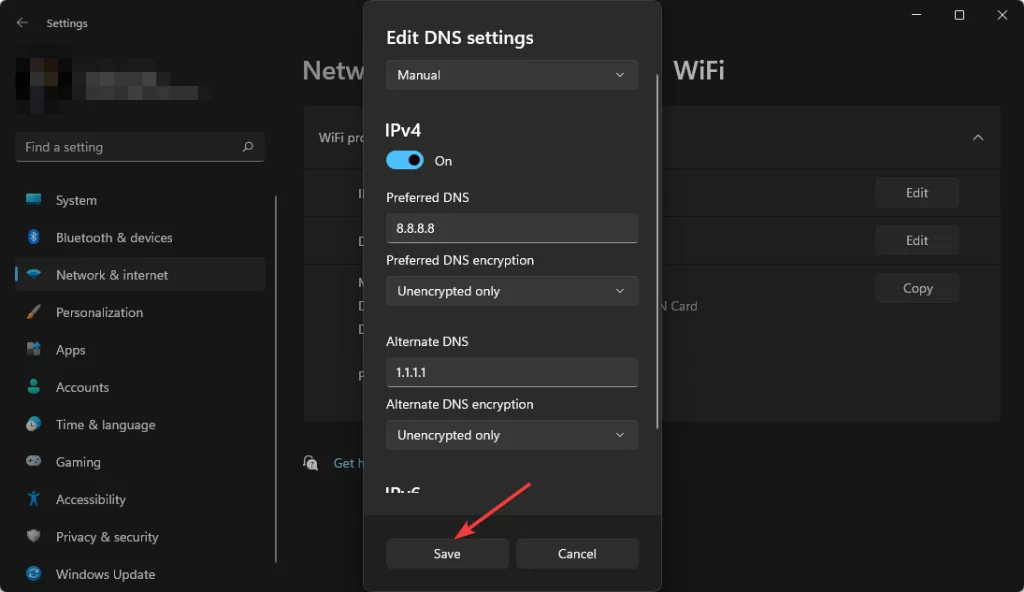
- Change the settings to Manual from Automatic.
- Enable IPv4 (most common). You can also enable IPv6 if you have an IPv6 DNS server address.
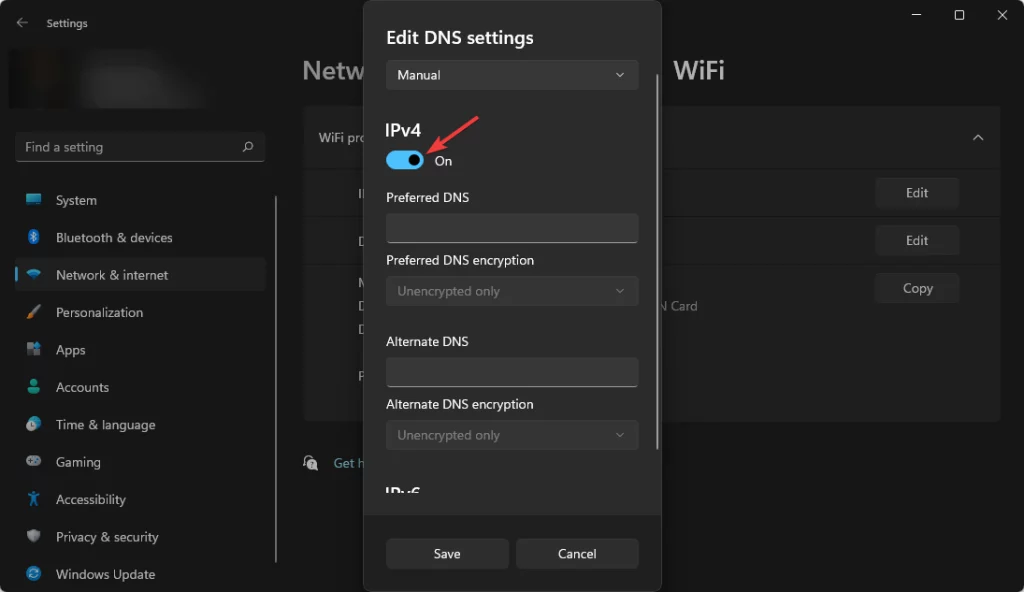
- Now, provide the preferred DNS server addresses.
- Click on Save.
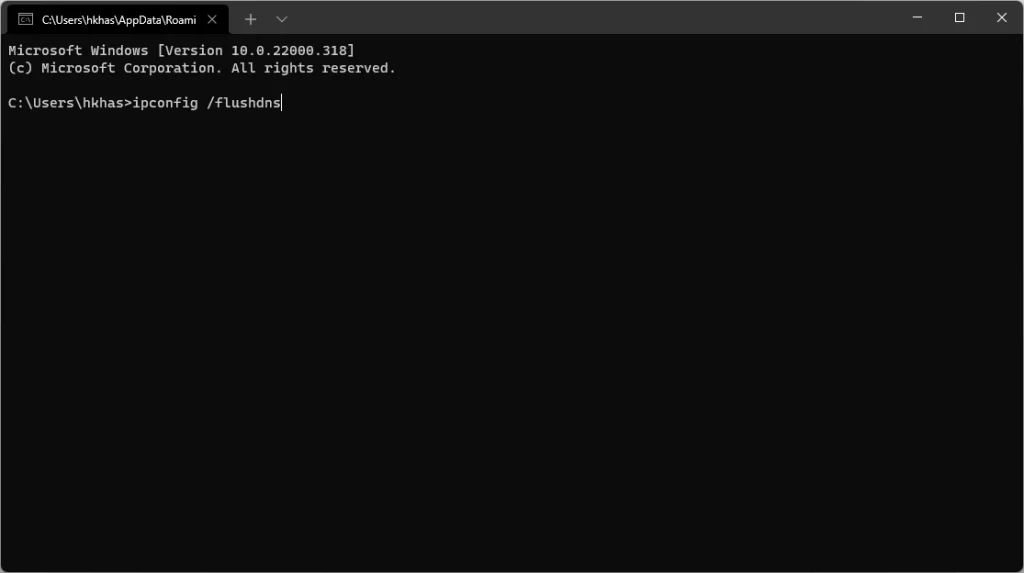
8.3 Flush DNS
- Open the start menu, type cmd, and press enter to open the command prompt.
- Paste the following command and press enter to run it.
ipconfig /flushdns
If your friends can’t connect to the Rust server via the internet (not the local network), DNS change may fix this problem. The same thing applies to you, too, if you can’t connect to your friend’s server or any public Rust server.
9. Update the Network adapter
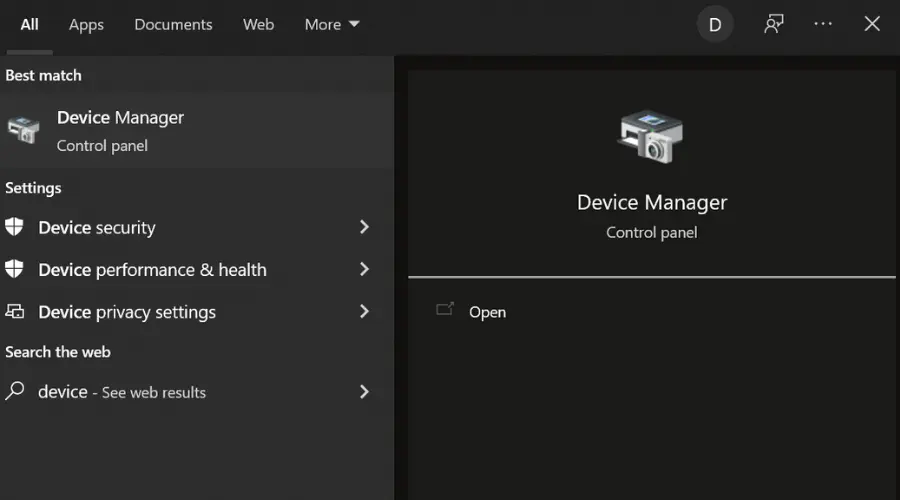
- Open the Start Menu.
- Type device manager and press enter to open Windows Device Manager.
- Expand Network adapters.
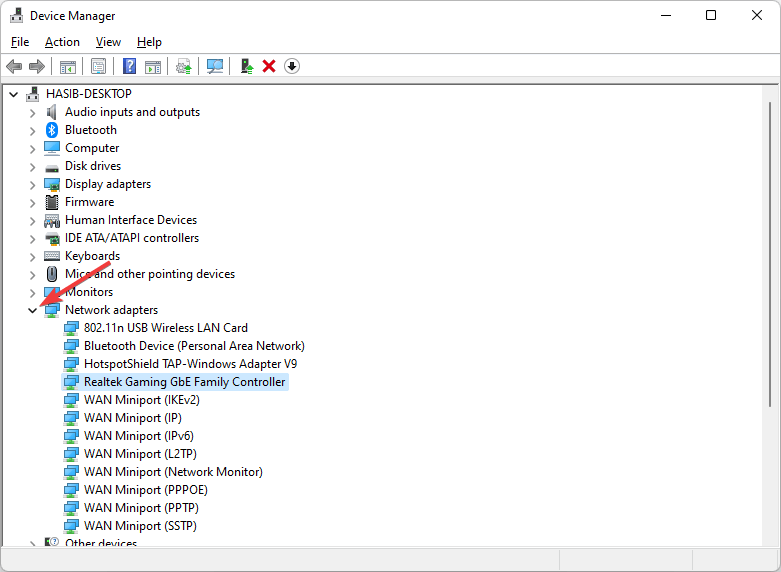
- Right-click on the network driver you want to update and choose Update Driver.

- Click on Search Automatically for drivers.
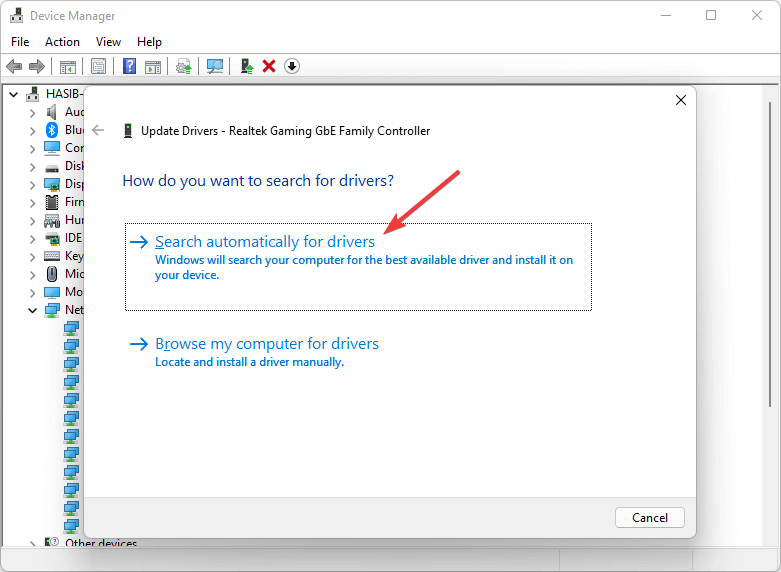
- Windows will attempt updating the driver automatically.
This manual approach is not recommended as it has a very poor detection rate. You can use a driver updater like DriverFix to update drivers.
10. Disable Proxy
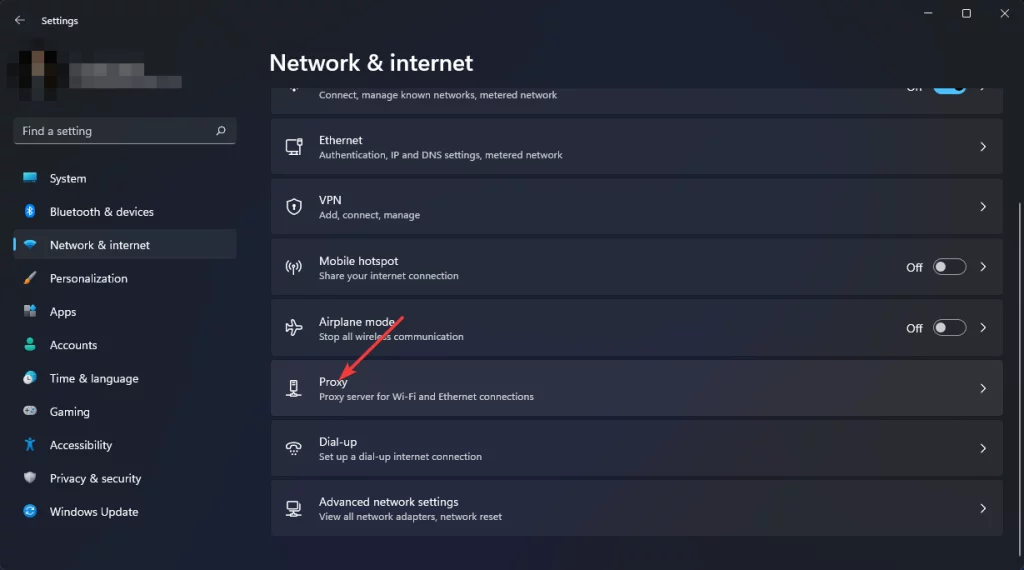
- Press Win + I to open Windows 10/11 settings.
- Go to Network & Internet.
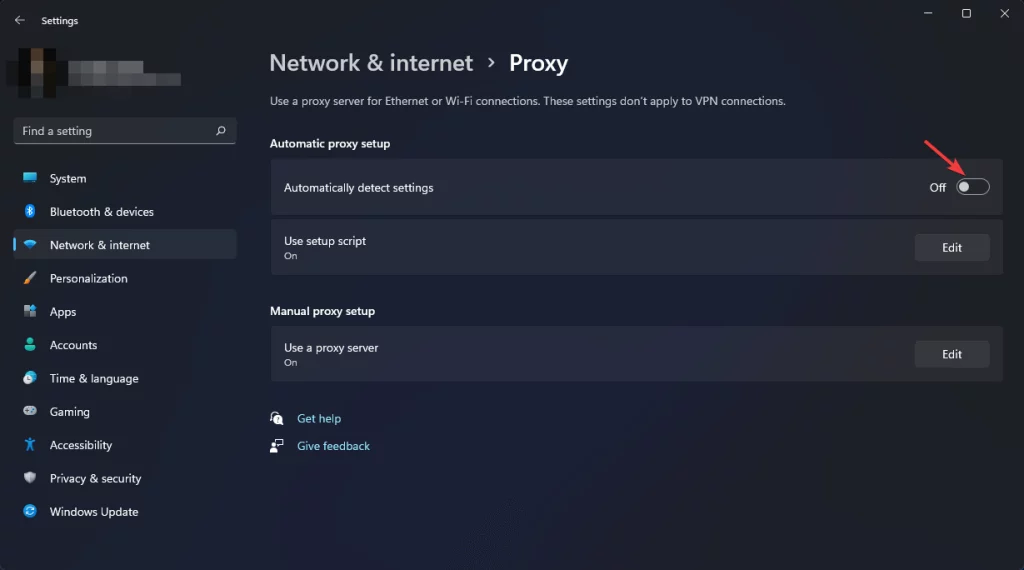
- Click on Proxy.
- Disable Automatically detect settings.
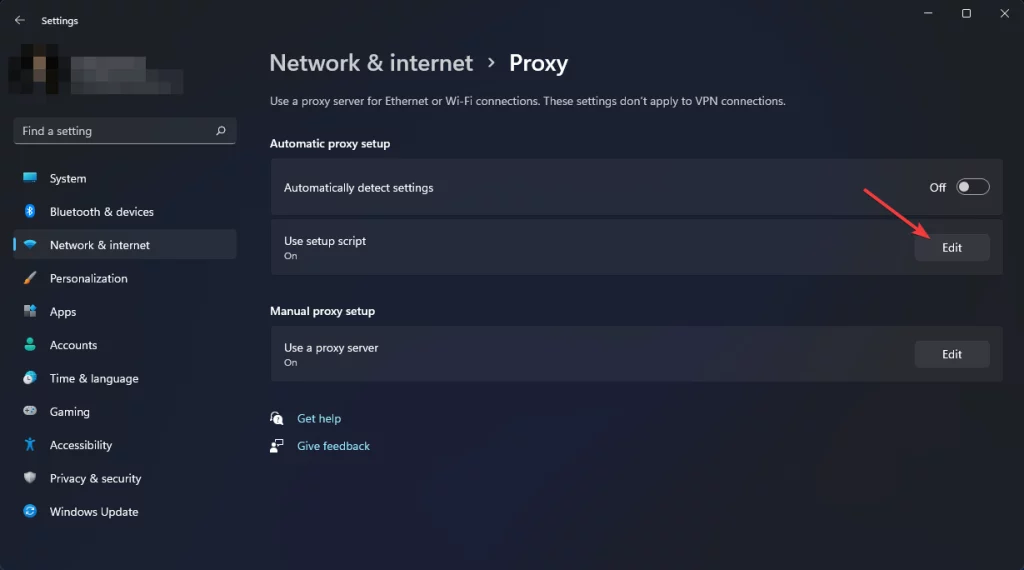
- Then, Click on Edit next to the Use setup script.
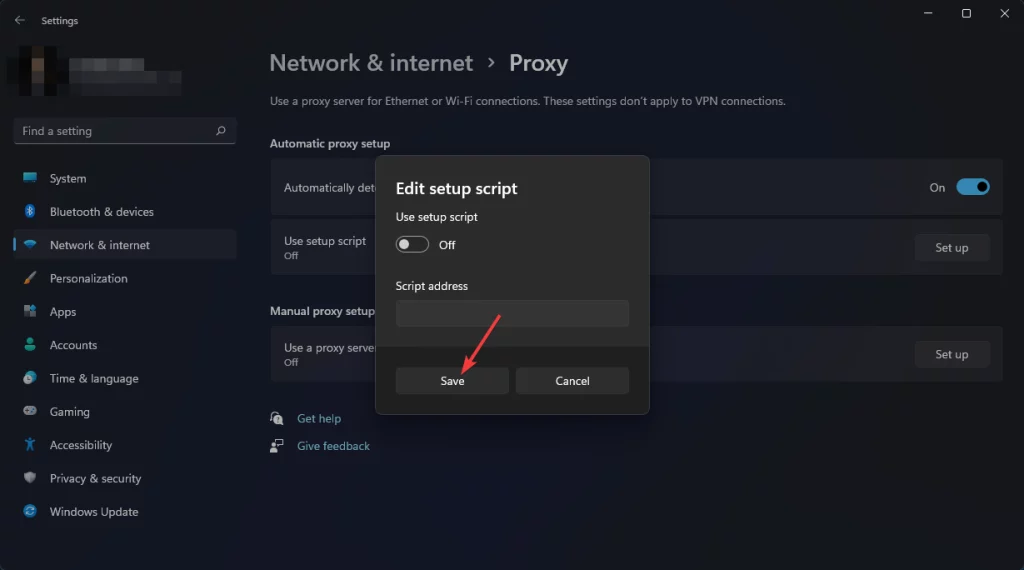
- Toggle off the Use setup script.

- Save it.
- Now, Click on Edit next to Use a proxy server.
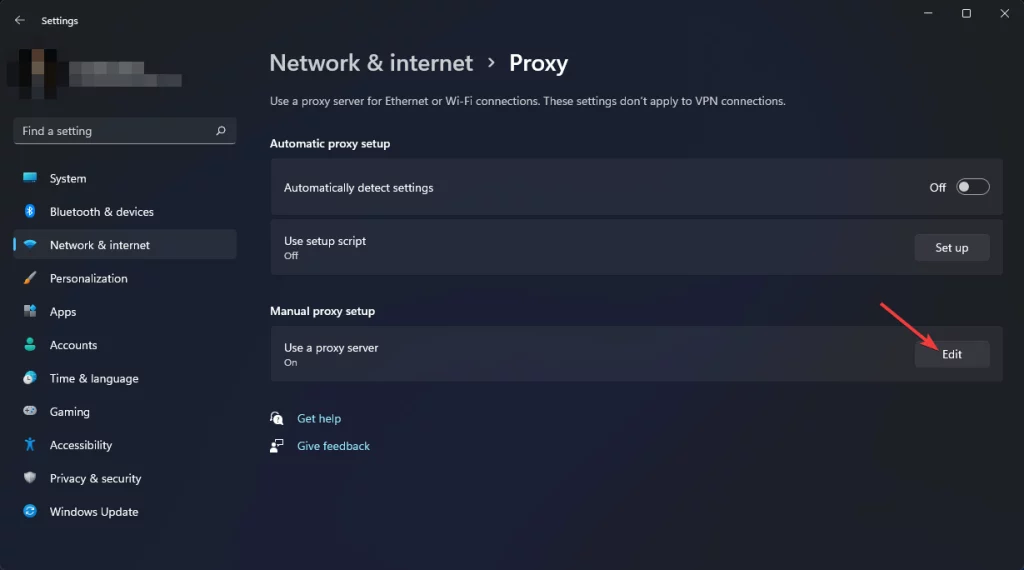
- Toggle off Use a proxy server.
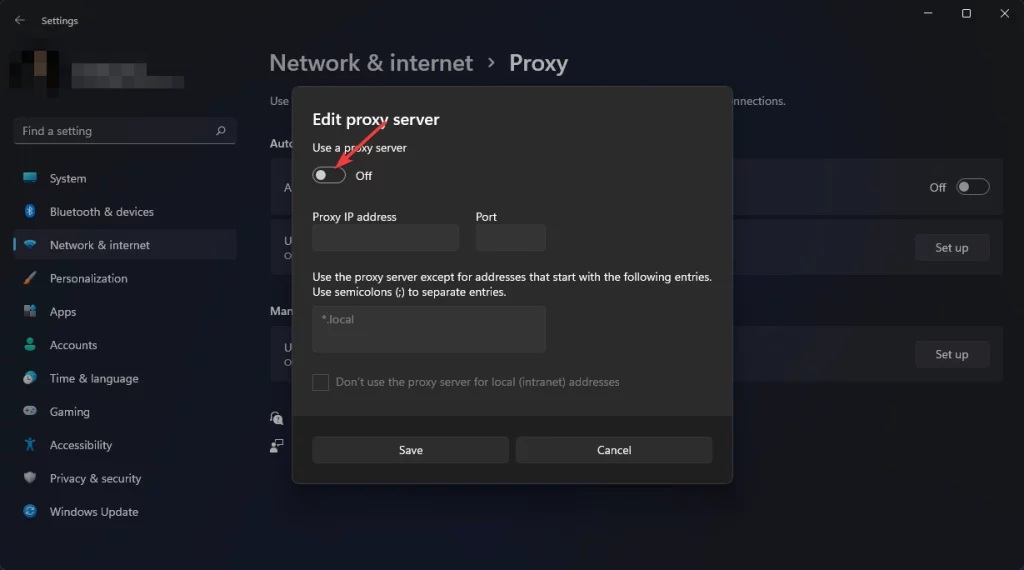
- Save the settings.
If the proxy connection is behind the Rust server connectivity problem, it will fix it.
What is the best way to host a Rust server?
There is no definite way that we can pick the best way to host a Rust server. In general, you can host it locally from your PC or use a dedicated server.
The approach you will take depends on what will be best for you and your friends. If you want to play within the same network with few people, no dedicated server is necessary.
But, If you have a lot of friends and a small or big community, a dedicated Rust server is more practical.
No matter what, if it is not configured correctly, gamers will face problems connecting to your Rust server.
But, Keeping the Server and the Game up to date will always minimize the possibility of errors. Also, Don’t install a pirated version of Rust. For dedicated servers, pick from well-known providers.
It is also possible to host it on your own hosted server at home. In that case, technical knowledge and skills are essential.
RELATED ARTICLES
- Fortnite VPN Error: How to Fix the VPN Kick & Remove IP Ban
- GeForce Now Not Available in Your Region [Fixed In 5 Steps]
- 5 Ways to Fix Game Pass is Not Available in Your Region
The methods mentioned above are the best ways to fix the can’t connect to the Rust server. If you or your friends face this problem, this will help.
If any method has not been mentioned here but worked for you, you can write about that in the comment box.
Read our disclosure page to find out how can you help VPNCentral sustain the editorial team Read more

Improve this guide


User forum
0 messages