Your IP Has Disqualified You From This Offer - How to Fix
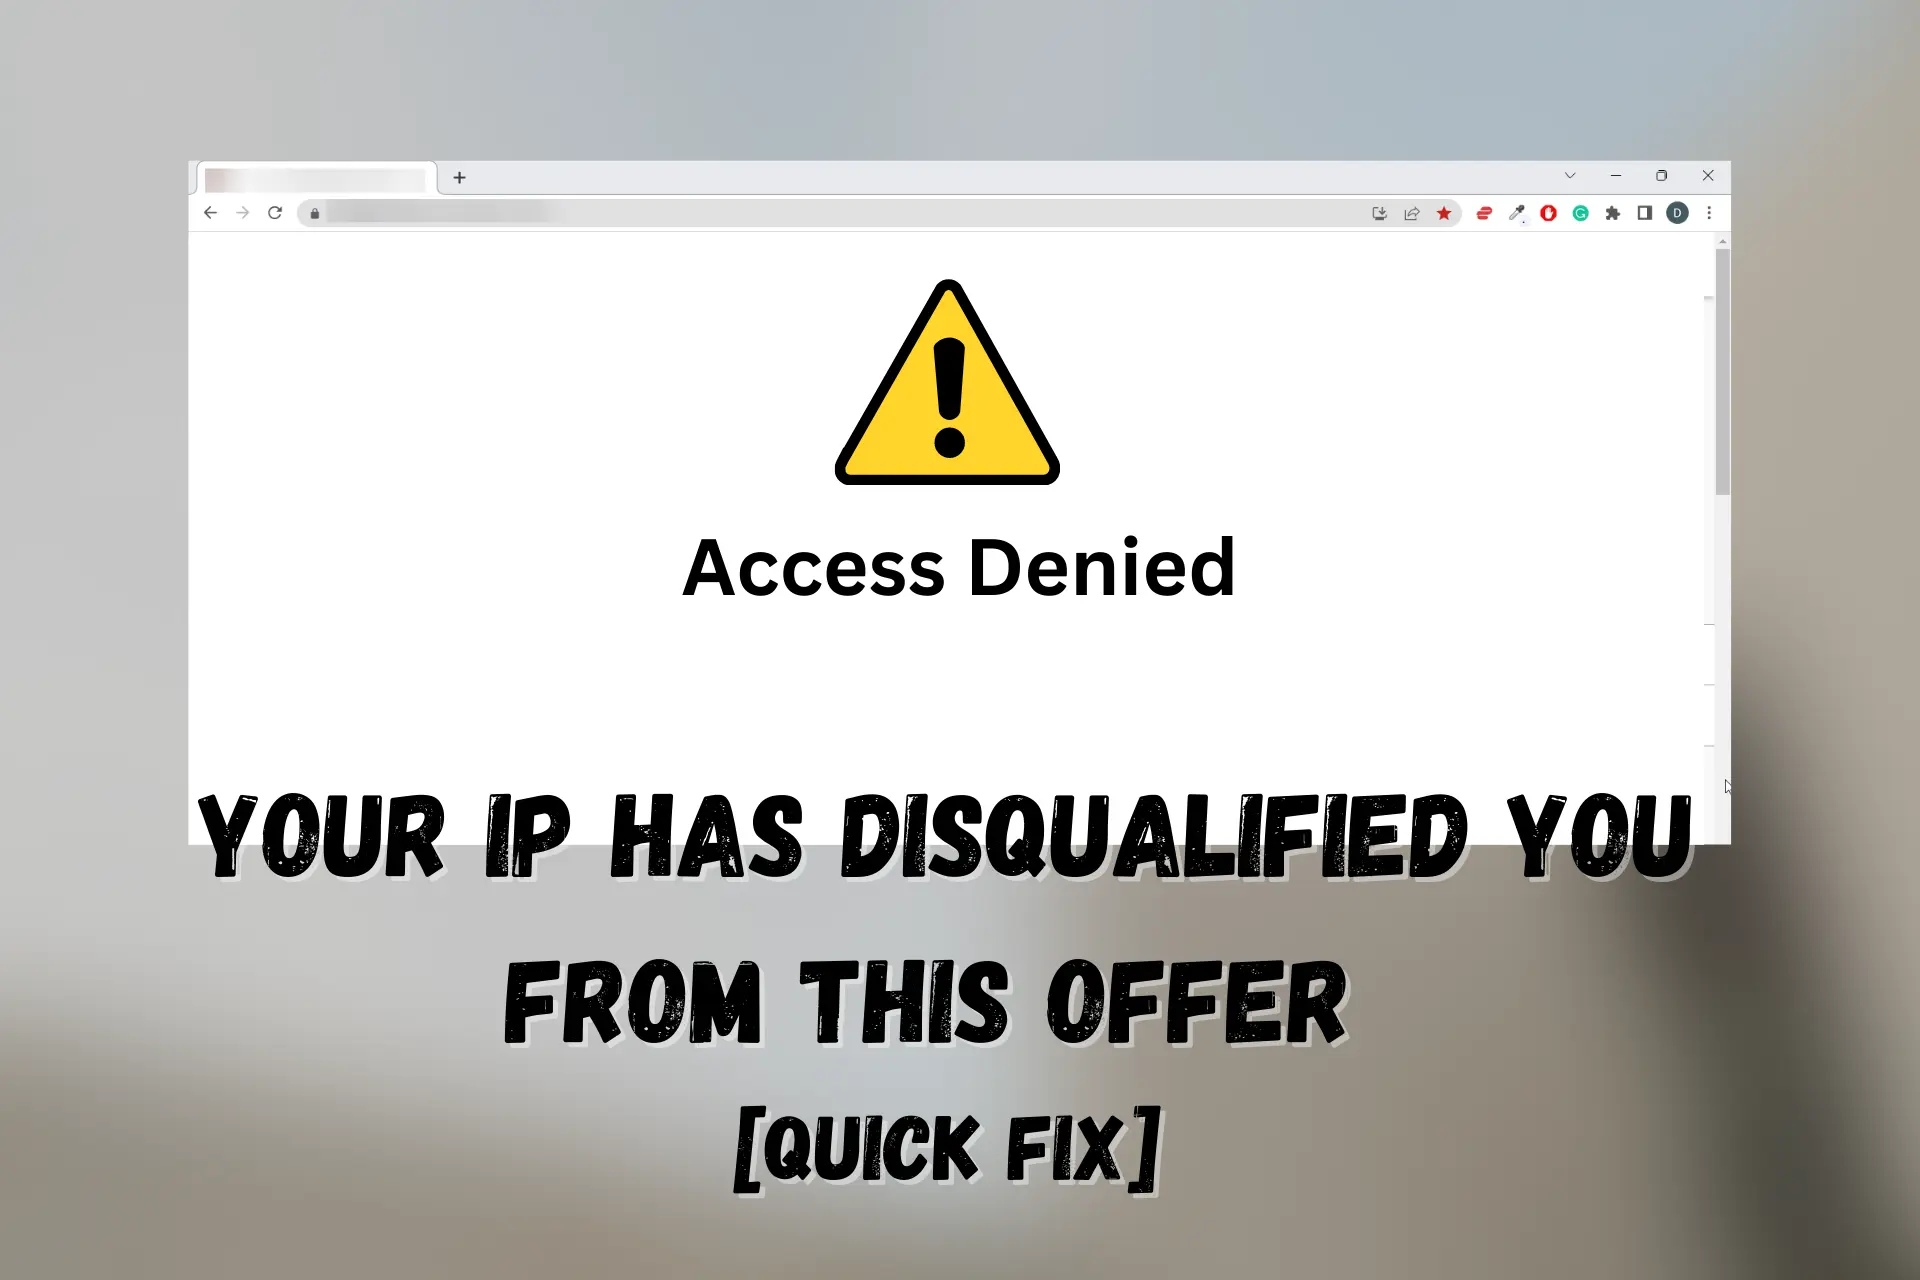
Did you ever get a message on any website telling you that your IP has disqualified you from an offer? This article will help you understand why it happens and how to fix it.
IP addresses, whether static or dynamic, are unique identifiers tied to every internet-enabled device.

Access content across the globe at the highest speed rate.
70% of our readers choose Private Internet Access
70% of our readers choose ExpressVPN
Browse the web from multiple devices with industry-standard security protocols.

Faster dedicated servers for specific actions (currently at summer discounts)
They carry information about your devices, network, and location, and these are often useful to track one’s internet activities.
Websites use this information to determine if you qualify to access their platforms or enjoy their offers.
Keep reading to learn the main reasons why websites block IP addresses and the most reliable ways to regain access.
How can your IP disqualify you from an offer?
It’s no news that many websites have geo-restrictions that make them accessible only to people or residents of particular regions or countries.
This restriction is often put in place to reduce access from outsiders due to licensing rights, distribution laws, or other legal or business reasons.
Therefore, if you are outside the approved region for an offer, ? your IP address will allow the website to detect your location.
Once your location does not tally with the eligible regions for that offer, your entries will lead to automatic disqualification.
In other instances, logging in and ? accessing the offer website multiple times in a row can get you flagged for spamming and cause them to disqualify you from an offer.
Similarly, creating multiple accounts on the same IP address may also flag your IP address and cause them to ban you.
Websites may also detect unusual behavior patterns tied to your connection. For example, logging in repeatedly or creating multiple accounts from the same IP address can raise red flags. In some cases, administrators even rely on tools similar to Angry IP Scanner alternatives to identify and block suspicious activity across a wider range of IPs.
These few reasons explain why you can get your IP has disqualified you from this offer error message on any website.
Fix: your IP has disqualified you from this offer
Trying to access a website with an offer or entering a contest from a geo-restricted location? The best way to avoid disqualification is to change your IP address and thereby change the location the website will detect.
Here are a few methods you can use to change your IP address and fix the error message so that you can enjoy all the offers as they come:
1. Use a VPN
VPNs are useful tools that allow you to enjoy unrestricted access to offers online by changing your IP address and location when necessary.
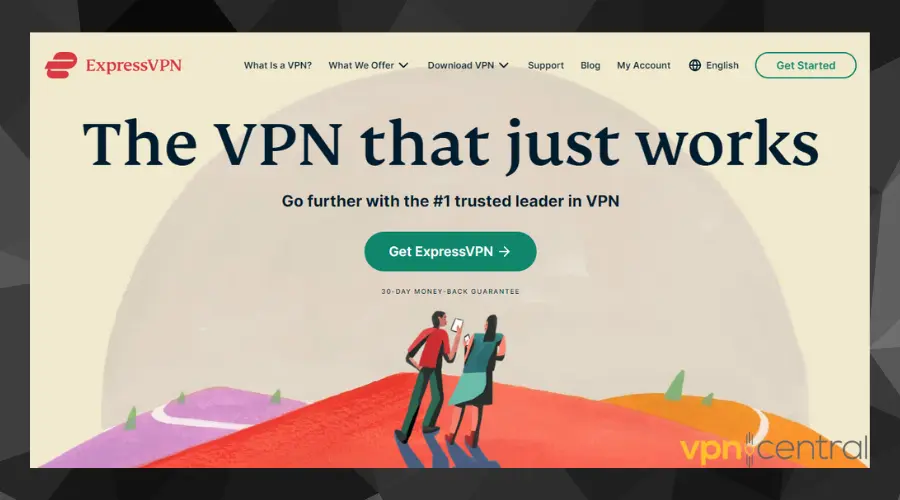
To get the best possible experience, it is important to use the best VPN available. Therefore, the top recommended VPN with powerful unblocking abilities is ExpressVPN.
Here are the steps to get ExpressVPN set it up to change your IP address:
- Go to ExpressVPN’s official website and download the app suitable for your device.
- Install the app and launch it.
- Connect to your preferred server location – a country where residents are eligible for the offer.
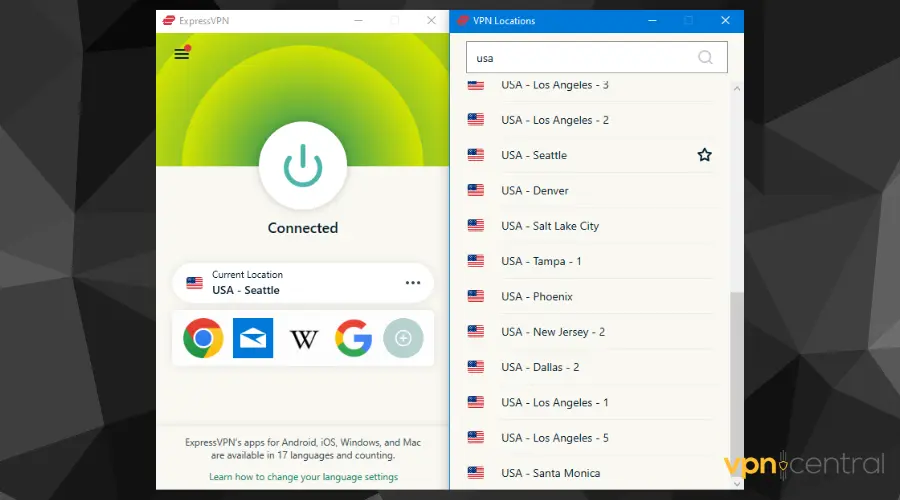
- Visit the website where you want to get an offer and request the offer or enter the contest as applicable.
Using a VPN sends your traffic through its remote server, thereby masking your original IP address and replacing it with the VPN’s IP address.
This spoofs your location and makes you appear in any country or location of your choice.
ExpressVPN uses highly secure military-grade encryption and tunneling protocols to evade all restrictions and protect your online identity.
It doesn’t store any information about you. You also enjoy protection from tracking by your ISPs and the risk of potential hacking.

ExpressVPN
Get access to thousands of IP addresses from 90+ countries to easily sign up for any offer!2. Use Smart DNS Proxy
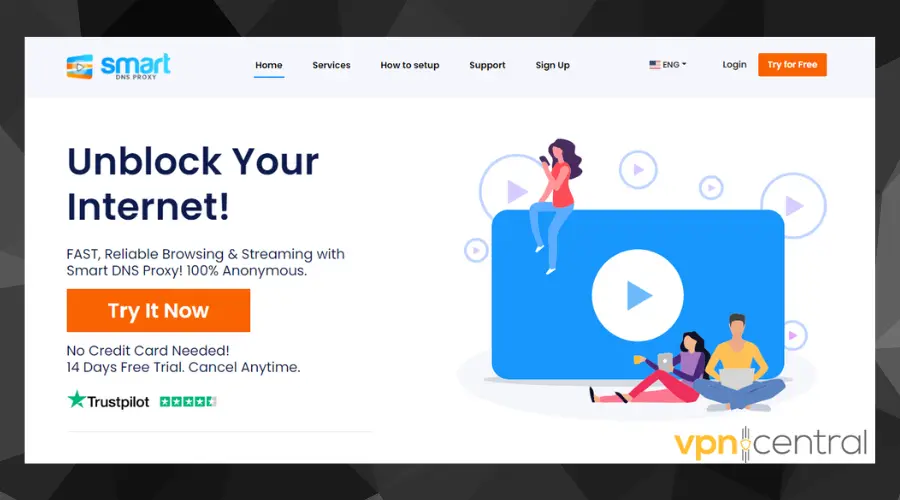
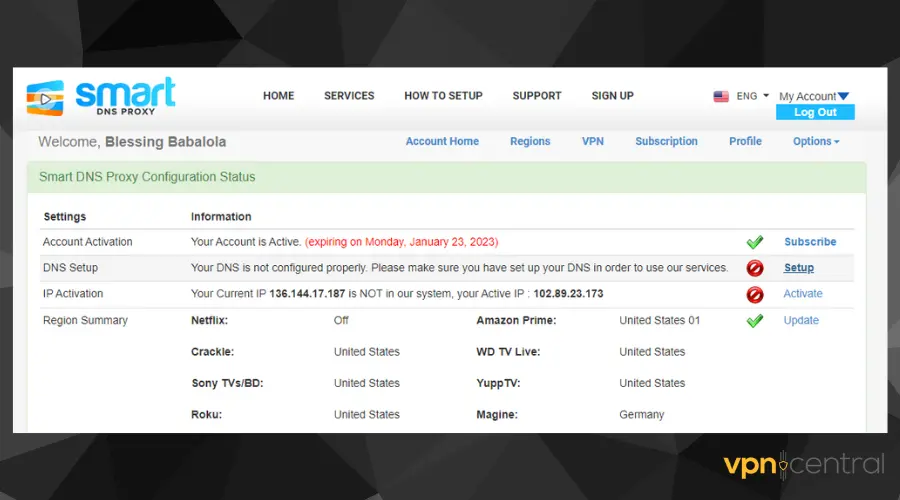
Using Smart DNS Proxy is another way to change your IP address and location so you can get past the disqualified error and sign up for offers.
However, the downside to using proxies is that they don’t use strong encryption like VPNs. Therefore, your connection with a proxy will be less secure when compared to a VPN.
On the bright side, because of that same reason, they may be faster.
Here are the steps to start using Smart DNS Proxy on a PC:
- Visit Smart DNS Proxy’s official website and sign up to use the service.
- Verify your email address, then set up your DNS and IP addresses.
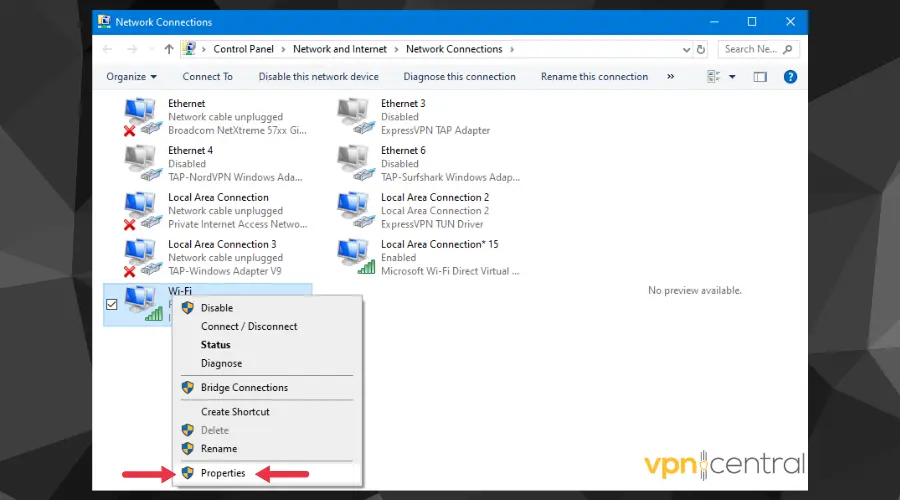
- On your PC, go to Control Panel > Network and Internet > Network Sharing Center.
- Select Change Adapter Settings.

- Right-click on your active internet connection and click Properties.
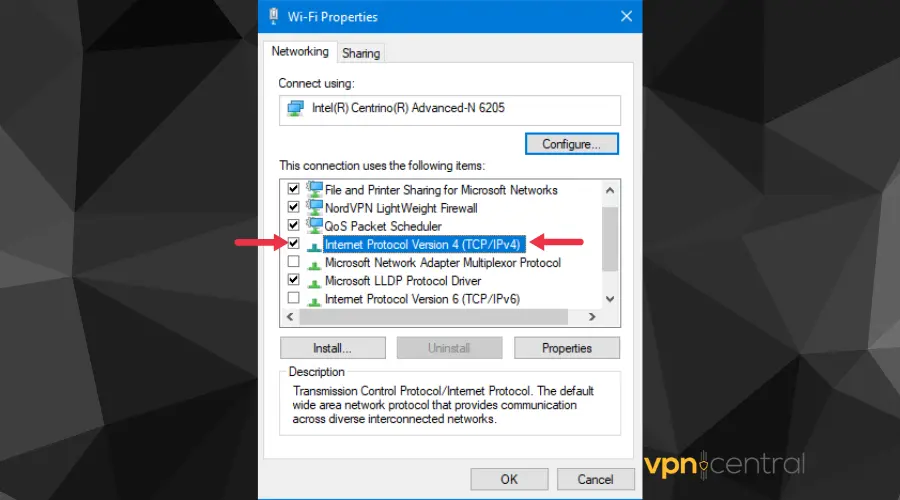
- Untick the Internet Protocol Version 6 (TCP/IPv6) box.
- Double-click on the Internet Protocol Version 4 (TCP/IPv4) option.
- Click the Use the following DNS server addresses box.
- Fill in the DNS server addresses for the location eligible for your target offer.
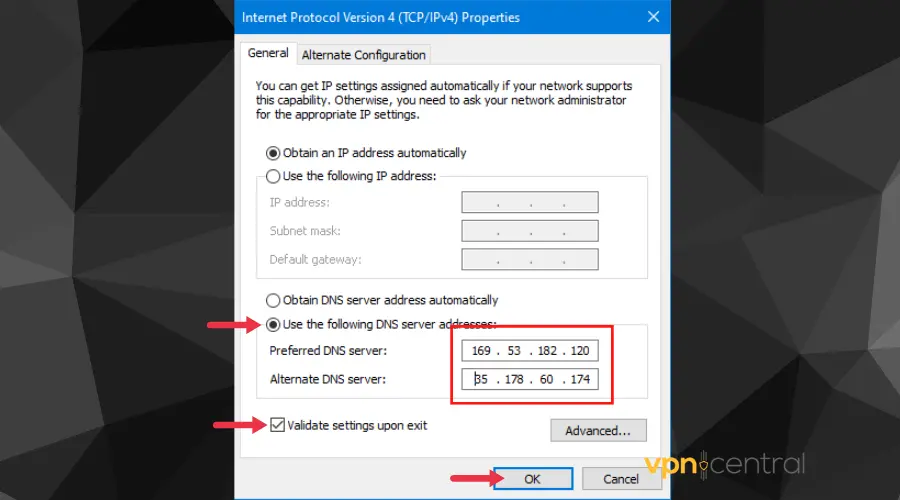
- Click the Validate upon exit button, then click OK to save your settings.
- Restart your PC for the settings to take effect.
- Visit the offer website and see if you qualify.
SmartDNS proxy grants you access to geo-restricted websites from the comfort of your home by allowing you to choose a location where you want to appear when visiting a website.

Smart DNS Proxy
Get unrestricted access to any offer by changing your IP with this reliable tool!3. Use Tor Browser
The Onion Router (Tor) is open-source software that places multiple layers of encryption on your traffic.
This encrypts your data as it passes through the TOR network and hides your IP address before accessing your preferred website.
Even if your IP is flagged and you got the disqualified for this offer error in the past, you’ll be able to access it once you connect to Tor.
To get the TOR Browser:
- Visit the TOR website and choose your device type.
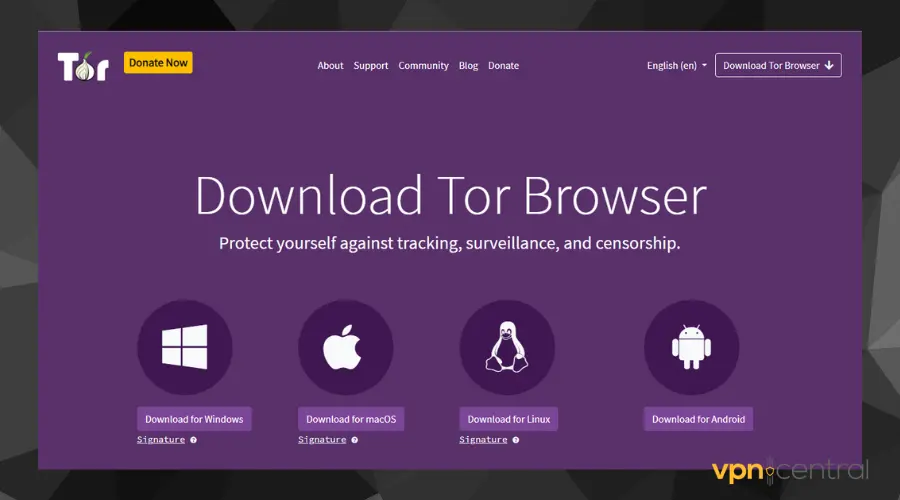
- Follow all instructions and install Tor on your device.
- Launch and configure depending on your country and internet settings.
- Connect to the TOR browser before navigating to the website you were disqualified earlier.
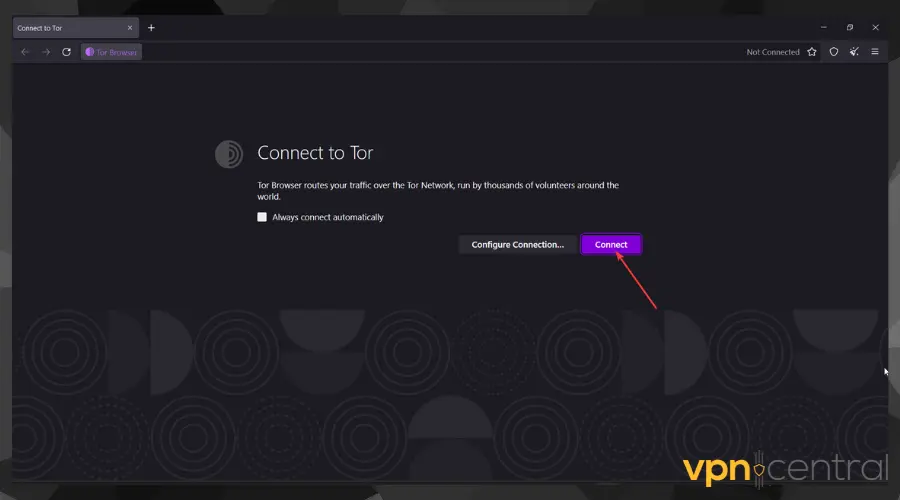
- Once connected, navigate to the website in question. At this point, you should be able to access it no problem.
The Tor browser allows for anonymous website unblocking but you will be sacrificing speed and performance.
This is because the network is maintained by people who aren’t so keen on performance, as long as their users are highly protected.
Read more:
Conclusion
Choosing either of the 3 fixes mentioned above is solely dependent on your choice, internet settings, and the websites you want to access.
Whether you choose to use a VPN, a Smart DNS Proxy, or the Tor browser, they all will grant you access to the geo-restricted website and offer you want to enjoy.
However, using a VPN is the best option as it’s a great workaround tool to access any website from any location in the world.
It easily cloaks your actual location and IP, thereby granting you access to websites and offers you typically shouldn’t have access to or enjoy.
The other 2 options may be easier to block, especially by websites that enable anti-proxy detection features.
With these fixes, you’ll no longer get the error message that your IP has disqualified you from this offer.
Read our disclosure page to find out how can you help VPNCentral sustain the editorial team Read more

Improve this guide


User forum
4 messages