What Happens When You Enable a VPN on an iPhone?
In addition to protecting your data, by enabling a VPN on your iPhone you can unblock geo-restricted applications and services, increase your connection speed, and more.
Find out more about these benefits and check our easy step-by-step guides for enabling your built-in VPN and also how to use a third-party VPN on your phone.
What happens when you enable the VPN on an iPhone?
1. Encryption of Internet connection
VPNs make use of end-to-end encryption to safeguard your data online. This is a technology that encodes your traffic, thereby preventing third parties from reading it.
Some VPN providers even use AES 256-bit encryption, the most secure algorithm. It is even used by some governmental and military agencies.
When you use a VPN, your online requests are not decipherable to trackers or network admins. Essentially, everything you do on your iPhone remains private if you enable the VPN.
Your location information is also secured because instead of your own IP, all the requests you send over to the public Internet are using the VPN’s IP, displaying the location of the VPN server.
Make sure you use a reputable VPN that truly encrypts the connection and uses advanced security features to prevent DNS leaks or other types of data leaking risks.
2. Bypassing geo-restrictions
When you cannot use a particular website or app because of geo-restrictions, then you should consider using a VPN.
We already mentioned VPNs hide your real IP. Furthermore, if you pick a VPN server from a specific location where the app you want to use is not blocked, you’ll have access from anywhere.
This gives you the possibility to keep using local apps when traveling abroad or just unlock apps that are not available in your region:
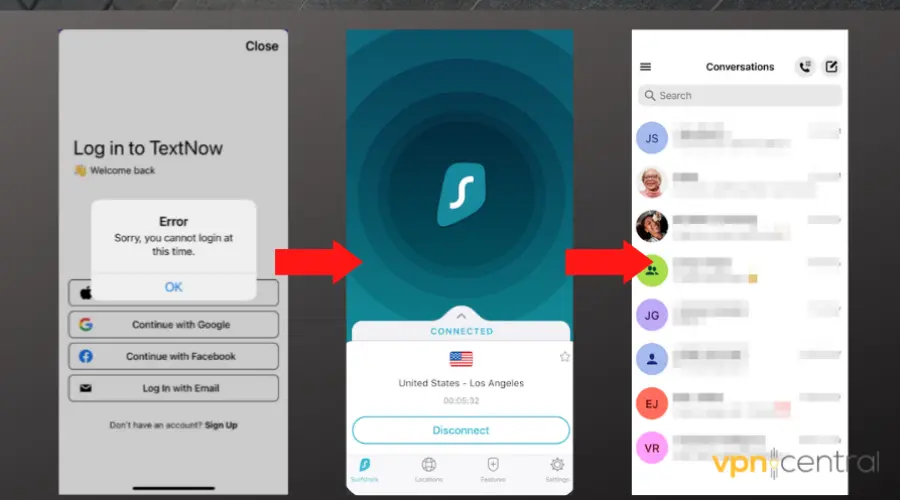
To give you an example, I used a VPN to unblock TextNow.
The service is normally only available in the US and Canada, but I wanted to use it abroad because it’s a good option for making cheap calls.
This VPN feature will also give you the possibility to watch unavailable videos on YouTube or unlock foreign streaming platforms. All you have to do is to pick a suitable server location.
3. Improved security when using public WiFi
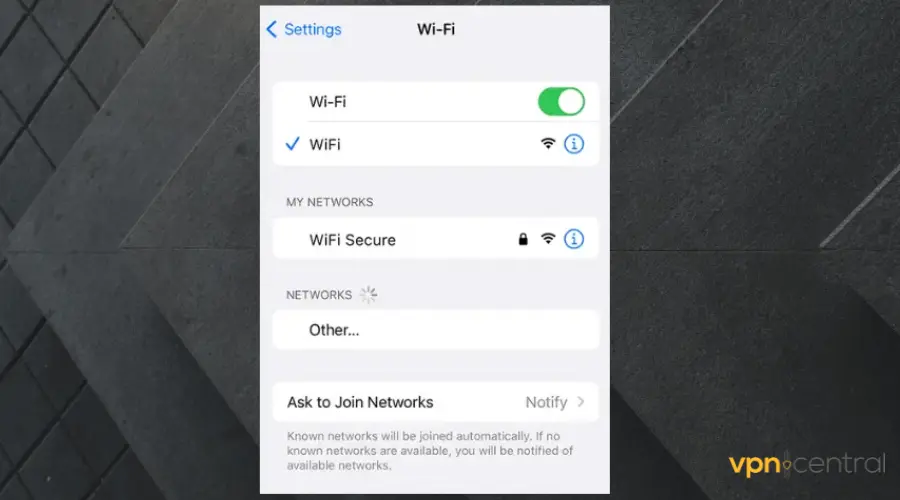
Many hackers attempt (and succeed) to steal data over public Wi-Fi.
Always pay attention to what type of network you connect to because there’s a possibility all requests you send over public Wi-Fi are visible to a hacker.
This includes your searches, the emails you send, and payment information, so it’s important to be vigilant. Since we mostly use public Wi-Fi on our phones, it’s important to be vigilant.
If you decide to use your iPhone to send important emails or make payments when using public Wi-Fi, enabling a VPN will prevent sensitive information from being stolen.
Since your requests are initially going through the VPN tunnel which encrypts them, they are not decipherable. You’re protected even if the connection itself is not the most secure.
4. Boosting internet speed
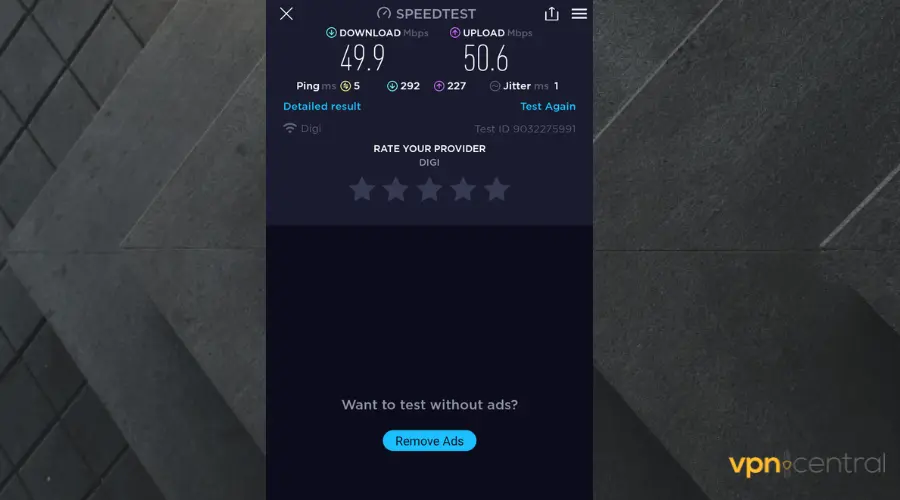
It is disappointing if your iPhone keeps stuttering or lagging when you want to play games or make video calls.
Certain VPN providers have upgraded their servers to a speed capacity of up to 10 Gbps. Using any of such VPNs ultimately boosts your network velocity.
Furthermore, some Internet service providers limit bandwidth usage depending on your data plan. When you hide your traffic data with a VPN, the ISP service won’t know how much of it you’re using.
This results in better speed and reduces the risk of ISP throttling, which means your ISP artificially slows down your connection.
Here are some tips on how to get the best speed on a VPN connection:
- Pick a VPN server close to your actual location. The information will reach the recipient and return to the sender faster.
- Switch servers – if you realize the connection is not stable, it’s probably overcrowded, so changing to another server can help.
- Enable split tunneling to only allocate VPN traffic to a specific app or service.
- Use protocols that are known for their good speed, such as WireGuard or IKEv2.
- Test out a few servers’ speeds and pick the one which has the best rates for you.
5. Feebies, bonuses, and promos
Sometimes shopping offers, freebies, or websites with new member bonuses are available in another country but not yours.
A VPN can help you get access to these without leaving the country.
For instance, you can get better deals on video games, or even get a cheaper subscription to services like Tidal.
Even flight tickets are cheaper in some regions than others. By using a VPN you can switch to the location with the inexpensive flight offers and book your spot on the plane.
You can also get past paywalls on websites that ask you to pay after you’ve used them for a while. For example, you can bypass article limits on news sites.
Keep in mind that this may not always work as some services ask for proof or location.
How to enable a VPN on an iPhone
There are two ways to set up a VPN on your iPhone. You either use the built-in VPN option or download a third-party VPN app.
There are tons of reputable third-party VPNs out there at affordable prices for your iPhone.
Whichever one you choose, follow the easy step-by-step instructions below.
How to set up a VPN on iPhone using a built-in VPN
iPhones actually have their own built-in VPN option, called Personal VPN.
You can easily configure it from the phone’s settings:
- Open iPhone Settings.
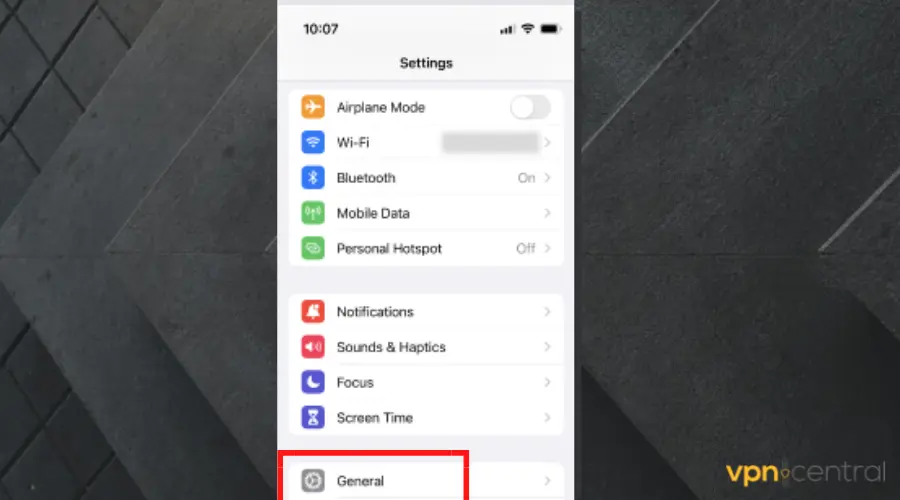
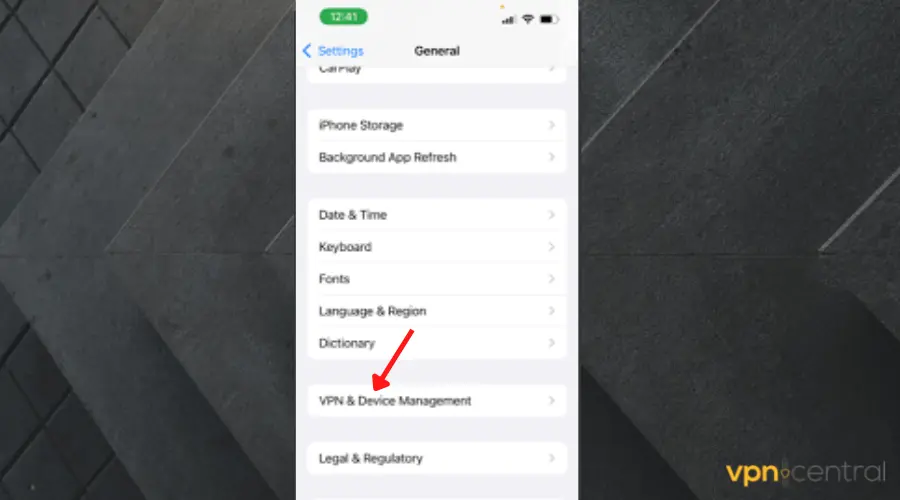
- Choose General, then tap on VPN and Device management.
- Tap to add VPN configuration.
- Tap on Type and choose the protocol you prefer. Select a protocol: IKEv2 or IPsec.
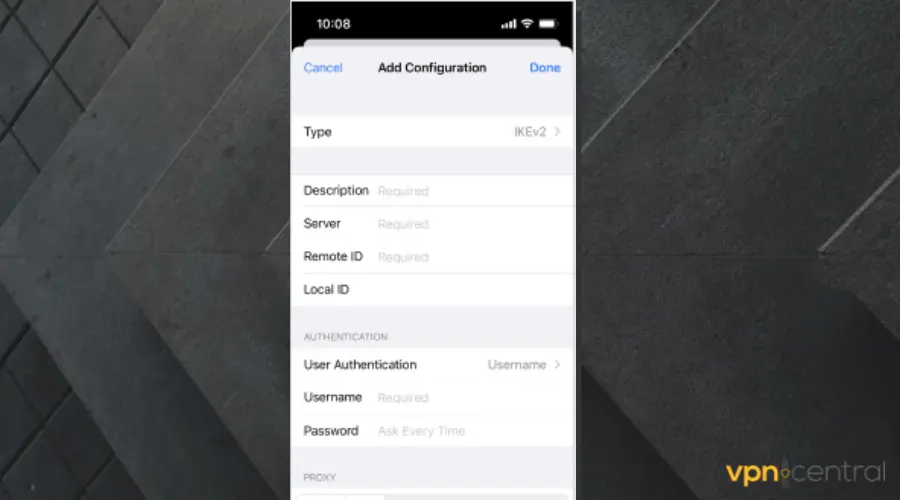
- Input the description, remote ID, and a server for the VPN.
- Type in the Username and Password.
- Tap on Manual or Auto to enable the VPN.
- Then tap Done.
How to set up a VPN on iPhone using a third-party app
Another way to enable a VPN on your iPhone is by using a third-party VPN app and installing it to your device:
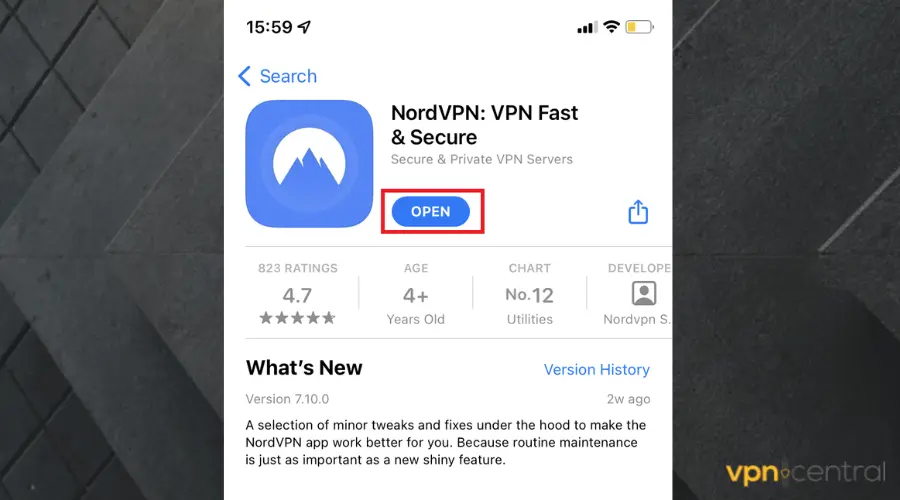
- On your iPhone, visit the Apple store app and search for the VPN provider you want.
- Tap on the Download button.

- After the download, tap Open.
- Register for a new account using the Sign-up button or tap on Log in to access an existing account.
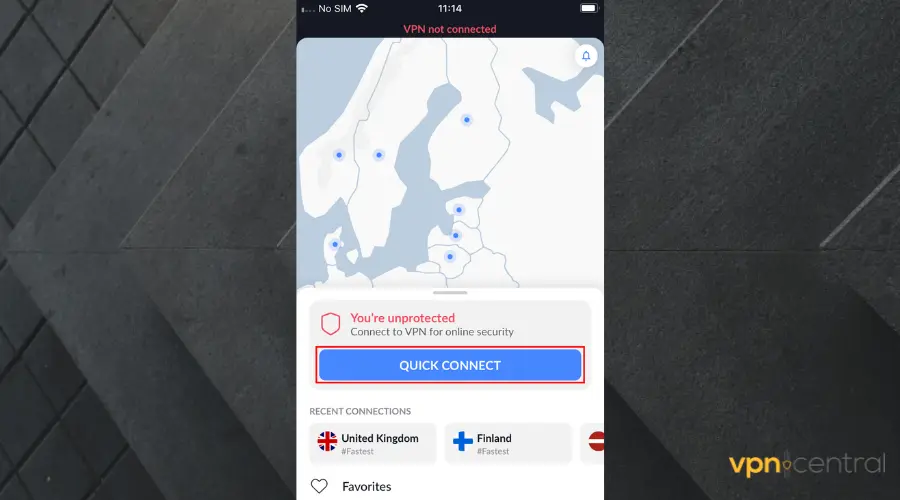
- Once you are in, select any server of your choice.
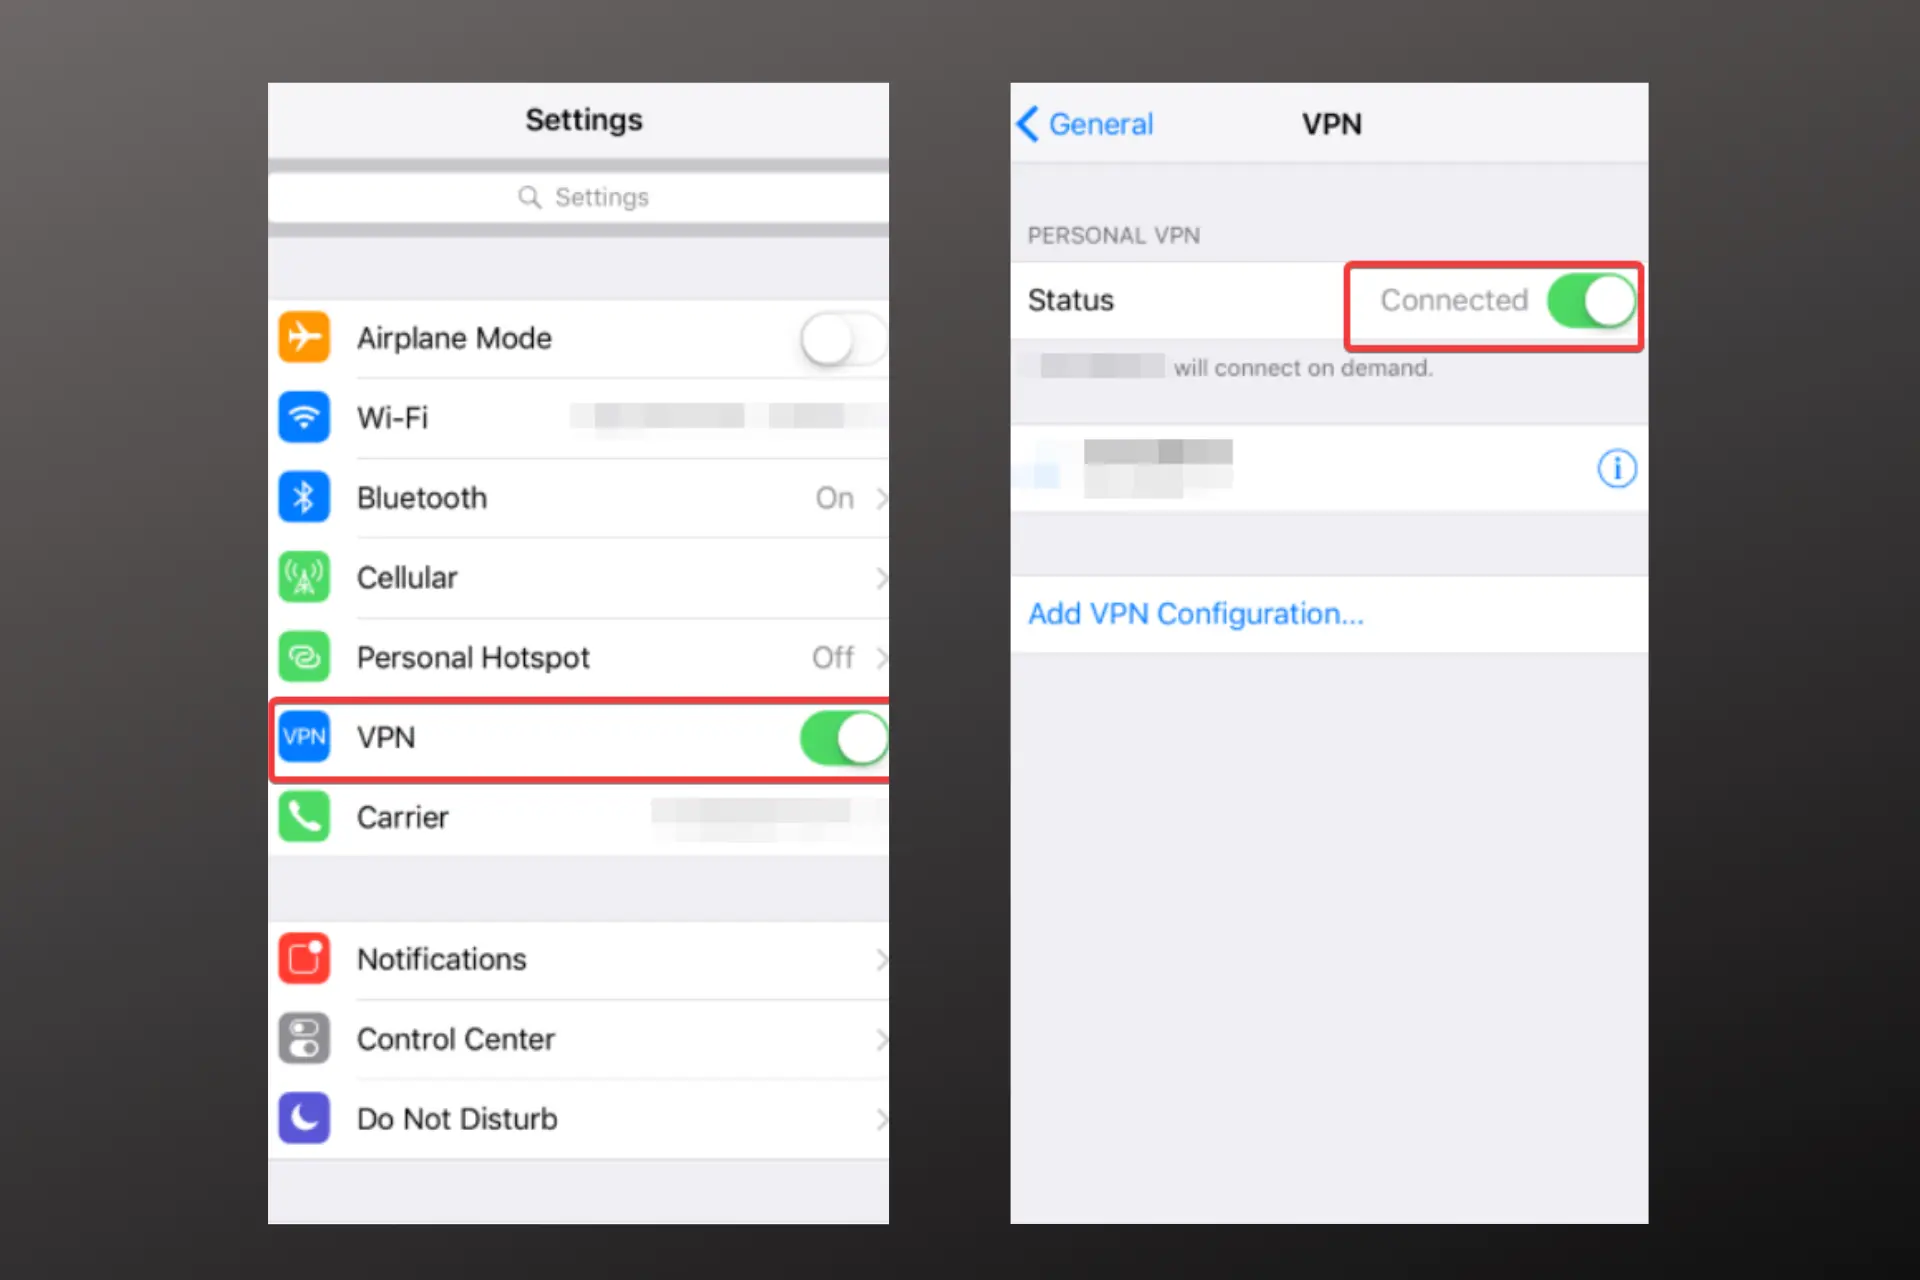
How to activate VPN on your iPhone
When you finish setting up your VPN, you have to enable it. To do that, you’ll just have to pick the VPN connection from the VPN’s settings.
- Go to your iPhone Settings app.
- Tap on General.
- Choose VPN.
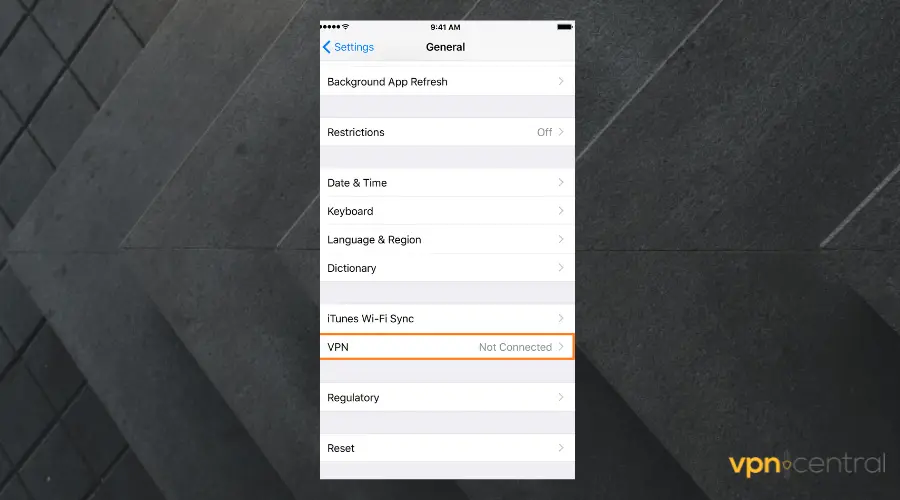
- Tap the status switch on your VPN to turn it on.
- Pick your VPN configuration.
- Built-in VPN: the name you picked when you did the setup.
- Third-party VPN: the name of the VPN service provider.
Conclusion
What happens when you enable a VPN on your iPhone is that your entire connection gets secured.
This means you’ll be able to make secure payments, all your activity remains hidden, and you can potentially get a better connection. If something goes wrong with your connection, check this step-by-step guide on how to fix VPN not working on iPhone.
If you also own a Mac, the best VPNs for Mac and iPhone let you secure both devices with one subscription, making it easier to stay protected across Apple’s ecosystem.
Read our disclosure page to find out how can you help VPNCentral sustain the editorial team Read more

Improve this guide

User forum
0 messages